Best DPI for Printing: Why 300 Is the Gold Standard — and When You Can Go Lower
TL;DR: The Short Answer
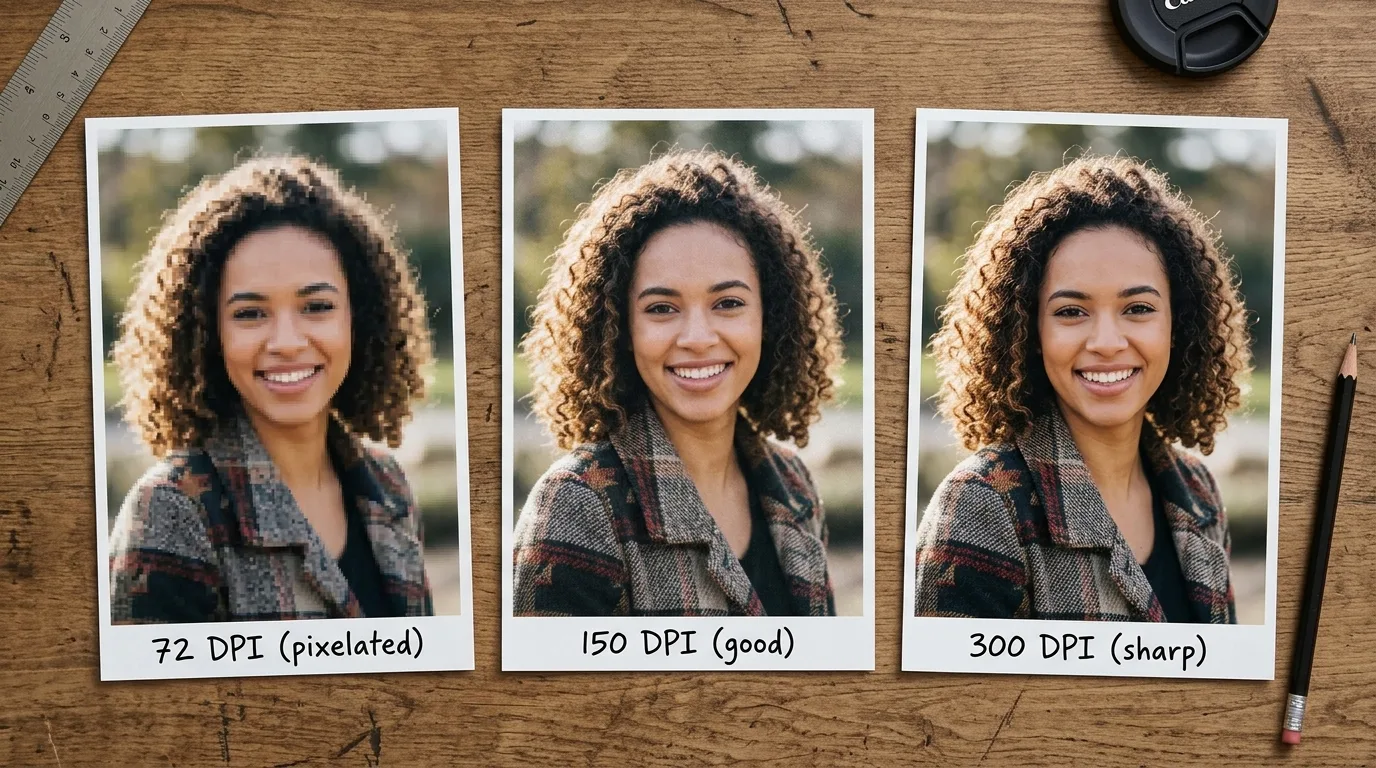
300 PPI (pixels per inch) at the final print size is the gold standard for anything viewed at arm’s length — 4×6, 5×7, 8×10, albums, portfolios, fine art. 240–250 PPI is often indistinguishable from 300, and 150 PPI is the absolute floor (below that, pixelation shows). But DPI is not universal — viewing distance determines the requirement: handheld prints need 300, posters need 150–200, trade-show banners 100–150, billboards just 15–50. The formula is simple: Print Size (inches) = Pixels ÷ PPI. A 24MP camera (6000×4000) prints 20×13 inches at 300 PPI, or 40×27 inches at 150 PPI. 72 DPI is a screen myth — DPI is just metadata; what matters is pixel count. A 12MP phone photo prints beautifully at A4; a web-saved 1080px image will be pixelated at 8×10.
Change DPI without resampling to change print size (pixels stay the same); with resampling only if you must upscale (AI helps but can’t create real detail). Text and line art need 600–1200 DPI for sharp edges. Print setup: 300 PPI at final size, 0.125″ bleed, safe zone 0.125″ inside trim, CMYK for offset press or sRGB for consumer labs, PDF/X-4 or TIFF format.
PPI vs DPI (They Are Not the Same)
- PPI (pixels per inch): describes your digital file — how many pixels are packed into each inch of the final print. This is what you control.
- DPI (dots per inch): describes the printer’s ink output — how many tiny ink dots it lays down per inch. Photo printers use 1440–2880 DPI, far higher than your file’s PPI.
Everyone says “DPI” when they mean “PPI.” When preparing a file, only PPI matters. Set it in Lightroom/Photoshop at export. A guide to pixels, DPI, and file size covers the math; a guide to photo printing software covers tools that handle it automatically; a guide to how big is a 16×20 photo covers print dimensions; a guide to best photo editing software covers editors with proper print-export modules.
The Viewing-Distance Ladder (Why 300 Is Not Universal)
The human eye resolves roughly one arcminute of detail. From 12 inches away (handheld), that’s about 300 PPI. From 6 feet away (a poster on a wall), the same detail requires only ~50–100 PPI. From across the street (a billboard), 15–30 PPI is enough. “Always use 300 DPI” comes from magazine printing (pages read at 30cm) — it is actively unhelpful for large format, where it produces enormous files for no visible benefit.
| Print type | Viewing distance | Recommended PPI |
|---|---|---|
| Business cards, brochures, wallets | 12–18 inches | 300 (text: 600–1200) |
| Photo prints 4×6 to 11×14, albums | 1–2 feet | 300 (240 acceptable) |
| Posters 18×24 to 24×36 | 2–4 feet | 200–300 |
| Canvas wraps, framed wall art | 3–6 feet | 150–200 |
| Trade-show banners, backdrops | 4–8 feet | 100–150 |
| Large outdoor banners, billboards | 8+ feet | 15–100 |
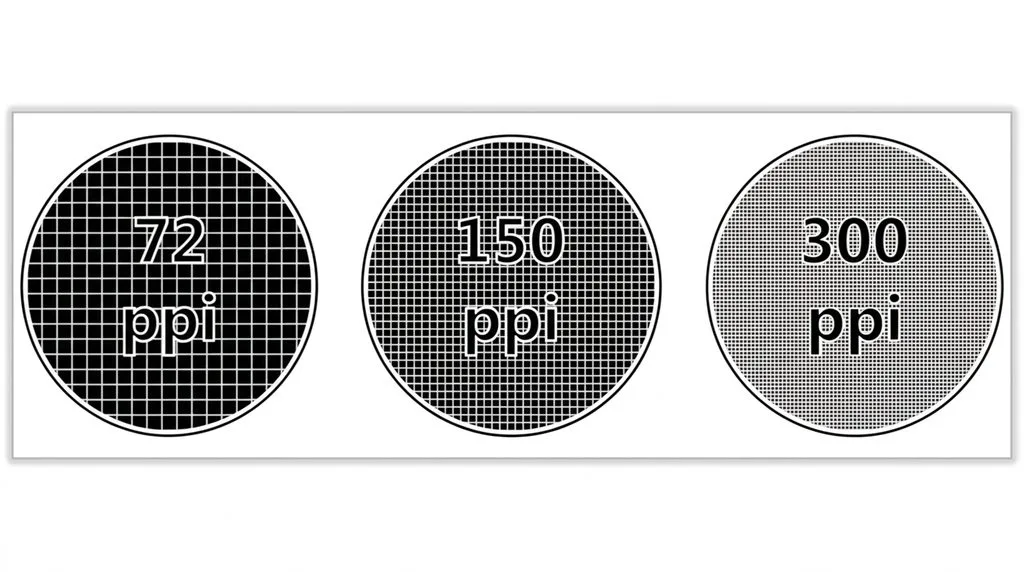
The Formula (Pixels ÷ PPI = Print Size)
Two formulas answer every question:
- Max print size = pixel dimension ÷ target PPI
- Required pixels = print size (inches) × target PPI
| Camera | Megapixels | At 300 PPI | At 150 PPI |
|---|---|---|---|
| 12MP phone (4000×3000) | 12 | 13.3×10 in (A4) | 26.7×20 in |
| APS-C (6000×4000) | 24 | 20×13.3 in | 40×26.7 in |
| Full-frame (6000×4000) | 24 | 20×13.3 in | 40×26.7 in |
| High-res (8256×5504) | 45 | 27.5×18.3 in | 55×36.7 in |
| Medium format (11648×8736) | 102 | 38.8×29.1 in | 77.7×58.2 in |
Common print sizes at 300 PPI (required pixels):
- 4×6 → 1200×1800 (2.2MP)
- 8×10 → 2400×3000 (7.2MP)
- 11×14 → 3300×4200 (13.9MP)
- 16×20 → 4800×6000 (28.8MP)
- 24×36 → 7200×10800 (77.8MP — or print at 150 PPI: 3600×5400, 19.4MP)
A 12MP phone photo is plenty for A4 and even A3. The usual problem is not megapixels — it’s that the file was shrunk for the web (1080px) or saved from social media (compressed).
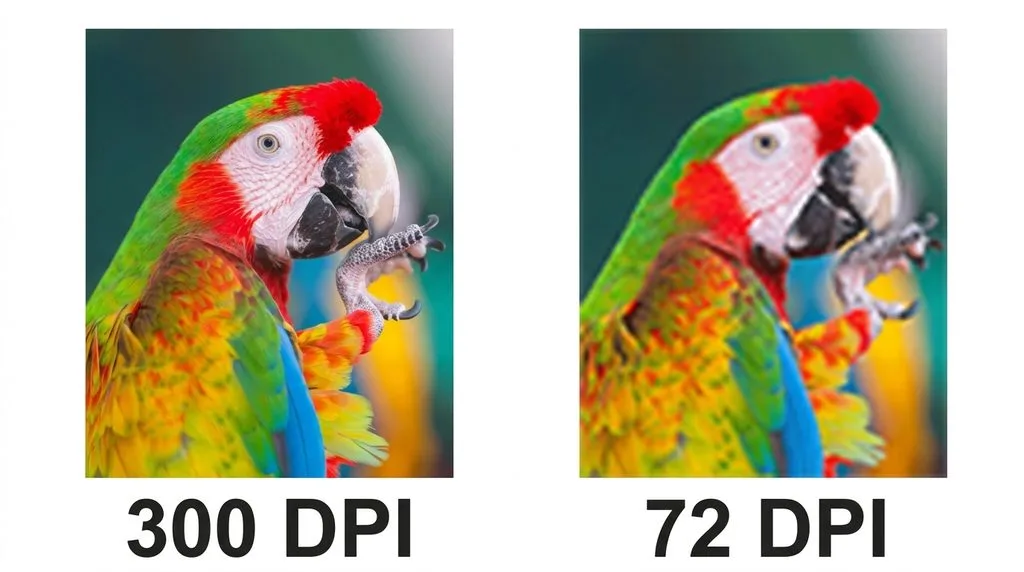
The 72 DPI Myth (Why “72 DPI” Means Nothing for Print)
“72 DPI” comes from 1980s Apple screen resolution. It is just a metadata tag — it tells the printer nothing about quality. A 6000×4000 pixel image tagged at 72 DPI contains exactly the same pixels as one tagged at 300 DPI. Change the tag (without resampling) and the print size changes, not the quality. What matters is pixel count, not the DPI tag. If someone says “this file is 72 DPI so it won’t print,” check the pixel dimensions — if it has enough pixels, it will print fine. If it’s 1080px wide, it won’t — regardless of the DPI tag.
Change DPI: With vs Without Resampling (Critical Distinction)
In Photoshop: Image > Image Size (Alt+Ctrl+I / Option+Cmd+I). Two modes:
- Resample UNCHECKED (change DPI without resampling): Pixel count stays identical. You’re telling the printer “pack these pixels more/less densely.” Print size changes. Quality does not change. This is how you prepare a file for print — set PPI to 300 and see what size you get.
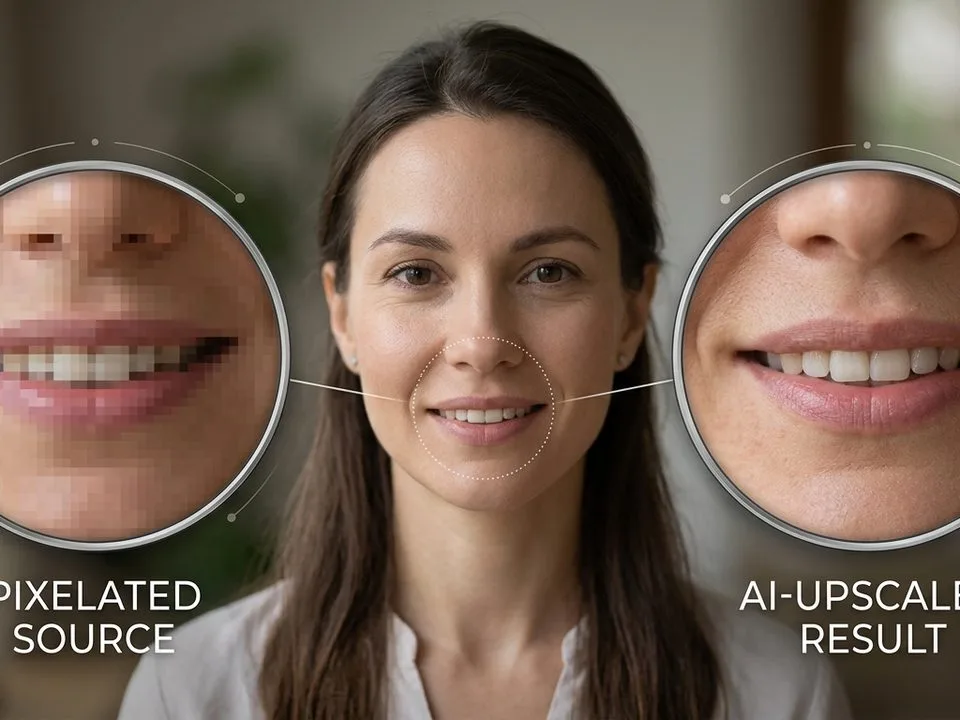
- Resample CHECKED (upsampling/downsampling): Photoshop adds or removes pixels. Downsampling (making smaller) is fine. Upsampling (making larger) = software guesses what new pixels should be. AI upscalers (Topaz Gigapixel, Photoshop Super Zoom/Neural Filters) do a remarkable job at 2–4×, but they invent detail — they cannot recover detail that was never captured. For faces and text, verify carefully.
Rule: never upsample more than 2× without AI, and always keep the original.
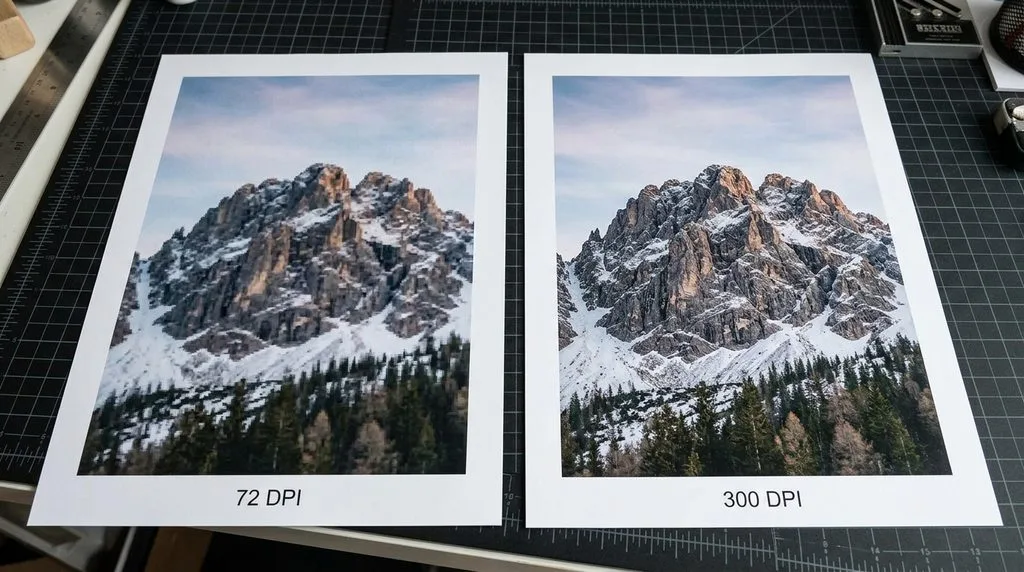
Text and Line Art Need More (600–1200 DPI)
Photos have soft edges — 300 PPI is plenty. Text, logos, line art, and barcodes have hard edges that need 600–1200 DPI to stay crisp. If your design has text over a photo, keep the text as vector (PDF) or rasterize it at 600+ DPI. A 300-DPI text file will show slightly soft edges on close inspection.
The Print-Ready Checklist
- Resolution: 300 PPI at final print size (150 PPI minimum for large format viewed from distance).
- Bleed: 0.125″ (3mm) on all sides if the design reaches the edge. 0.25–0.5″ for banners/fabric.
- Safe zone: keep text and logos 0.125–0.25″ inside the trim line — nothing important gets cut off.
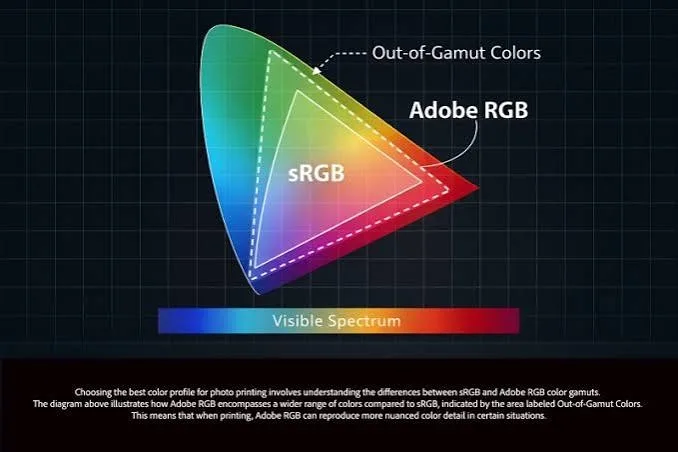
- Color mode: CMYK for offset press; sRGB for consumer labs (Walgreens, Shutterfly, most online); Adobe RGB only if the pro lab specifically requests it.
- File format: PDF/X-4 preferred (preserves vectors, fonts, ICC). TIFF (LZW lossless) for fine art photography. High-res JPEG (quality 90+) accepted by many labs. Never send a web-optimized 1080px JPEG.
- Fonts: outlined or embedded in PDF.
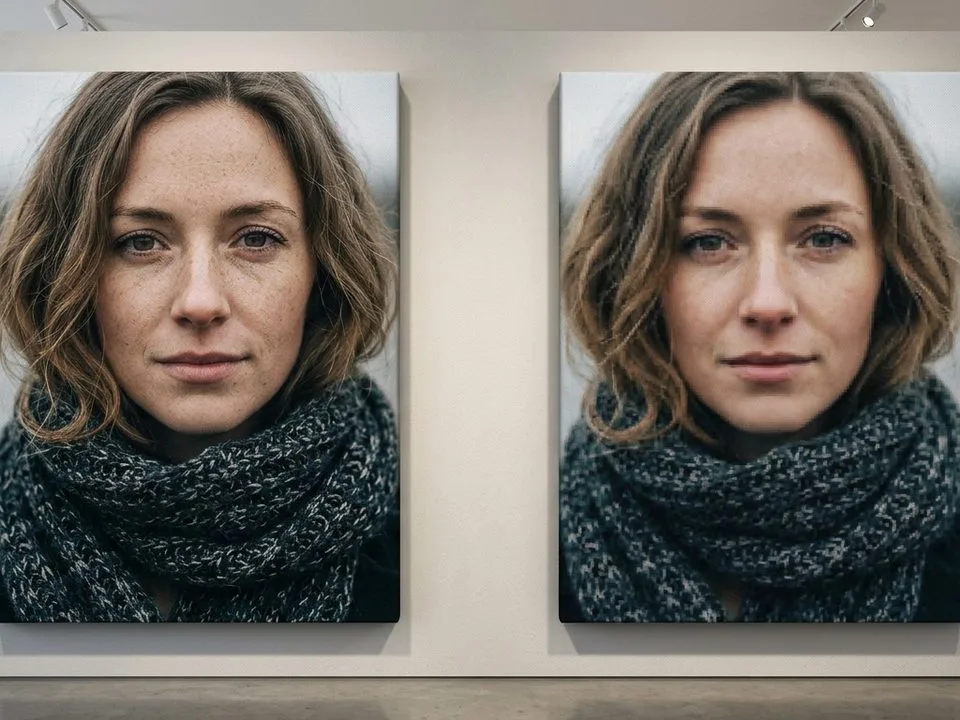
- Soft proof: View > Proof Setup > printer profile (or lab’s ICC) to catch color shifts before printing.
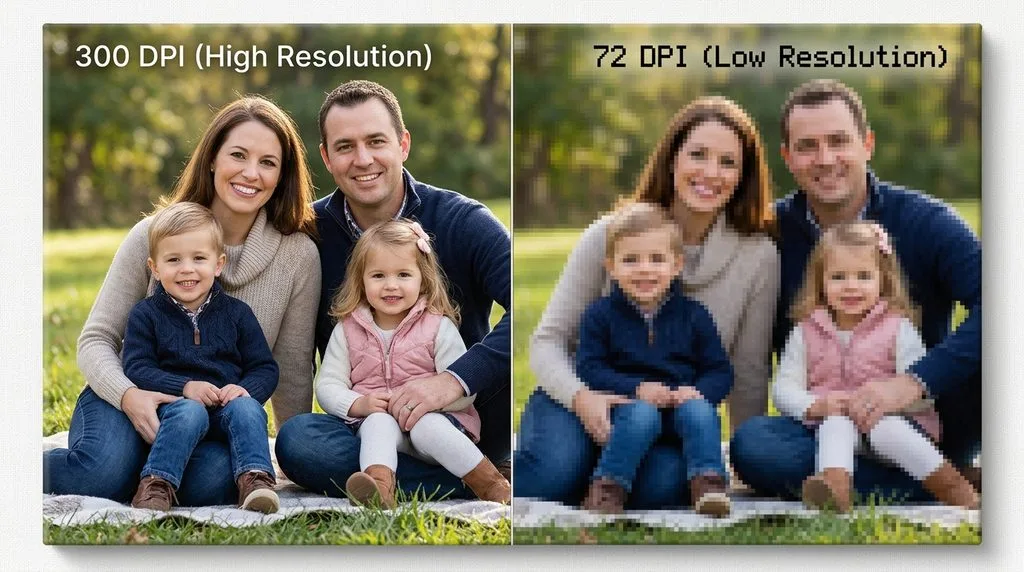
5 Common DPI Mistakes
- Worrying about the 72 DPI tag instead of pixel count. Check pixels. 6000×4000 at “72 DPI” prints great at 20×13.
- Upsampling a web image to 300 DPI and expecting quality. You can’t create detail. Find the original file.
- Using 300 DPI for a billboard. Produces a 5GB file that looks identical to 50 DPI from across the street.
- Forgetting bleed. Designs reaching the edge get a white sliver if you skip bleed. Add 0.125″.
- Sending RGB to an offset press. Colors shift. Convert to CMYK (or use the lab’s profile) for press.
Frequently Asked Questions
What is the best DPI for printing photos?
300 PPI (pixels per inch) at the final print size for anything viewed up close (4×6, 8×10, albums, fine art). 240–250 PPI is often indistinguishable. 150 PPI is the floor. For large format viewed from farther away (posters, canvas, banners), 100–200 PPI is enough; billboards print at 15–50.
Is 72 DPI good for printing?
“72 DPI” is just a metadata tag — it tells you nothing about quality. What matters is pixel count. A 6000×4000 pixel image tagged at 72 DPI contains exactly the same data as one tagged at 300 DPI and prints identically. A 1080px web image tagged at 300 DPI will still be pixelated at 8×10. Check pixel dimensions, not the DPI number.
How many pixels do I need for an 8×10 print?
At 300 PPI: 2400×3000 pixels (7.2MP). At 200 PPI (acceptable): 1600×2000 (3.2MP). Any modern phone or camera has more. The problem is usually a web-shrunk or social-media-compressed copy — go back to the original.
What’s the difference between PPI and DPI?
PPI (pixels per inch) describes your digital file — what you control. DPI (dots per inch) describes the printer’s ink output (photo printers use 1440–2880 DPI). Everyone says “DPI” when they mean “PPI.” When preparing a file, set PPI — DPI is the printer’s job.
Can I increase DPI without losing quality?
Yes — change DPI without resampling (uncheck Resample in Photoshop Image Size). Pixel count stays identical; only the print size changes. If you need more pixels (larger print), you must upsample — AI tools (Topaz Gigapixel, Photoshop Super Zoom) help at 2–4× but invent detail, they can’t recover what was never captured.
What DPI do I need for text and logos?
600–1200 DPI. Photos have soft edges (300 is plenty), but text and line art have hard edges that show softness at 300. Keep text as vector in a PDF, or rasterize at 600+ DPI. Business cards and brochures — 300 for photos, 600+ for text.
What is bleed and how much do I need?
Bleed is extra image extending past the trim line, so if the cutter is off by a hair, no white edge shows. Standard: 0.125″ (3mm) on all sides. Large format/banners: 0.25–0.5″. Keep text and logos 0.125–0.25″ inside the trim (safe zone).
What file format and color mode should I send to a printer?
Offset press: PDF/X-4, CMYK, fonts outlined/embedded. Consumer photo labs (Walgreens, Shutterfly): JPEG quality 90+, sRGB, 300 PPI. Pro labs/fine art: TIFF (LZW lossless) or high-res JPEG, sRGB or Adobe RGB if requested. Never send a web-optimized 1080px file.
Final Verdict
300 PPI at final print size is the safe default for everything you hold in your hands — but let viewing distance set the real number. Use the formula (pixels ÷ PPI = print size), ignore the 72-DPI myth (check pixels instead), never upsample more than 2× without AI, add 0.125″ bleed, keep text at 600+ DPI, and send CMYK to press or sRGB to consumer labs. A 12MP phone photo is plenty for A4; the problem is almost always a web-shrunk copy, not megapixels. Get that checklist right and every print comes back sharp.