Best Resolution for Posters & Canvas Prints: The Viewing-Distance Formula That Saves You From Overkill
TL;DR: The Short Answer
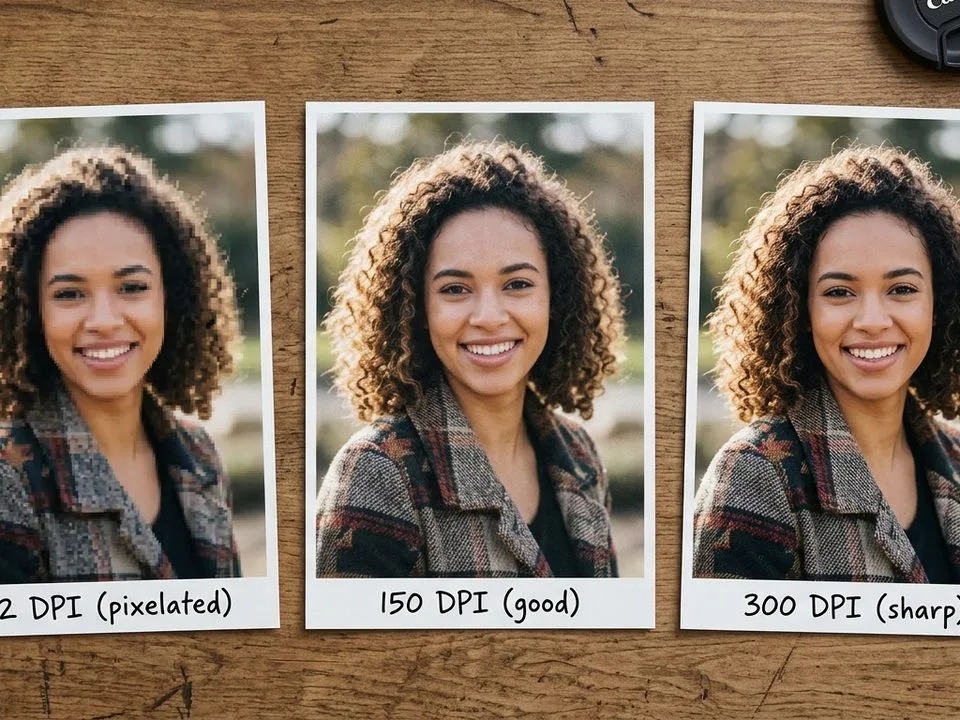
300 PPI is overkill for large posters and canvas. What actually governs resolution is viewing distance — the human eye resolves detail down to 1 arcminute, which gives a simple formula: minimum PPI = 3438 ÷ viewing distance in inches. At 2 feet (24 inches) that’s 143 PPI; at 4 feet (48 inches) it’s 72 PPI; at 10 feet it’s 29 PPI. So: small posters (11×17 to 18×24) viewed up close need 200–300 PPI. Large posters (24×36+) and canvas viewed from 3–6 feet need only 100–150 PPI. A 24×36 at 150 PPI needs 3600×5400 pixels (19.4MP) — any modern camera has it. At 300 PPI it would need 77.8MP, which almost no camera has — that’s why 150 is the real standard for large format.
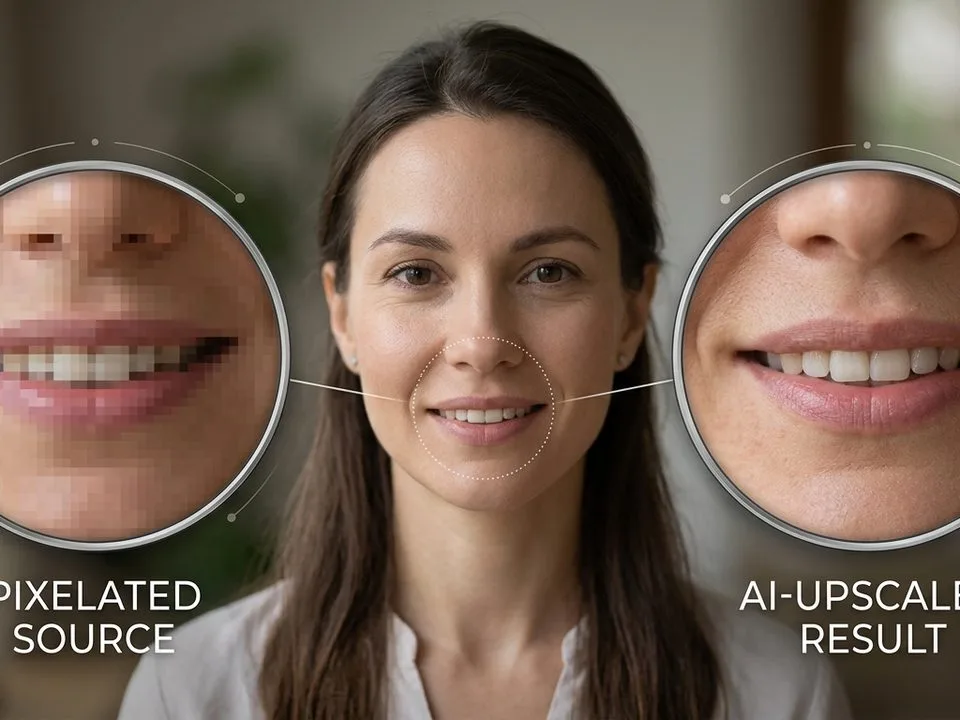
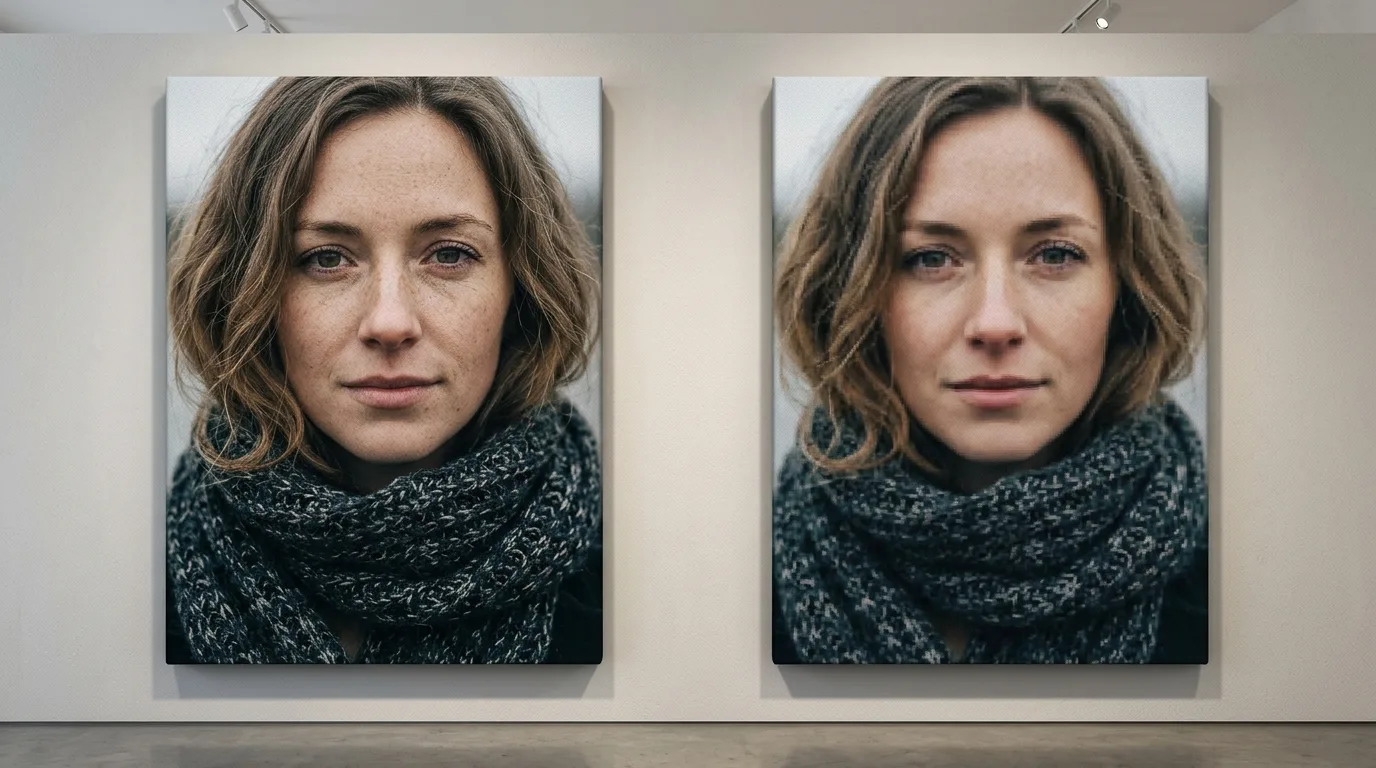
Canvas texture hides minor pixelation (paper shows everything), so canvas can go lower than poster paper. Gallery wrap needs 1.5–2 inches of extra image on every side to fold around the frame — keep faces and key objects centered, off the fold. AI upscalers (Topaz Gigapixel, Photoshop Super Zoom) get you 2–4× but invent detail — check faces and text. Always order a proof first.
The Viewing-Distance Formula (Stop Guessing)
The human eye, under good light, can distinguish two points separated by 1 arcminute (1/60 of a degree). There are 3437.75 arcminutes in a radian. So the finest detail a reference eye can resolve at distance d (inches) is:
Minimum PPI = 3438 ÷ d (inches)
| Viewing distance | Minimum PPI (eye limit) | Real-world target (with margin) | Typical print |
|---|---|---|---|
| 1 ft (12 in) | 286 | 300 | Wallet, 4×6, 8×10, albums |
| 2 ft (24 in) | 143 | 150–200 | 16×20, 18×24 posters |
| 3 ft (36 in) | 95 | 120–150 | 24×36 poster, small canvas |
| 4–6 ft (48–72 in) | 48–72 | 100–150 | Large canvas, wall art |
| 8–15 ft | 19–36 | 50–100 | Banners, backdrops |
| Across street (100+ ft) | <5 | 15–30 | Billboards |
Beyond the eye-limit number, you are not adding quality — you are adding file size. A 24×36 at 300 PPI is a 77.8MP / ~200MB file that looks identical to 150 PPI from 4 feet away. A guide to how big is a 16×20 photo covers print dimensions; a guide to photo printing software covers tools that calculate this; a guide to best AI upscaler covers upscaling when you’re short on pixels; a guide to best photo editing software covers editors with proper print-export modules.
Pixels Needed by Print Size (The Table You Came For)
| Print size | At 300 PPI | At 150 PPI | At 100 PPI |
|---|---|---|---|
| 11×14 | 3300×4200 (13.9MP) | 1650×2100 (3.5MP) | 1100×1400 (1.5MP) |
| 16×20 | 4800×6000 (28.8MP) | 2400×3000 (7.2MP) | 1600×2000 (3.2MP) |
| 18×24 | 5400×7200 (38.9MP) | 2700×3600 (9.7MP) | 1800×2400 (4.3MP) |
| 20×30 | 6000×9000 (54MP) | 3000×4500 (13.5MP) | 2000×3000 (6MP) |
| 24×36 | 7200×10800 (77.8MP) | 3600×5400 (19.4MP) | 2400×3600 (8.6MP) |
| 30×40 | 9000×12000 (108MP) | 4500×6000 (27MP) | 3000×4000 (12MP) |
| 36×48 | 10800×14400 (155MP) | 5400×7200 (38.9MP) | 3600×4800 (17.3MP) |
| 40×60 | 12000×18000 (216MP) | 6000×9000 (54MP) | 4000×6000 (24MP) |
What your camera can actually do:
- 12MP phone (4000×3000): 16×20 at 150 PPI (excellent), 24×36 at ~100 PPI (acceptable from distance)
- 24MP camera (6000×4000): 24×36 at 150 PPI (excellent), 36×48 at ~100 PPI
- 45MP high-res (8256×5504): 30×40 at 150 PPI, 40×60 at ~100 PPI
Canvas vs Poster Paper: Why Canvas Can Go Lower
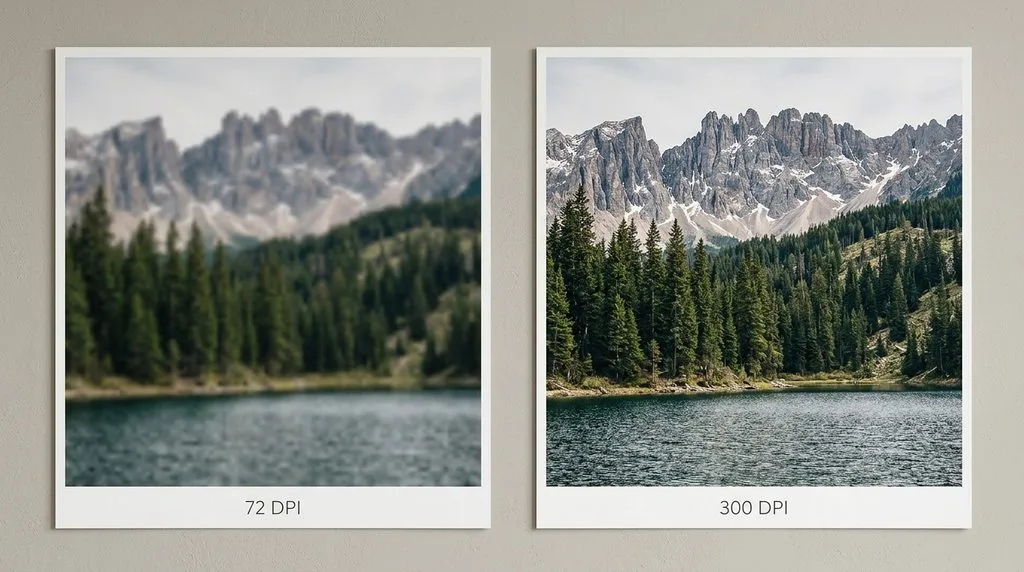
Poster paper (gloss, luster, matte) shows every flaw — pixelation, compression artifacts, noise. It needs the full 150–300 PPI depending on size. Canvas has a woven texture that breaks up fine detail and hides minor pixelation and JPEG artifacts. Most canvas labs accept 150 PPI and some go as low as 72–100 for very large pieces. But there’s a counterpoint: canvas can amplify low resolution because ink sits on the textured surface differently — so don’t push below 100 PPI unless the piece is huge and viewed from 8+ feet. The safe floor for canvas is 100 PPI, with 150 PPI as the sweet spot, and 200–300 for small pieces or gallery work where people get up close.
Gallery Wrap: The 1.5–2 Inch Rule (Most-Missed Detail)
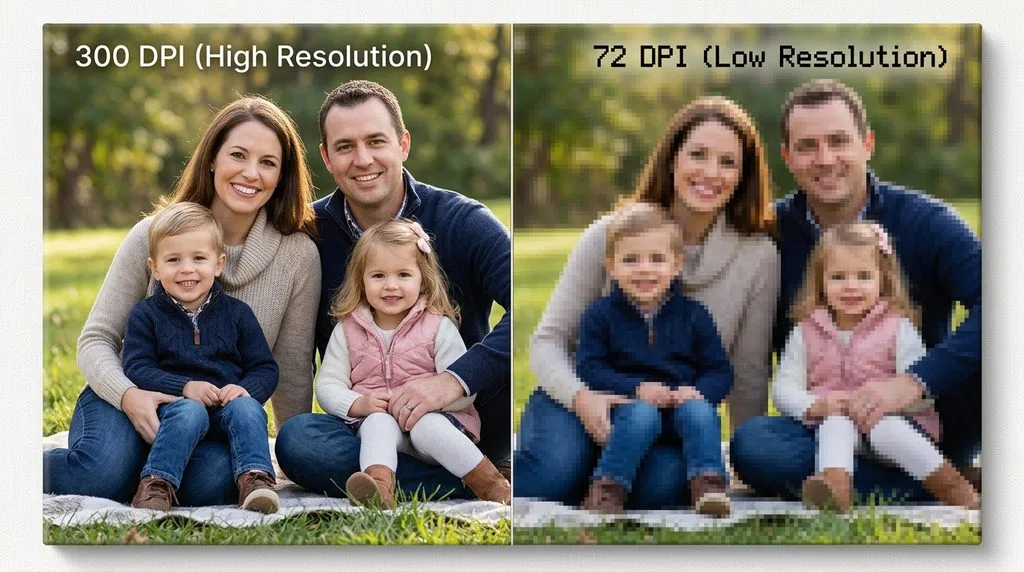
A gallery-wrapped canvas wraps the image around the sides of a wooden frame (0.75″ standard, 1.5″ premium gallery). That means you need extra image on every side — typically 1.5–2 inches per side (the wrap depth + bleed). At 300 PPI that’s 900–1200 extra pixels per side. If you don’t have it, the lab will either: (a) stretch/blur the edges, (b) mirror the edge pixels, or (c) put a solid color border — all of which can look bad.
Rules for gallery wrap:
- Keep faces, text, and key objects centered and at least 2 inches away from any edge — they will wrap around the frame otherwise.
- If your subject is near the edge, choose a mirror wrap (lab mirrors the edge pixels) or a solid-color border instead of image wrap.
- Add 0.25 inch bleed beyond the wrap for cutting tolerance.
- A 24×36 gallery wrap at 150 PPI needs ~3900×5700 pixels (face + wrap), not 3600×5400.
Bleed & File Setup Checklist
- Posters: 0.125″ (3mm) bleed on all sides if the design reaches the edge. Keep text/logos 0.125″ inside trim (safe zone).
- Canvas: 1.5–2″ wrap + 0.25″ bleed. Wide-format vinyl/banners: 5–10mm bleed.
- Color: sRGB for most consumer labs; Adobe RGB only if the pro lab requests it; CMYK for offset press (posters run offset).
- File format: TIFF (lossless LZW) or high-res JPEG (quality 90+); PDF/X-4 for designs with vector/text. Never send a web-optimized 1080px JPEG.
- Order a proof (or a small 8×10 test print) before committing to a 40×60. Colors on screen never match paper/canvas exactly — soft-proof with the lab’s ICC profile.
AI Upscaling: When You’re Short on Pixels
If your file is too small for the print you want, AI upscalers can help 2–4× linearly (4–16× area):
- Topaz Gigapixel AI — best detail recovery for photos (~$99 one-time or subscription)
- Photoshop Super Zoom / Preserve Details 2.0 — built in, good for 2×
- Upscayl — free, open-source, excellent
- Remini — best for faces (mobile)
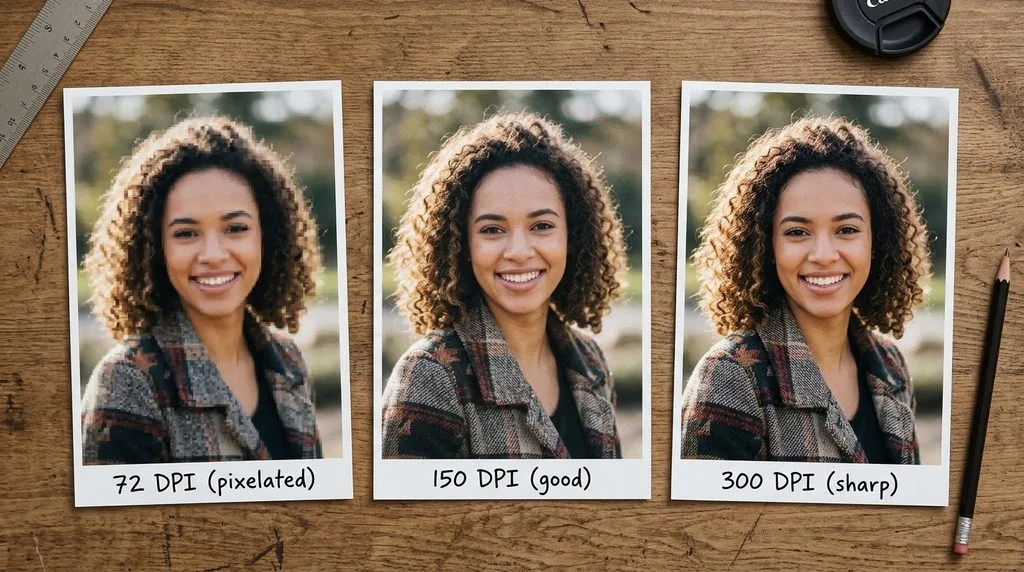
Honest caveat: AI invents detail. It’s great for landscapes and abstracts, but check faces, text, and logos carefully — AI can invent freckles, mis-render letters, and smooth out skin texture. For a 24×36 from a 12MP phone, a 2× upscale gets you to ~200 PPI-equivalent — excellent. For a 40×60 from the same file, even 4× won’t save it — print smaller or find a higher-res original.
5 Common Large-Print Mistakes
- Demanding 300 DPI for a 24×36 poster. You’d need 77.8MP. 150 PPI from 4 feet is indistinguishable. Use the viewing-distance formula.
- Forgetting gallery-wrap margins. Faces land on the fold. Keep subjects 2″ inside the edge, or use mirror wrap.
- Upscaling a social-media JPEG. Compression artifacts upscale too. Start from the original RAW/full-res file.
- Sending RGB to an offset press. Colors shift. Convert to CMYK (or use the lab’s profile) for printed posters.
- Skipping the proof. A $5 8×10 test print saves a $150 40×60 reprint. Always soft-proof and order a proof.
Frequently Asked Questions
What is the best resolution for poster printing?
Small posters (11×17 to 18×24) viewed up close: 200–300 PPI. Large posters (24×36+) viewed from 3+ feet: 100–150 PPI. A 24×36 at 150 PPI needs 3600×5400 pixels (19.4MP) — any modern camera has it. Use the formula: minimum PPI = 3438 ÷ viewing distance in inches.
What DPI do I need for canvas prints?
150 PPI is the sweet spot for most canvas (texture hides pixelation). 200–300 for small canvas or gallery pieces viewed up close. 100 PPI minimum for very large canvas viewed from 6+ feet. Don’t go below 100 — canvas can amplify low resolution. Add 1.5–2 inches of extra image per side for gallery wrap.
How many pixels do I need for a 24×36 poster?
At 150 PPI (standard for large posters): 3600×5400 pixels (19.4MP). At 300 PPI: 7200×10800 (77.8MP — almost no camera has this, so 150 is the real standard). A 24MP camera (6000×4000) prints 24×36 at 167 PPI — excellent.
Can I print a 12MP phone photo on a 24×36 canvas?
Yes — at ~100 PPI (2400×3600 equivalent), which looks fine from 4+ feet away. For better quality, AI-upscale 2× (Topaz Gigapixel, Photoshop Super Zoom) to ~200 PPI equivalent. Check faces — AI invents detail. A 12MP phone prints a sharp 16×20 at 150 PPI with no upscaling.
What is gallery wrap and how much extra image do I need?
Gallery wrap folds the image around the sides of a 0.75″ or 1.5″ wooden frame. Add 1.5–2 inches of extra image on every side (wrap depth + bleed). At 150 PPI that’s ~225–300 extra pixels per side. Keep faces/text at least 2 inches from any edge — they’ll wrap around the frame otherwise. Use mirror wrap if your subject is near the edge.
What’s the difference between canvas and poster paper resolution?
Poster paper (gloss/luster/matte) shows every flaw — needs full 150–300 PPI. Canvas has a woven texture that breaks up fine detail and hides minor pixelation, so it can go as low as 100 PPI for large pieces. But canvas can also amplify very low resolution, so don’t go below 100.
Should I use 300 DPI or 150 DPI for large prints?
Use 300 only if the print will be viewed within 2 feet AND you have the pixels. For anything 24×36+ viewed from 3+ feet, 150 is the standard — 300 produces a 200MB file that looks identical from normal viewing distance. The viewing-distance formula (3438 ÷ inches) tells you the exact minimum.
What file format and color mode should I send for posters/canvas?
Consumer photo labs (canvas, photo posters): high-res JPEG (quality 90+) or TIFF, sRGB, 150–300 PPI. Offset press (printed posters): PDF/X-4 or TIFF, CMYK, 300 PPI, fonts outlined. Pro labs may accept Adobe RGB — ask. Never send a web-optimized 1080px JPEG. Add 0.125″ bleed (posters) or 1.5–2″ wrap (canvas). Order a proof.
Final Verdict
Let viewing distance, not a universal 300-DPI rule, set your resolution. Small posters and albums need 300 PPI; 24×36 posters and canvas need only 100–150 PPI because you stand 4+ feet away. The formula is 3438 ÷ viewing distance (inches) = minimum PPI. Canvas texture hides pixelation but gallery wrap needs 1.5–2 extra inches per side — keep faces off the fold. A 12MP phone photo prints a great 16×20 and an acceptable 24×36; AI upscaling bridges the gap but check faces. Add bleed, soft-proof with the lab’s ICC profile, and order a proof before going large. Get that right and your wall art looks like it came from a gallery, not a home printer.