How to Fix Torn Photos: Repair Rips & Missing Pieces (2026 Guide)
TL;DR: The Short Answer
You fix a torn photo digitally, not physically — and the #1 rule is never use tape or glue on the original print. Lay the pieces face-up on a scanner bed like a puzzle, scan at 600 DPI (1200 DPI for small prints) as a TIFF, then repair the digital file in Photoshop. For clean tear lines, use the Healing Brush (Alt-sample clean texture, paint along the seam) and Clone Stamp at 0–30% hardness. For missing corners or large gaps, use Content-Aware Fill (backgrounds) or Generative Fill (complex areas), then hand-correct. For a face torn through the center or a large missing subject area, crop honestly or hire a professional — AI will invent details that were never there.
First: Do Not Tape It. Ever.
This is the mistake that ruins more family heirlooms than the tear itself. Regular adhesive tape, Scotch tape, masking tape, and glue sticks all do the same damage over time: the adhesive yellows, seeps through the paper, stains the emulsion, and becomes impossible to remove without taking the image with it. Conservators call this “inherent vice” — the repair destroys the thing it was meant to save.
If you must hold the pieces together for scanning, you have two safe options:
- Assemble on the scanner bed (preferred). Lay the fragments face-up, edges touching, like a puzzle. No adhesive touches the print.
- Archival tissue tape on the back only. If pieces keep shifting, use acid-free archival tissue tape (Filmoplast P90 is the museum-grade standard) on the back of the print, never the front. It is thin, flexible, and designed to be reversible.
Handle the pieces by the edges with clean, dry hands or cotton gloves — skin oils become permanent stains later. Wipe the scanner glass first; dust on the glass looks like new damage.
Step 1: Scan the Assembled Pieces Right
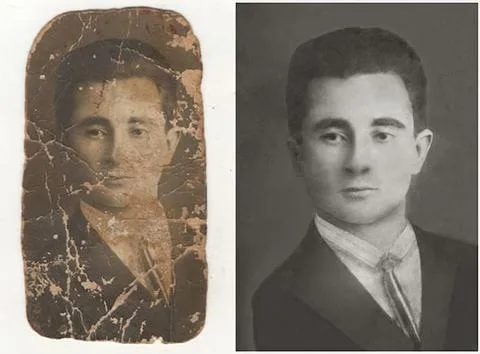
A great repair starts with a great scan. Get this wrong and every later step fights against you.
- Use a flatbed scanner. Phone scanning apps work in a pinch, but a flatbed captures far more detail and avoids glare and perspective distortion.
- Assemble the pieces on the glass first, face-up, edges touching, as close to their true positions as you can get. A tight seam is far easier for software to repair than a gap.
- Scan at 600 DPI minimum; 1200 DPI for wallet-size or heavily torn prints. More pixels give the repair tools real texture to sample from.
- Scan in color, even if the photo is black and white — a color scan captures more tonal information in the paper and emulsion.
- Turn off all scanner auto-fixes (auto color, auto contrast, auto dust removal). You want the raw scan; you will fix everything yourself in one controlled step.
- Save as TIFF or PNG, never JPEG. JPEG compression adds artifacts that repair tools will mistake for damage.
- If a piece is missing entirely, scan what you have. The missing area will be handled later — by inpainting, by cropping, or by accepting it.
Adobe’s official old photo restoration guide recommends the same non-destructive approach: lock the background layer and do every repair on a separate layer above it. If you want a refresher on the core tools, our photo editing guide covers layers, masks, and the healing tools in depth.
Step 2: Align the Pieces (If the Scan Shifted)
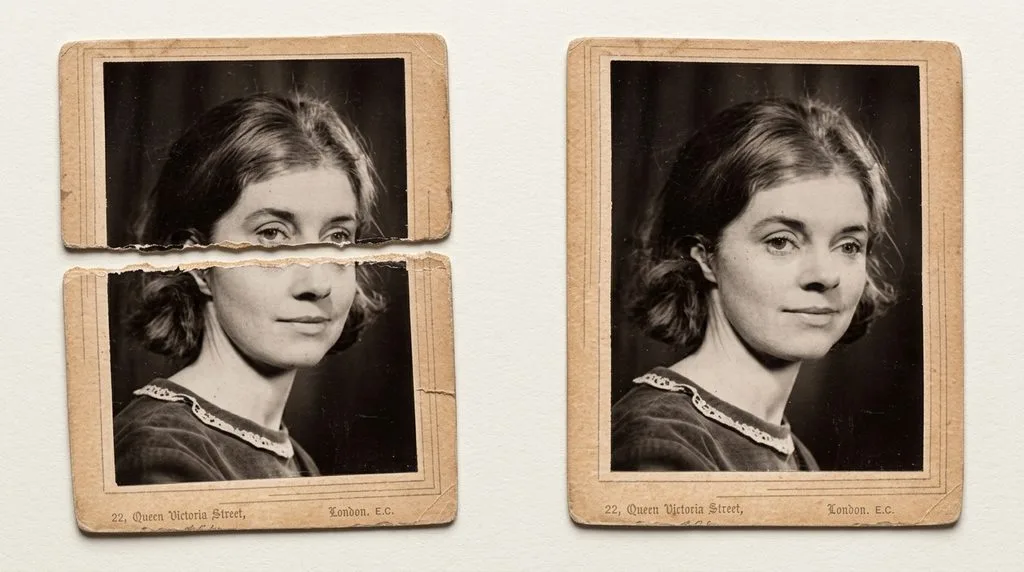
If the pieces shifted during scanning, fix alignment before you repair anything. Open the scan in Photoshop and use the Lasso tool to select each shifted piece, copy it to its own layer (Ctrl/Cmd+J), and nudge it with the arrow keys until the tear lines meet. Zoom to 200% and check that textures and edges line up across the seam. A misaligned seam will show a double-image ghost that no healing brush can fix.
Once aligned, merge the piece layers down into a single working layer (Ctrl/Cmd+E) and duplicate it. Work on the duplicate; keep the original scan untouched below.
Step 3: Repair Tear Lines — The Right Tool for Each Line
Not every tear is the same, and using the wrong brush is why most repairs look blotchy. Work from finest to widest.
| Damage | Best tool | How to use it |
|---|---|---|
| Fine hairline tear, clean seam | Healing Brush (J) | Alt-click clean texture near the tear, paint along the seam. Use this, not Spot Healing — you want manual source control. |
| Wider tear, gap showing white | Clone Stamp (S) | 0–30% hardness, 30–50% opacity, multiple light passes. Sample often. |
| Long crease across a face | Healing Brush + Clone Stamp | Healing Brush for tone, Clone Stamp for texture, alternating. |
| Large missing corner, background only | Content-Aware Fill | Lasso the gap, Edit > Content-Aware Fill, output to New Layer. |
| Large gap with subject detail | Generative Fill (Firefly) | Select gap, click Generative Fill, optionally describe what should be there. Verify result. |
| Irregular chunk, similar texture nearby | Patch Tool | Lasso the damage, drag selection to a clean patch of same texture. |
For a tear across a cheek or forehead, the pro move is Clone Stamp at 30–50% opacity with 0% hardness, building the repair in several light passes instead of one heavy one. Feathering the edge means the repair blends invisibly. Change your sample point often — if you sample the same spot repeatedly, you get a repeating texture that screams “edited.”
Step 4: Rebuild Missing Pieces — and Know When to Crop
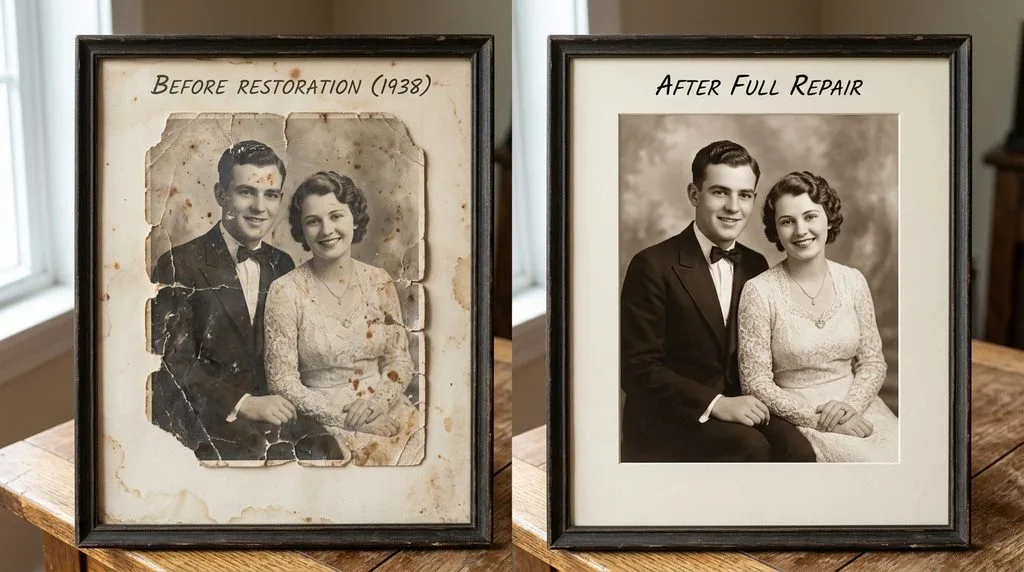
When a corner or chunk is physically missing, you have three options, in order of honesty:
- Crop it out. If the missing area is an edge or corner, the cleanest fix is often an honest crop. You lose a little of the frame, but you invent nothing. For a missing subject area, this is often the best choice.
- Content-Aware Fill for backgrounds. Sky, walls, floors, grass — uniform textures fill in cleanly. Select the gap, go to Edit > Content-Aware Fill, and in the sampling-area panel, exclude any parts you do not want Photoshop to copy from. Output to a new layer, then clean the seam with Clone Stamp.
- Generative Fill / AI inpainting for complex areas. Adobe Firefly’s restoration feature reads the full context of your image and reconstructs missing detail. But understand what is happening: AI invents plausible content that may not have been in the original. For a background tree, that is fine. For half of a person’s face, it means the repaired face may not look like the actual person. Always compare the AI result to the original scan and dial it back if identity changes. If you do this regularly, our best photo editing software roundup covers the leading AI inpainting tools side by side.
The ethical line: for a family heirloom, label any AI-reconstructed area as a reconstruction. The original scan is the historical document; the restored file is an interpretation.
Step 5: AI Restoration for Heavy Damage
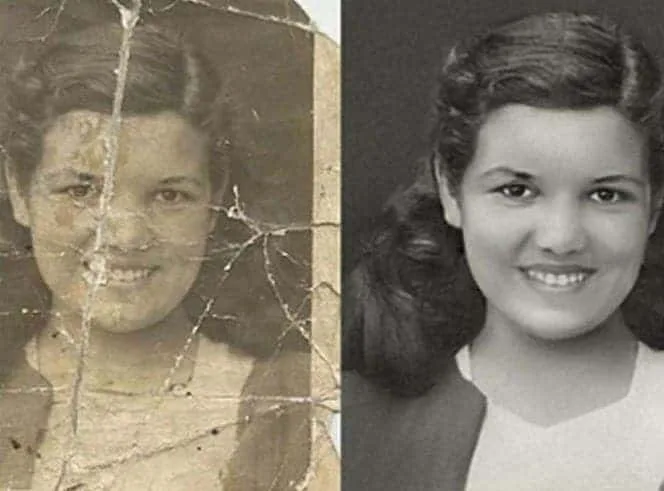
When a photo is shredded — multiple tears, missing chunks, water damage along the seams — manual repair can take hours. AI restoration tools do in seconds what used to take an afternoon. Run AI as a first pass, then zoom to 100% and clean up what it missed.
| Tool | Best for | Price | Strength |
|---|---|---|---|
| Adobe Firefly / Generative Fill | Control + manual touch-up | Included with Photoshop | Full layer control; best for pros |
| Topaz Photo AI | Desktop, local, privacy | ~$199/yr subscription | Best detail preservation, no upload |
| VanceAI Photo Restorer | Quick online batch | Free credits + paid | Fast, browser-based |
| Hotpot.ai / Fotor | Fast free fixes | Free + paid | No login, one-click |
| Remini | Mobile, torn faces | ~$9/mo or credits | Best face recovery on phone |
Two cautions. First, AI can erase real texture along with a tear — always compare side by side with the original scan. Second, AI changes a person’s identity if pushed too hard on a face. If great-grandmother suddenly looks like a stranger, the enhancement went too far. For faces, the final 10% is always best done by hand with light portrait retouching.
Step 6: Final Check, Tone, and Archive
When you think you are done:
- Zoom to 100% and pan across the whole image. Tears you missed at thumbnail size will jump out at actual size.
- Toggle your repair layers on and off to make sure you did not blur away real detail — freckles, hair strands, fabric texture.
- Fix tone and contrast after repair. A torn photo often has mismatched brightness across the seam; a gentle Curves adjustment layer unifies it.
- Save the original scan, the assembled file, and the restored version separately. Never overwrite the original. Store at least two copies (cloud + external drive).
When to Hire a Professional
Hire a restoration service when: a large central area is missing, the tear runs through a face and both halves no longer match, the photo has water or fire damage along with the tear, or it is a one-of-a-kind heirloom. Pros have large-format scanners, years of Clone Stamp practice, and the patience to rebuild a face pixel by pixel. For everything else, the workflow above will get you 90% of the way there. Our guide on how to outsource photo editing explains what to look for in a restoration service and what a fair price looks like.
5 Common Torn-Photo Repair Mistakes
- Taping the original print. Adhesive yellows and stains permanently. Assemble on the scanner instead.
- Scanning pieces separately. One assembled scan gives the software matching texture on both sides of the seam.
- Using Spot Healing on tear lines. Use the Healing Brush with manual Alt-sampling; Spot Healing smudges long seams.
- Letting AI invent a face. AI inpainting is for backgrounds and texture, not identity. Crop or hire a pro for missing faces.
- Saving as JPEG. Compression artifacts look like new damage. Save as TIFF.
Frequently Asked Questions
How do you fix a torn photo?
Never tape it. Lay the pieces face-up on a scanner like a puzzle, scan at 600 DPI as a TIFF, align the pieces in Photoshop, repair tear lines with the Healing Brush and Clone Stamp, rebuild missing corners with Content-Aware or Generative Fill, and always work on a duplicate layer.
Can you tape a torn photo?
Not with regular tape — the adhesive yellows, seeps through, and stains the print permanently. If you must hold pieces together for scanning, use acid-free archival tissue tape (like Filmoplast P90) on the back only. The preferred method is no tape at all: assemble on the scanner bed.
What is the best tool to repair tear lines?
The Healing Brush (not Spot Healing) with manual Alt-sampling for clean seams, and Clone Stamp at 0–30% hardness, 30–50% opacity for wider gaps. Change your sample point often to avoid repeating texture.
Can AI restore a torn photo with missing pieces?
AI inpainting (Generative Fill, Firefly, Topaz) can fill missing background areas convincingly. But it invents plausible content — for missing faces or subject detail, it may change the person’s identity. Crop honestly or hire a pro for those areas.
What DPI should I scan a torn photo at?
600 DPI minimum, 1200 DPI for small or heavily torn prints. Save as TIFF, scan in color even for black-and-white, and turn off all scanner auto-fixes.
Can a photo torn in half be restored?
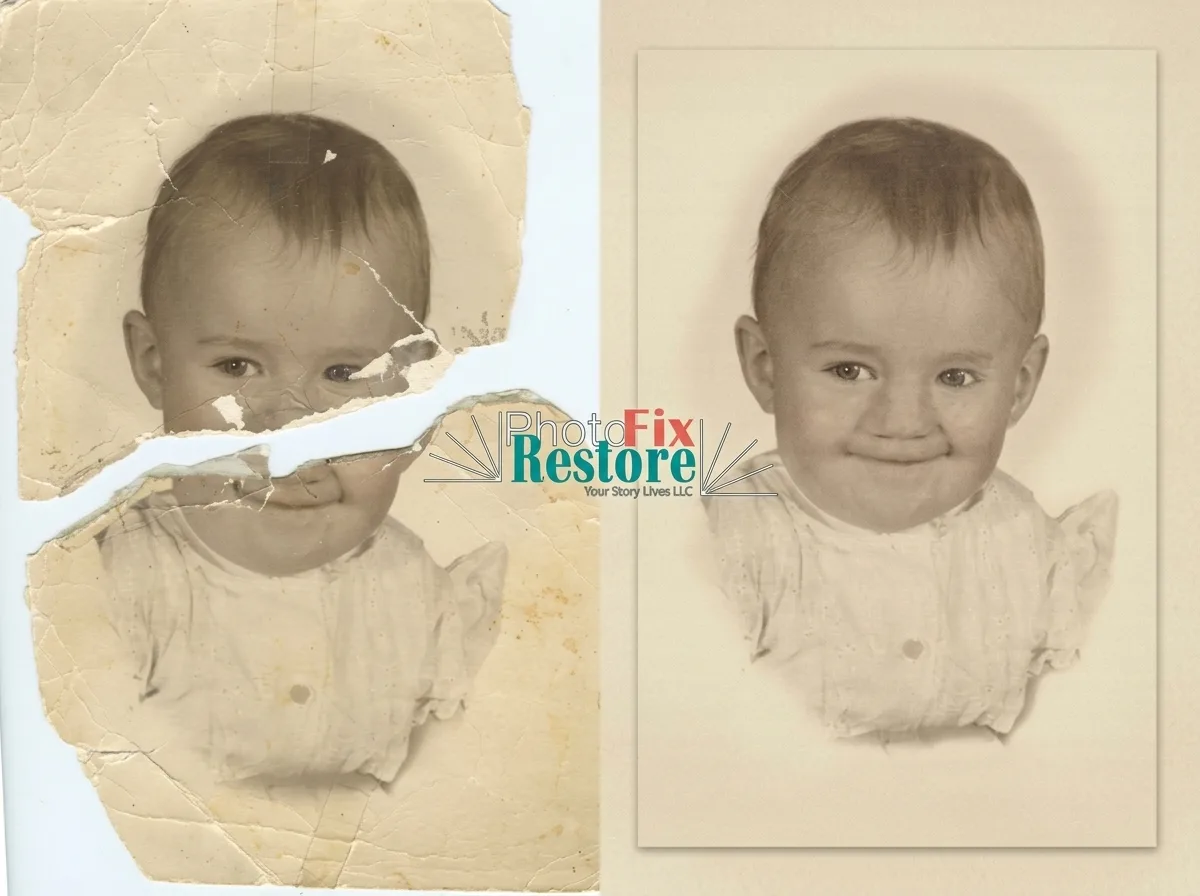
Yes, almost always. If both halves exist and the edges match, the repair is straightforward — the seam disappears with Healing Brush work. If a chunk is missing, you can inpaint the background or crop. A missing face is the hardest case and may need a professional.
How much does professional torn photo restoration cost?
Simple tear repair starts around $20–50. Heavy damage with missing pieces or torn faces runs $100–300+. Complex restoration of a one-of-a-kind heirloom can go higher. Always ask for a quote before approving.
Final Verdict
A torn photo looks worse than it is. Most rips — even a photo split clean in half — can be restored in an afternoon if you resist the urge to reach for the tape. Assemble on the scanner, scan raw, fix tear lines with a sampled Healing Brush, use AI only for backgrounds and texture, and crop honestly when a piece is truly gone. Do that, and a photo that looked ruined will come back looking like it was never torn at all — while the original, untouched, stays safe for the next generation.