Fix Scratched Photos: Dust & Scratches Filter + AI Tools 2026
TL;DR: The Short Answer
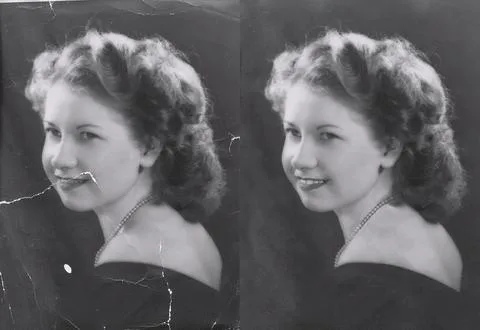
You fix a scratched photo by repairing the digital scan, not the physical print — and the right tool depends on the scratch. Scan at 600 DPI as a TIFF with the scanner’s auto dust-removal turned off, duplicate the layer, then work in this order: Dust & Scratches filter for fine hairline scratches (with a mask to protect faces), Spot Healing Brush for small spots, Healing Brush + Clone Stamp for long deep scratches (low opacity, multiple passes), and an AI scratch remover (Photoshop Neural Filter, VanceAI, Hotpot, or Topaz) for heavy damage. The #1 mistake is cranking Dust & Scratches too high and blurring the whole face — always raise Radius just until scratches vanish, then raise Threshold to bring detail back.
First: What Kind of Scratch Are You Fixing?
Not all scratches are equal, and using the wrong tool is why most repairs look blurry. There are three types:
- Fine hairline scratches and dust — thin, light, scattered across the image. These respond to the Dust & Scratches filter.
- Medium scratches and spots — visible but narrow. Spot Healing Brush handles these in one click.
- Long deep scratches and creases — thick, often across a face. These need manual Healing Brush and Clone Stamp; no filter will fix them cleanly.
Match the tool to the scratch, and fix fine scratches first, then medium, then deep. If you start with a heavy tool on a fine scratch, you blur detail you did not need to touch.
Step 1: Scan It Right (and Turn Off Auto-Fix)
Before you repair a single pixel, get a clean scan. Two scanner settings matter more than anything:
- Turn OFF the scanner’s automatic dust and scratch removal. Every scanner software has one (often called Digital ICE or auto repair). It works by blurring anything it thinks is a defect — including fine facial detail near a scratch. You want the raw, unmodified scan; the repair belongs in one deliberate step afterward.
- Scan at 600 DPI minimum (1200 DPI for small or heavily scratched prints) and save as TIFF or PNG, never JPEG. More pixels give repair tools real texture to sample from.
Clean the scanner glass first — dust on the glass looks like new scratches. Wipe it with a microfiber cloth before every scan.
Step 2: Dust & Scratches Filter for Fine Scratches
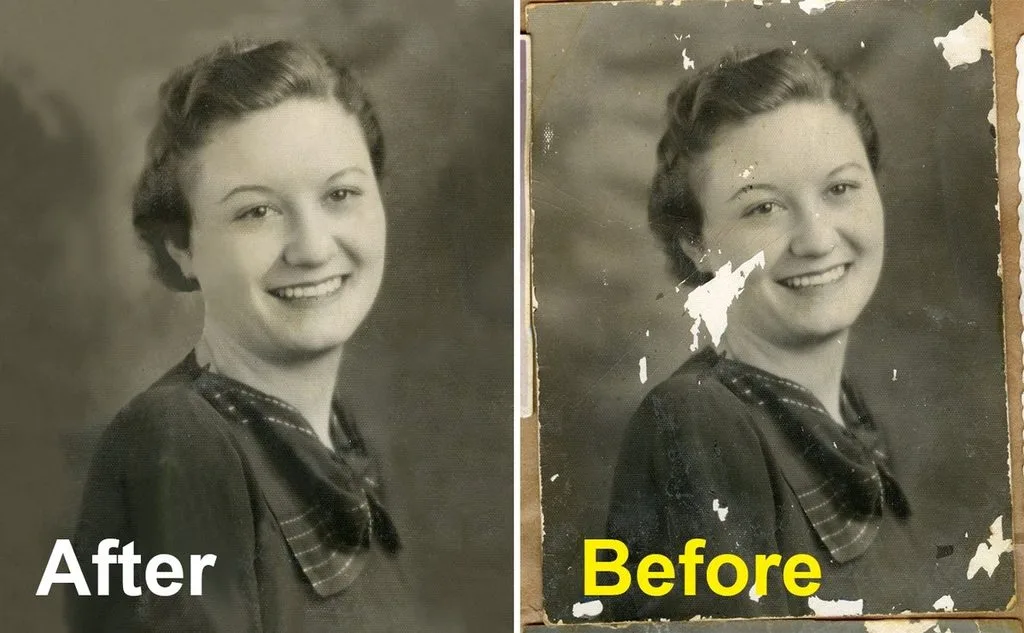
The Dust & Scratches filter (Filter > Noise > Dust & Scratches) is built for fine, high-frequency marks — and it is the most misused tool in restoration. It has two sliders, and the order you move them in is everything.
- Duplicate your layer (Ctrl/Cmd+J) and work on the copy.
- Open Dust & Scratches. Set Threshold to 0.
- Raise Radius slowly — 1, then 2, then 3 — until the fine scratches just disappear. Stop there; any higher and you start blurring real detail.
- Now raise Threshold gradually — 5, 8, 10, 15 — until the film grain and fine detail reappear but the scratches stay gone. Typical final values: Radius 1–3, Threshold 8–15.
- Add a black layer mask to this filtered layer, and paint white only over the scratched areas. Protect faces, eyes, hair, and sharp texture. You want the blur only where the scratches were.
Adobe’s official old photo restoration guide recommends the same non-destructive approach: lock the original and do every repair on a layer above it. If you want a refresher on the healing tools, our guide on removing blemishes in Photoshop covers the same brush techniques.
Step 3: Spot Healing, Healing Brush, and Clone Stamp for the Rest
Once fine scratches are gone, move to the medium and deep ones. Use each tool for what it does best.
| Tool | Best for | How to use it |
|---|---|---|
| Spot Healing Brush | Small spots, short scratches | Check Content-Aware, brush slightly larger than the spot, click |
| Healing Brush | Medium-long scratches | Alt-click to sample clean texture, paint along the scratch |
| Clone Stamp | Deep scratches, skin, texture | 0% hardness, 30–50% opacity, multiple light passes |
| Patch Tool | Larger scratched areas | Lasso the damaged area, drag to a clean patch |
| Content-Aware Fill | Missing chunks at edges | Select gap, Edit > Content-Aware Fill |
For a long scratch across a cheek or forehead, the pro move is Clone Stamp at 30–50% opacity with 0% hardness, building up the repair in several light passes instead of one heavy one. Feathering the edge means the repair blends invisibly. When you finish, run a light noise reduction pass (strength 10–20) to smooth any banding the cloning left behind.
Step 4: AI Scratch Removal for Heavy Damage
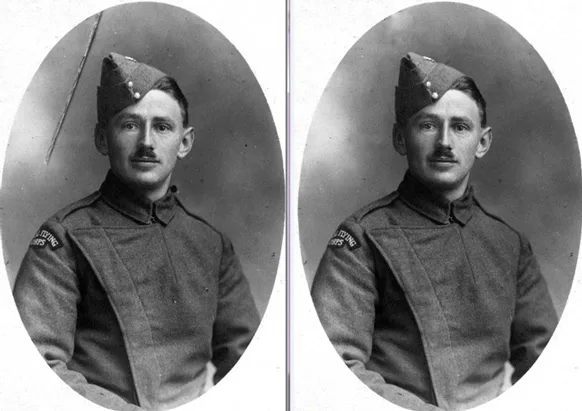
When a photo is covered in scratches — or you have a stack of them to get through — AI scratch removers do in seconds what would take hours by hand. Here is how the top 2026 options compare.
| Tool | Best for | Price | Strength |
|---|---|---|---|
| Photoshop Photo Restoration (Neural Filter) | Control + manual touch-up | ~$9.99–22.99/mo | Scratch Reduction slider, then fix by hand |
| VanceAI Photo Restorer | Quick online batch | Free credits + paid | Fast, browser-based |
| Hotpot.ai | Fast free fixes | Free + paid | No login, one-click |
| Topaz Photo AI | Desktop, local, privacy | ~$199/yr subscription | Best detail preservation |
| Remini | Mobile, face scratches | ~$9/mo or credits | Best face recovery on phone |
Run AI as a first pass, then zoom to 100% and clean up what it missed — AI can erase real texture along with a scratch, so always compare side by side with the original scan. For faces and fine portrait retouching, do the final touches by hand. If you are shopping for a full suite, our best photo editing software roundup covers these and more.
Step 5: Final Check and Archive
When you think you are done:
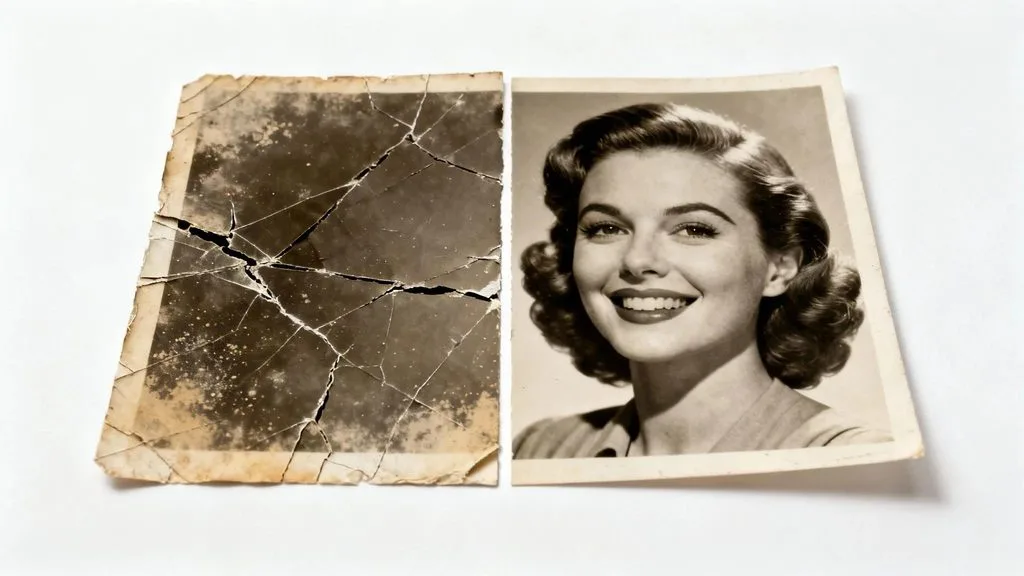
- Zoom to 100% and pan across the whole image. Scratches you missed at thumbnail size will jump out at actual size.
- Toggle your repair layers on and off to make sure you did not blur away real detail — freckles, hair strands, fabric texture.
- Save the original scan, the repaired file, and any colorized version separately. Never overwrite the original.
- Store at least two copies (cloud + external drive).
Can You Fix the Physical Print Itself?
No — not really. A scratch on a printed photo is physical damage to the paper emulsion, and you cannot truly un-scratch it. You can gently clean loose dust with a dry microfiber cloth and very light pressure, but anything stronger risks making it worse. The real fix is always the same: scan it at high resolution and repair the digital file. For a one-of-a-kind heirloom with deep damage, a professional restoration service is worth the cost.
5 Common Scratch-Removal Mistakes
- Leaving scanner auto dust-removal on. It blurs fine facial detail. Turn it off.
- Dust & Scratches on the whole image. Always mask it; blur only where scratches were.
- Raising Threshold before Radius. The correct order is Radius first (until scratches vanish), then Threshold (until detail returns).
- One heavy Clone Stamp pass. Build repairs at 30–50% opacity in multiple light passes.
- Not zooming to 100%. You will miss half the scratches at fit-to-screen.
Frequently Asked Questions
How do you fix a scratched photo?
Scan it at 600 DPI as a TIFF with auto dust-removal off, duplicate the layer, remove fine scratches with the Dust & Scratches filter (masked), fix medium spots with Spot Healing, repair long deep scratches with Healing Brush and Clone Stamp, then use AI for heavy damage. Always work on a copy.
What are the best Dust & Scratches settings?
Set Threshold to 0, raise Radius (typically 1–3) until fine scratches disappear, then raise Threshold (typically 8–15) until grain and detail return. Apply only to a masked layer so faces and texture stay sharp.
Can you remove deep scratches from a photo?
Yes, but not with a filter. Deep scratches need manual repair with the Healing Brush (Alt-sample clean texture) and Clone Stamp at low opacity, or an AI restoration tool. A scratch across a face may take 15–30 minutes by hand.
What is the best AI scratch remover?
For control, Photoshop’s Photo Restoration Neural Filter. For speed online, VanceAI or Hotpot. For desktop quality and privacy, Topaz Photo AI. For mobile faces, Remini.
Should I use the scanner’s dust and scratch removal?
No. Turn it off. It blurs fine detail along with the dust. Scan raw and do the repair yourself in one controlled step.
Can you fix a scratched printed photo physically?
Not truly. You can gently clean loose dust, but the scratch is permanent damage to the emulsion. The real fix is scanning and repairing the digital file.
Why does my repaired photo look blurry?
Almost always the Dust & Scratches Radius was too high or applied to the whole image. Lower the Radius, raise the Threshold, and apply the filter only to a masked layer over scratched areas.
Final Verdict
Scratches look worse than they are — almost every one can be removed cleanly if you match the tool to the scratch depth and resist the urge to blur your way out of the problem. Scan raw, fix fine scratches first with a masked Dust & Scratches pass, use Spot Healing for spots and Clone Stamp for long lines, let AI handle the heavy lifting, and always check at 100%. Do that, and a photo that looked ruined will come back looking like it was never damaged at all.