How to Batch Resize Images: Pixel Math & 5 Tools 2026 Guide
TL;DR: The Short Answer
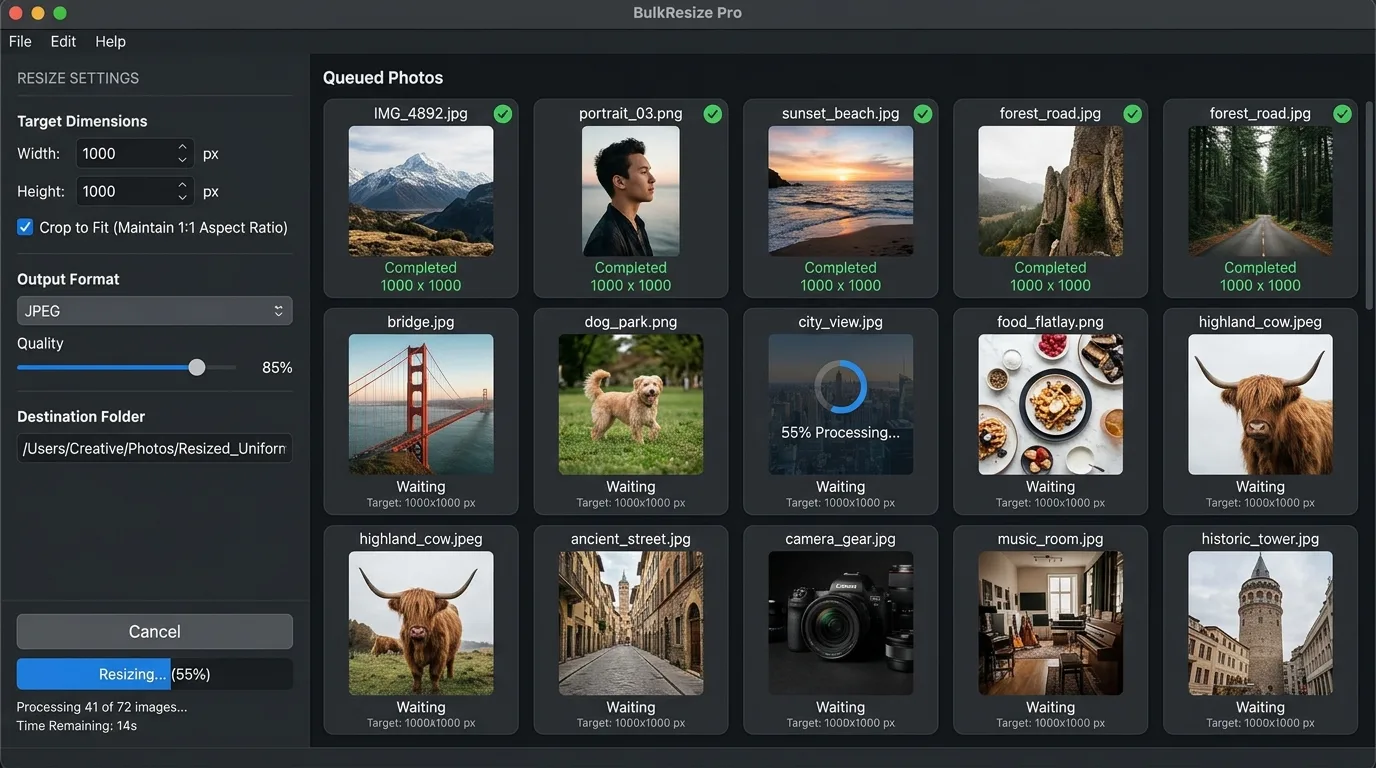
Batch resizing works when you know three numbers: the target pixel dimensions, the aspect ratio, and the resampling method. For web: resize the long edge to 2048px, export as JPEG quality 80–85 in sRGB, and check “Don’t Enlarge” so small originals never get upscaled into blur. For print: calculate pixels = inches × 300 DPI (an 8×10 print needs 2400×3000 pixels). Always downscale with Bicubic Sharper (or Lanczos in free tools) and sharpen lightly after resizing — never before. The fastest bulk tool is Lightroom Export (build a preset once, one click forever). For free desktop use, XnConvert handles 500+ formats and 80+ actions. For no-download use, Bulk Resize Photos runs in a browser. Never stretch an image to exact dimensions — use “resize to fit” (long edge) and crop or pad only if a platform forces exact pixels.
First: The Pixel Math (The Part Nobody Explains)
Most resize guides jump straight to tools and skip the math — which is why people end up with blurry prints or stretched photos. Three formulas and one myth cover every resize decision you will ever make.
Formula 1 — Print size: pixels = inches × DPI.
A 300 DPI print is the photo-industry standard for sharp output. So:
- 4×6 inch print = 1200 × 1800 pixels (2.2 MP)
- 8×10 inch print = 2400 × 3000 pixels (7.2 MP)
- 16×20 inch print = 4800 × 6000 pixels (28.8 MP)
Large-format prints (posters viewed from a distance) work fine at 150 DPI; billboards run at 30–50 DPI. A guide to 16×20 photo size walks through print dimensions in detail.
Formula 2 — File size: more pixels = bigger file. A 2048px JPEG at quality 85 is roughly 500KB–1.5MB. A 4096px version is 2–4× that. Resizing down is the single most effective way to shrink file size without visible quality loss.
Formula 3 — Upscale limit: never more than 2× without AI. Enlarging past 2× (e.g., 1000px → 2500px) produces visible softness no matter the resampling method. If you must, use an AI upscaler. Otherwise, check “Don’t Enlarge” and let small originals stay small.
The myth: DPI for web is irrelevant. Screens display fixed pixel grids. A 2048px image looks identical at 72 DPI, 96 DPI, or 300 DPI on a monitor — only the pixel count matters. DPI matters only for physical print. Setting a web image to 300 DPI does nothing except inflate the file’s metadata. A guide to pixels, DPI and file size breaks this down with concrete examples.
The Master Size Reference Table (Save This)
| Use case | Target size | Format / quality | Notes |
|---|---|---|---|
| Website / blog | Long edge 1920–2048px | JPEG q80–85, sRGB | Largest size a typical screen displays |
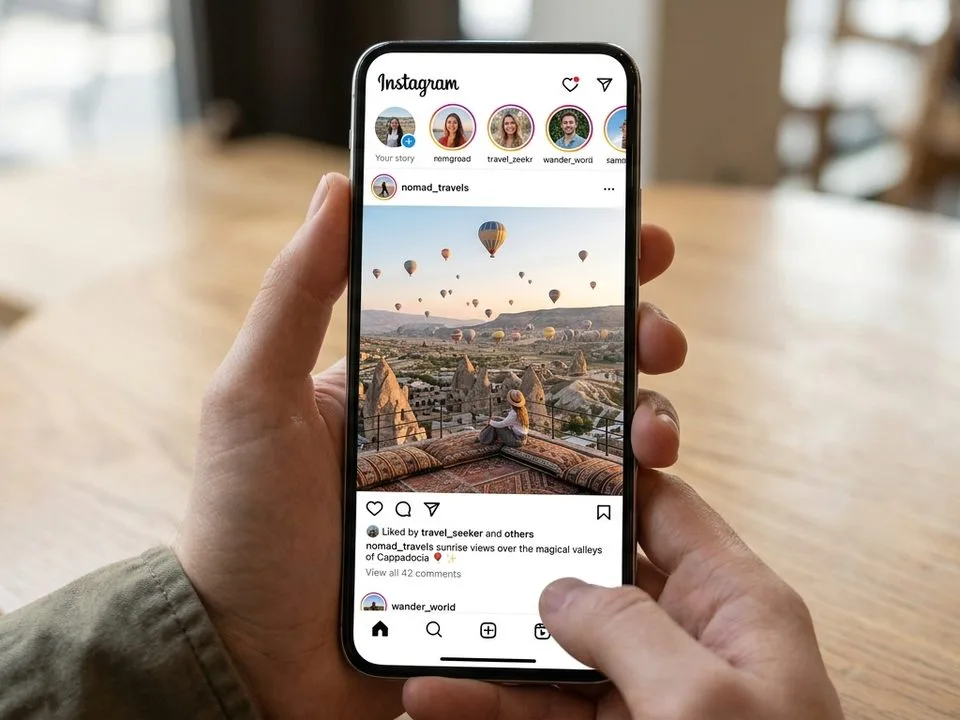
| Instagram feed | 1080×1350 (4:5 portrait) or 1080×1080 | JPEG q85, sRGB | Instagram compresses; upload at exact size |
| 1080×1350 portrait / 1200×630 link | JPEG q85 | Facebook re-compresses; oversize slightly | |
| Email attachment | Max 1024px | JPEG q75–80 | Keep total under 5–10MB |
| Ecommerce (Shopify/Amazon) | 2000px+ on longest side | JPEG q85, white bg | Enables zoom; check platform spec |
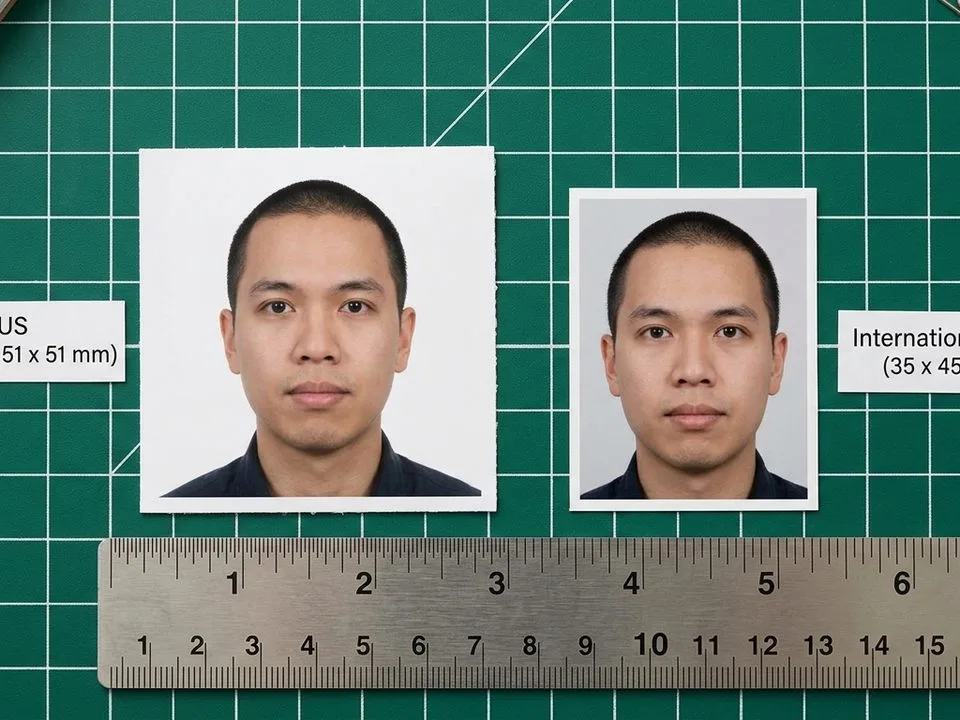
| Standard print | inches × 300 DPI | TIFF or JPEG q90+, Adobe RGB | 8×10 = 2400×3000px |
| Large poster | inches × 150 DPI | TIFF/JPEG q90 | Viewed from distance, lower DPI fine |
| Thumbnail / preview | 300–400px | JPEG q70 | For galleries and grid previews |
For ecommerce specifically, a Shopify image size guide covers platform requirements and zoom thresholds. For print output, photo printing software handles sizing and color management automatically.
Tool 1: Lightroom Export — One Preset, One Click Forever
Lightroom’s Export dialog is the fastest bulk resizer for anyone already working in Lightroom. You set it once, save it as a preset, and never think about it again.
- Select the photos in Library or Develop (Ctrl/Cmd+A for all).
- Click Export (bottom-left) or press Ctrl/Cmd+Shift+E.
- Export Location: Choose a specific folder — never overwrite originals. Check “Put in Subfolder” and name it (e.g., “web-2048”).
- File Settings: Format = JPEG, Quality = 80–85, Color Space = sRGB. Check “Limit File Size To” if you need a hard cap (e.g., 1MB).
- Image Sizing: Check “Resize to Fit.” Choose Long Edge (safest — never stretches), enter 2048 pixels. Check “Don’t Enlarge” — this is the critical box. It stops small originals from being upscaled into blur. Resolution: leave at 240 or 300 (irrelevant for web, harmless).
- Output Sharpening: Sharpen For: Screen, Amount: Standard. This adds the light post-resize sharpen that keeps edges crisp.
- Metadata: Include Copyright Only (strips GPS and private data) or All Except Camera Info. Add a watermark if needed.
- Click Add at the bottom-left of the Export dialog to save this as a preset. Next time: right-click > Export > your preset. Done.
For multiple sizes at once (e.g., web + print), run the export twice with two presets — or use virtual copies.
Tool 2: Photoshop Image Processor — Resize + Convert in One Dialog
Photoshop’s hidden gem is Image Processor — no Action recording needed, no setup. It resizes, converts format, and can even run an Action simultaneously.
- In Photoshop: File > Scripts > Image Processor.
- Select the folder of images to resize (or use open images).
- Select location to save: Choose a new folder — again, never overwrite originals.
- File Type: Check Save as JPEG, Quality 8–10 (80–100), check “Convert Profile to sRGB.” Optionally also save as PSD or TIFF.
- Preferences: Check “Resize to Fit,” enter W 2048 H 2048 — this fits the long edge to 2048 without stretching. Optionally run an Action (e.g., your watermark action).
- Click Run. Photoshop processes every image in the folder, saves to a subfolder named after the format, and reports errors at the end.
For more control (exact pixel dimensions, specific resampling), record an Action with Image Size (Ctrl/Cmd+Alt+I): set Resample to Bicubic Sharper (reduction), enter dimensions, then run via File > Automate > Batch.
Tool 3: XnConvert — Free, Cross-Platform, 500+ Formats
If you do not have Adobe, XnConvert is the best free desktop batch resizer — Windows, Mac, and Linux, no subscription, no watermark.
- Input tab: Add files or a whole folder. It reads RAW, PSD, TIFF, WebP, HEIC — 500+ formats.
- Actions tab: Add action > Image > Resize. Choose mode: Longest side (safest), enter 2048px. Check “Keep ratio” and “Do not enlarge smaller images.” Add more actions if needed: watermark, canvas, crop, color adjust.
- Output tab: Choose format (JPEG), quality slider (~85), output folder, filename pattern (e.g.,
{filename}_web). - Click Convert. Watch the progress bar; it processes hundreds of images in seconds.
Windows alternatives: IrfanView (fastest, simplest) and FastStone Photo Resizer (drag-and-drop). Both are free for personal use.
Tool 4: Bulk Resize Photos & Squoosh — No Download Needed
For a one-off batch or a computer where you cannot install software, browser-based tools work surprisingly well.
- Bulk Resize Photos (bulkresizephotos.com): drag a folder in, set dimensions by pixels or percentage, choose quality and format, download a ZIP. Everything runs locally in your browser — photos never upload to a server.
- Squoosh (squoosh.app, by Google): best for single-image optimization with a live before/after slider and WebP/AVIF export. Less convenient for bulk but unbeatable for quality control.
- ShortPixel / TinyPNG (online): optimize (compress) rather than resize. Combine with a resize tool for smallest file sizes.
Privacy note: check that the tool processes locally. Bulk Resize Photos and Squoosh do. Some “free online resizers” upload your photos to a server — avoid those for client or private work.
Tool 5: ImageMagick — Command Line, Scriptable, Free
For developers, server pipelines, or anyone comfortable with a terminal, ImageMagick resizes entire folders with one line. It is free, cross-platform, and uses Lanczos resampling — the sharpest non-AI method available.
# Resize all JPEGs in a folder to max 2048px long edge, quality 85
mogrify -path ./resized -resize 2048x2048 -quality 85 -filter Lanczos *.jpg
-resize 2048x2048fits within 2048×2048 (long edge), never stretches.-path ./resizedwrites to a subfolder — protects originals.-filter Lanczos= sharpest downscale.- Add
-stripto remove metadata,-interlace Planefor progressive JPEG.
For a Python pipeline, use Pillow with Image.Resampling.LANCZOS and skip images already smaller than the target.
5 Common Batch-Resize Mistakes
- Stretching to exact dimensions. Typing exact W×H without “fit” distorts photos. Always resize by Long Edge or percentage; crop or pad only if a platform forces exact pixels.
- Forgetting “Don’t Enlarge.” A 400px thumbnail upscaled to 2048px is blurry mush. Check the box — small originals stay small.
- Sharpening before resizing. Sharpen first, then resize, and the sharpening artifacts get magnified. Sharpen after, lightly (Unsharp Mask 50–100%, 0.5–1.0px).
- Overwriting originals. Always export to a new folder. Once you resize down and save over the original, the full-resolution version is gone forever.
- Wrong color space for web. Export in Adobe RGB or ProPhoto and colors look dull on social media. Always convert to sRGB for web/social.
Frequently Asked Questions
How do I batch resize images without losing quality?
Resize down only (never upscale past 2x), use Bicubic Sharper or Lanczos resampling, keep the aspect ratio locked (resize by long edge, not exact dimensions), check “Don’t Enlarge,” and apply light sharpening after resizing. Export to a new folder — never overwrite originals.
What is the best size to resize photos for web?
Long edge 1920–2048 pixels, JPEG quality 80–85, sRGB color space. That covers full-width displays on most screens while keeping file sizes around 0.5–1.5MB. For thumbnails, use 300–400px at quality 70.
How many pixels do I need for a 300 DPI print?
Multiply inches by 300. An 8×10 print needs 2400×3000 pixels (7.2MP). A 16×20 needs 4800×6000 (28.8MP). Large posters work at 150 DPI — divide the pixel count by 150 instead.
Does DPI matter for web images?
No. Screens display fixed pixel grids — a 2048px image looks identical at 72, 96, or 300 DPI on a monitor. Only pixel dimensions matter. DPI affects only physical print size. Setting a web image to 300 DPI changes metadata only, not quality.
What is the best free batch image resizer?
XnConvert (cross-platform, free, 500+ formats, 80+ actions). On Windows: IrfanView or FastStone Photo Resizer. In a browser: Bulk Resize Photos (processes locally, no upload). For developers: ImageMagick with Lanczos filter.
Should I resize photos before uploading to social media?
Yes. Platforms like Instagram and Facebook re-compress uploads, and their compression is harsher on oversized files. Upload at the platform’s exact display size (Instagram: 1080×1350 portrait) at JPEG quality 85 in sRGB — you get the cleanest result.
Can I resize to multiple sizes at once?
In Lightroom, run Export twice with two presets (e.g., web-2048 and print-full). In XnConvert, set up two output actions. In ImageMagick, run the command twice with different dimensions. Never use one export for both web and print — the sizes and formats differ.
Final Verdict
Batch resizing is 90% math and 10% tool. Lock the aspect ratio, resize by long edge, never enlarge, use Bicubic Sharper or Lanczos, sharpen after, export to sRGB for web, and always write to a new folder. Get those seven things right and any tool — Lightroom, Photoshop, XnConvert, or a browser — produces identical-quality results. The tool that wins is the one you turn into a saved preset or script, so resizing 500 photos takes one click instead of 500.