How to Fix Pixelated Images: The AI Upscale Guide — and What It Can (and Can’t) Fix
TL;DR: The Short Answer
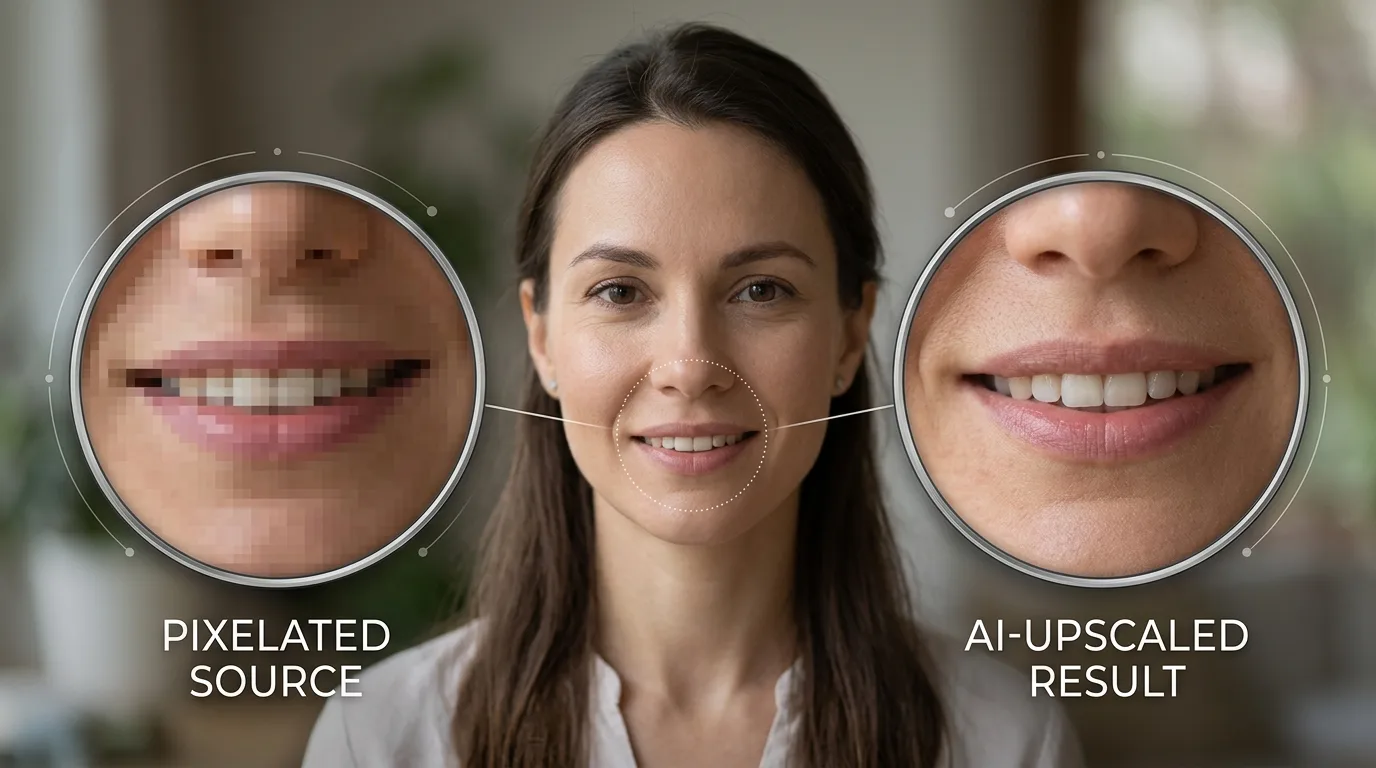
Pixelation happens when an image is displayed or printed larger than its pixel count can support — each pixel gets stretched into a visible square. The causes: upscaling a small image, heavy JPEG compression (8×8 blocks), digital zoom, heavy cropping, social-media compression, and low-DPI scans. The fix in 2026 is AI upscaling — tools like Topaz Gigapixel AI (gold standard, up to 6×, Face Recovery), Photoshop Generative Upscale (Firefly, 2×/4×), Lightroom Super Resolution (2×), Remini (best for faces, mobile), VanceAI and Let’s Enhance (online), and Upscayl (free, open-source, local). Honest caveat: AI invents plausible detail — it does not recover detail that was never captured.
Faces come out best, landscapes are fine, text and logos often get mis-rendered (check at 100%). Beyond 4× linear upscaling, returns diminish. Workflow: denoise/remove JPEG artifacts first → AI upscale 2–4× → sharpen lightly → save as TIFF/PNG or high-quality JPEG. Prevention beats fixing: shoot at max resolution, never use digital zoom, don’t crop too tight, scan at 600+ DPI, and always work from the original file — not a social-media copy.
Why Photos Get Pixelated (6 Causes, Ranked)
Every digital photo is a grid of pixels. When you stretch that grid beyond its native size, each pixel becomes a visible block. Six causes account for nearly all pixelation:
- Upscaling a small image (#1 cause). A 500×500 thumbnail blown up to 2000×2000 — the software has to invent 1500 pixels of width. Old interpolation (Bicubic) just blurs; AI invents plausible detail.
- Heavy JPEG compression. Aggressive JPEG saves in 8×8 pixel blocks. At low quality, those blocks become visible — “mosquito noise” around edges, banding in skies. Each re-save compounds it (generation loss).
- Digital zoom. Phones and cheap cameras crop and enlarge instead of using optical zoom — pixelation baked in at capture.
- Heavy cropping. Cropping a 24MP image down to 2MP then printing large = same as upscaling a small image.
- Social media / messaging compression. WhatsApp, Instagram, Facebook re-encode and shrink. A photo saved from Instagram is ~1080px — print it at 8×10 and it pixelates.
- Low-DPI scans / old cameras. A 72-DPI scan or a 2MP camera from 2005 simply doesn’t have the pixels.
A guide to best AI upscaler tools covers the full ranked list; a guide to image formats compared covers why JPEG compression causes blocks; a guide to fixing grainy photos covers the denoise step; a guide to best photo editing software covers which editors integrate AI upscaling.
The Tool Comparison (Free vs Paid)
| Tool | Price | Max upscale | Best for | Notes |
|---|---|---|---|---|
| Topaz Gigapixel AI | $99 one-time / sub | 6× | Photos, faces, textures | Gold standard. Face Recovery toggle. Models: Standard/Lines/Art/High Fidelity. Desktop. |
| Photoshop Generative Upscale | Included with CC | 4× (Firefly up to 6144×6144) | Photos, compositing | Image > Generative Upscale. Choose Firefly or Topaz partner model. |
| Lightroom / ACR Super Resolution | Included with CC | 2× linear (4× pixels) | RAW workflow | Right-click > Enhance > Super Resolution. Seamless. |
| Remini | ~$9/mo (mobile) | 2–4× | Faces, portraits | Best face recovery. Free tier limited. JPEG only. |
| Upscayl | Free, open-source | 4×+ | Everything, local | Runs on your machine (GPU). No upload, no privacy risk. |
| VanceAI / Let’s Enhance | Subscription (free credits) | Up to 40× claim (realistic 4–8×) | Online convenience | Fast, no install. Batch processing. |
| Bigjpg | Free tier / paid | 4×–16× | Anime, illustrations | Specialized in line art — not great for photos. |
| Snapseed (mobile) | Free | — (sharpen only) | Quick fixes | Structure + Sharpen + Tune Image. No true upscale. |
| GIMP + G’MIC | Free | — | Traditional | G’MIC plugin has upscaling filters. Manual. |
The 4-Step Fix Workflow (Do This Every Time)
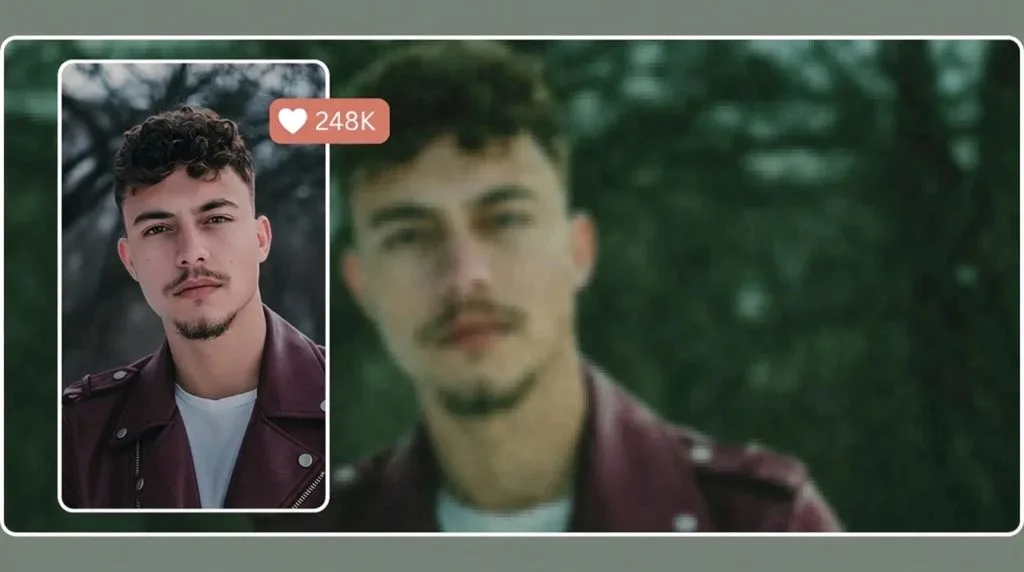
Step 1 — Start from the best original you can find. Not the Instagram copy, not the screenshot — the RAW, HEIC, or full-res JPEG straight from camera/scan. More starting pixels = better result.
Step 2 — Denoise and remove JPEG artifacts first. Pixelation often comes with noise and compression blocks. Run Lightroom AI Denoise, Topaz DeNoise, or Camera Raw “Remove JPEG artifacts.” If you upscale first, you upscale the noise too.
Step 3 — AI upscale 2–4× (linear). Topaz Gigapixel or Photoshop Generative Upscale. Enable Face Recovery if there’s a face. Check the result at 100% — especially text, logos, eyes, and hands (AI struggles with these). If text is mis-rendered, re-type it on a new layer.
Step 4 — Sharpen lightly and save. Unsharp Mask 50–100% / 0.5–1px / Threshold 2–4, or Lightroom Sharpening. Save as TIFF (lossless) or high-quality JPEG (quality 90+). Never re-save a JPEG repeatedly.
The Honest Caveat: AI Invents, It Doesn’t Recover
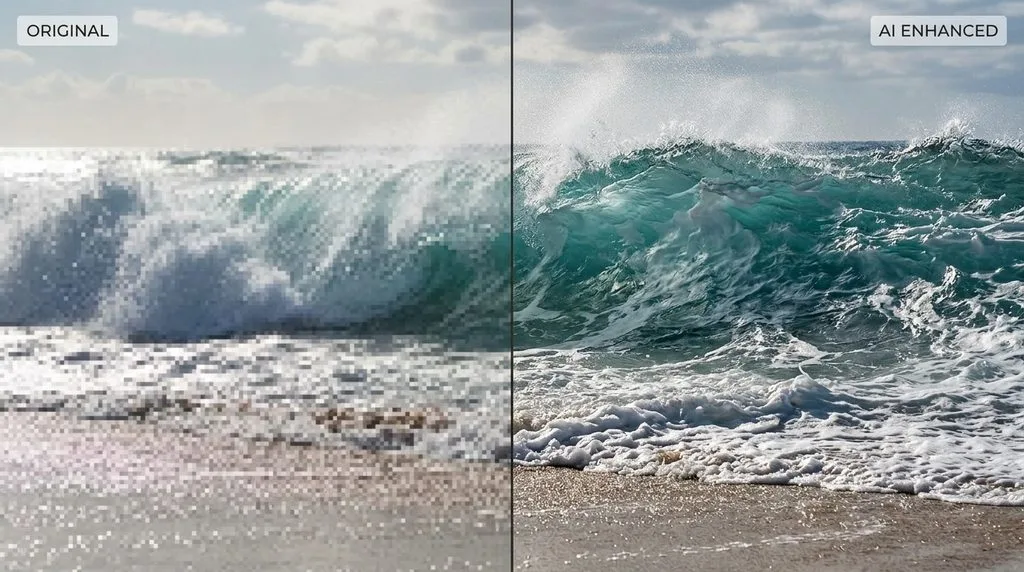
This is the part most guides skip. An AI upscaler has never seen your original photo. It has seen millions of similar photos and guesses what the missing pixels probably look like. For a face, it guesses plausible skin texture, eyelashes, and iris detail — and it’s usually right. For a landscape, it guesses plausible leaves and rock. For text, logos, barcodes, or small signs, it guesses wrong — letters get mis-rendered, words become gibberish. For hands, jewelry, and fine patterns, it can melt detail into a smooth plastic-like surface.
Rules:
- Check faces and text at 100% before accepting.
- Beyond 4× linear (16× area), results get hallucinated — stop at 2–4×.
- If the original is below ~500px on the long edge, no AI will make it print-ready — find a higher-res source.
- AI-upscaled images are derivative works — for commercial use, ensure you have rights to the original.
Traditional Methods (When AI Isn’t an Option)
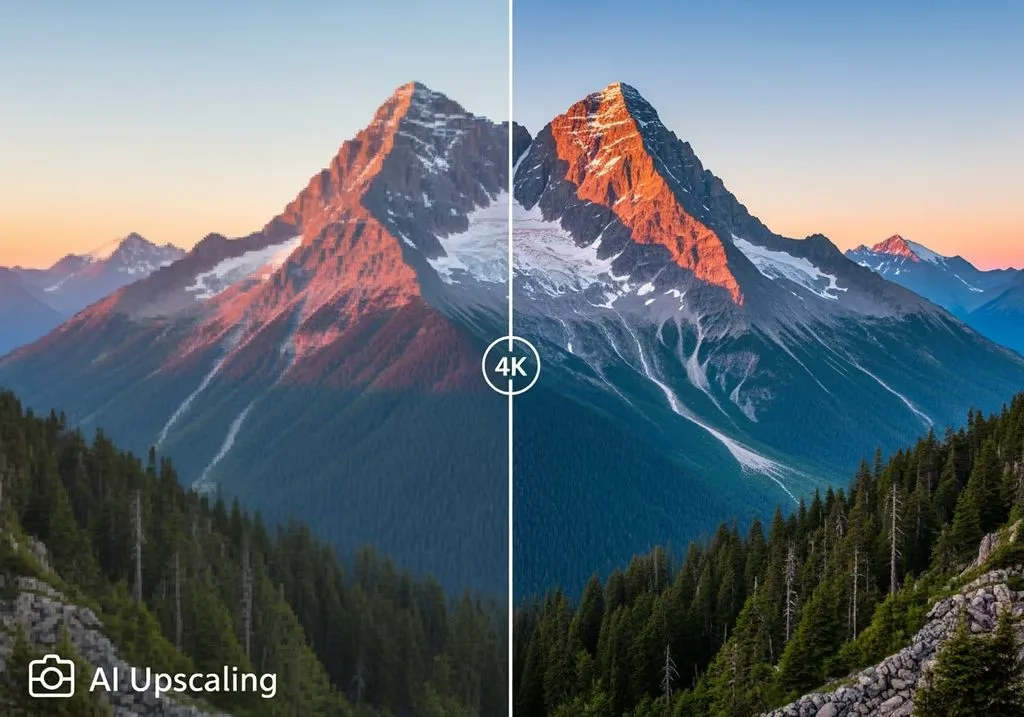
Before AI, you could only soften pixelation — never fix it. These still help as a final touch:
- Photoshop Preserve Details 2.0 (Image > Image Size > Resample: Preserve Details 2.0) — better than Bicubic, no AI.
- High Pass filter sharpening — duplicate layer, Filter > Other > High Pass (1–2px), blend mode Overlay/Soft Light, mask to edges only.
- Unsharp Mask — Amount 50–150%, Radius 0.5–2px, Threshold 2–10. Judge at 100%.
- GIMP + G’MIC plugin — free upscaling filters (Repair > Upscale).
- Pixel art exception: For pixel art and screenshots with hard edges, use Nearest Neighbor resampling at 3× or 4× — it keeps hard edges crisp instead of blurring them. AI upscalers ruin pixel art.
Prevention (Better Than Any Fix)
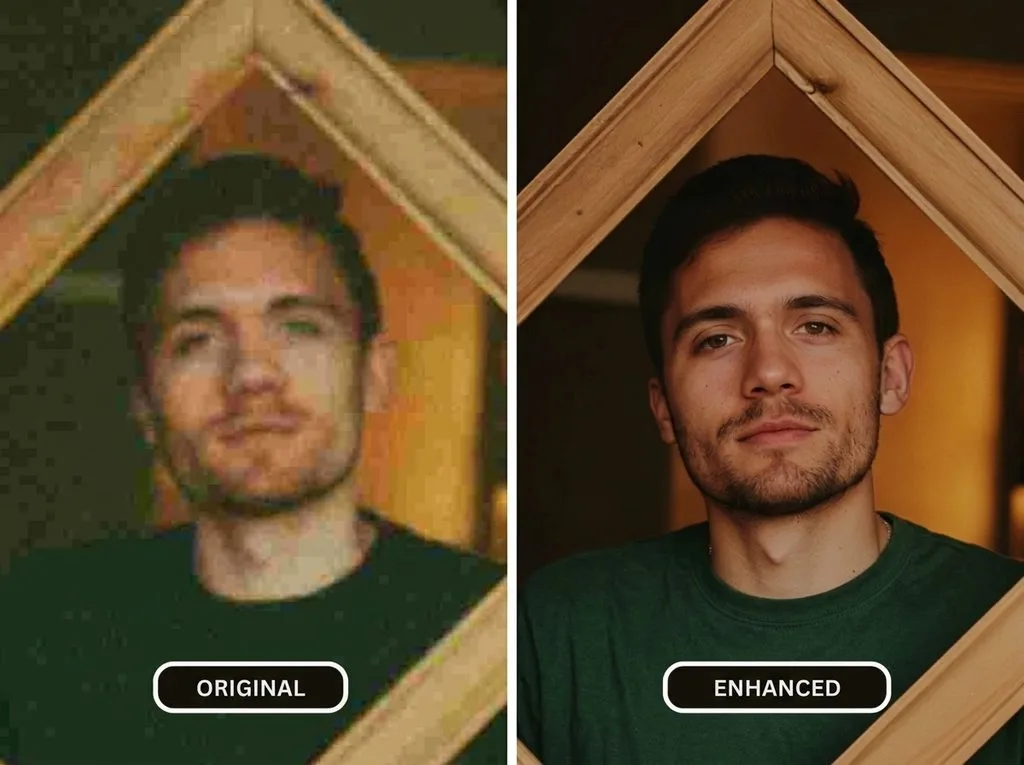
- Shoot at max resolution. Never downscale in-camera. 12MP is plenty for web; 24MP+ for print.
- Never use digital zoom. Move closer or use optical zoom. Digital zoom = cropped + upscaled = pixelated.
- Don’t over-crop. Leave room. A 24MP image cropped to 10% becomes 2.4MP — fine for web, not for print.
- Scan at 600+ DPI for photos, 1200 DPI for small prints/film. Save as TIFF or PNG, not JPEG.
- Screenshots and text: save as PNG (lossless), not JPEG. JPEG turns text edges into blocky artifacts.
- Work from the original. Never edit a photo saved from Instagram/Facebook/WhatsApp — it’s already compressed and shrunk.
- Avoid re-saving JPEG. Each save = more compression artifacts. Keep a master in TIFF/PNG/RAW.
5 Common Pixelation-Fix Mistakes
- Upscaling before denoising. You upscale the noise. Denoise/JPEG-artifact removal first.
- Believing AI recovers detail. It invents plausible detail. Check faces/text at 100%.
- Upscaling beyond 4× linear. Diminishing returns + hallucination. 2× is often enough.
- Using AI on pixel art. It blurs hard edges. Use Nearest Neighbor 3× instead.
- Re-saving the upscaled result as low-quality JPEG. You just re-introduced compression blocks. Save as TIFF/PNG or JPEG quality 90+.
Frequently Asked Questions
How do you fix a pixelated image?
Use an AI upscaler: denoise first (Lightroom AI Denoise or Topaz DeNoise), then AI upscale 2–4× (Topaz Gigapixel, Photoshop Generative Upscale, Remini for faces, Upscayl free), then sharpen lightly. AI invents plausible detail — it doesn’t recover what was never captured. Check faces and text at 100%. Save as TIFF/PNG or high-quality JPEG.
Can you really fix pixelated photos?
Partially. AI upscalers (2026) do a remarkable job on faces, landscapes, and general photos — often 80–90% of the way to a real high-res version. But they cannot recover detail that was never in the original. Text, logos, and fine patterns often get mis-rendered. A 500px thumbnail will never become a print-ready 24×36 — find a higher-res source.
What is the best free AI image upscaler?
Upscayl — free, open-source, runs locally on your machine (no upload, no privacy risk), 4× upscaling. GIMP + G’MIC plugin is also free (traditional upscaling filters). Snapseed (mobile) is free but only sharpens — no true upscale. Online free options (VanceAI, Let’s Enhance, Bigjpg) have limited free credits.
Is Topaz Gigapixel worth it?
For frequent upscaling, old-photo restoration, or print work, yes — it’s the gold standard ($99 one-time). It has the best Face Recovery and specialized AI models (Standard, Lines, Art, High Fidelity). For occasional use, Photoshop’s built-in Generative Upscale (included with CC) or free Upscayl is enough.
Why do my photos look pixelated on Instagram/Facebook?
Because social platforms compress and resize. Instagram caps at ~1080px wide; Facebook at 2048px. A photo saved from those platforms is already small — printing it large pixelates. Always work from the original camera file. Export at the platform’s native size (1080 for Instagram, 2048 for Facebook) at JPEG quality 85, sRGB.
Can you fix JPEG compression artifacts (blocky 8×8 squares)?
Yes — run a JPEG artifact remover first: Lightroom Detail panel (Color Noise reduction), Camera Raw “Remove chromatic aberration” + sharpening masking, Topaz DeJPEG, or the AI upscaler’s built-in artifact removal. Then upscale. If you upscale first, the blocks get upscaled too.
How do I fix pixelated text or a logo?
AI upscalers often mis-render letters. Best fix: re-type the text or re-create the logo as vector. If you must upscale a raster logo, use VanceAI “Anime” model or Bigjpg (line-art specialized) — they preserve hard edges better than photo models. Or trace it as vector in Illustrator/Inkscape.
How can I prevent pixelation in the first place?
Shoot at max resolution, never use digital zoom (optical only), don’t over-crop, scan at 600+ DPI (TIFF/PNG), save screenshots/text as PNG (not JPEG), work from the original file (not a social-media copy), and avoid re-saving JPEG (keep a TIFF/PNG/RAW master). Prevention is always better than AI fixing.
Final Verdict
Pixelation is a pixel-count problem, and AI is the only real fix in 2026 — but it’s a fix, not a recovery. Topaz Gigapixel and Photoshop Generative Upscale get you 80–90% there on photos and faces; Upscayl does it for free. Denoise first, upscale 2–4×, check text and faces at 100%, save lossless. For anything below ~500px or with critical text, find a higher-res original — no AI can invent what was never there. And prevent it next time: shoot max res, skip digital zoom, scan at 600+ DPI, and never edit a social-media copy.