What Is Photo Editing? The Complete Beginner’s Guide for 2026 (Definition, Tools & Pro Workflow)
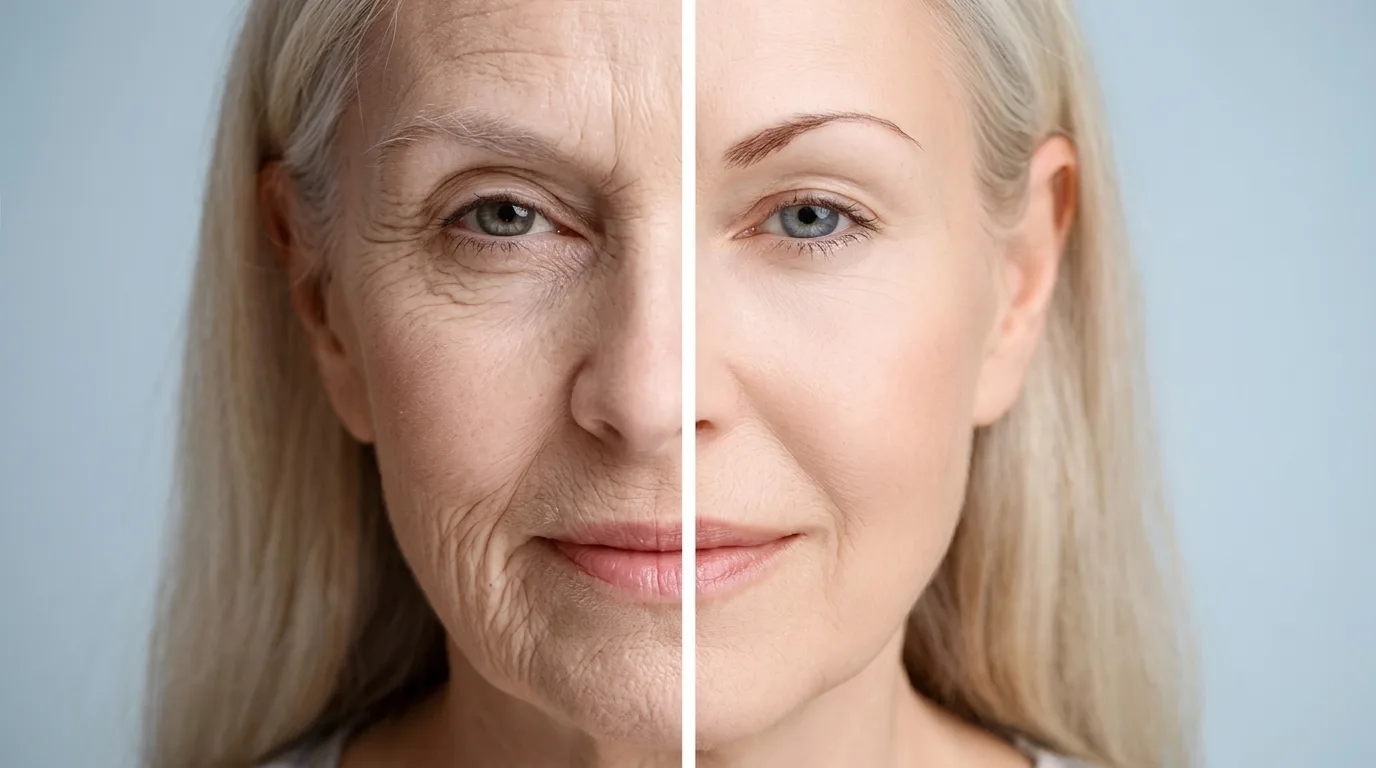
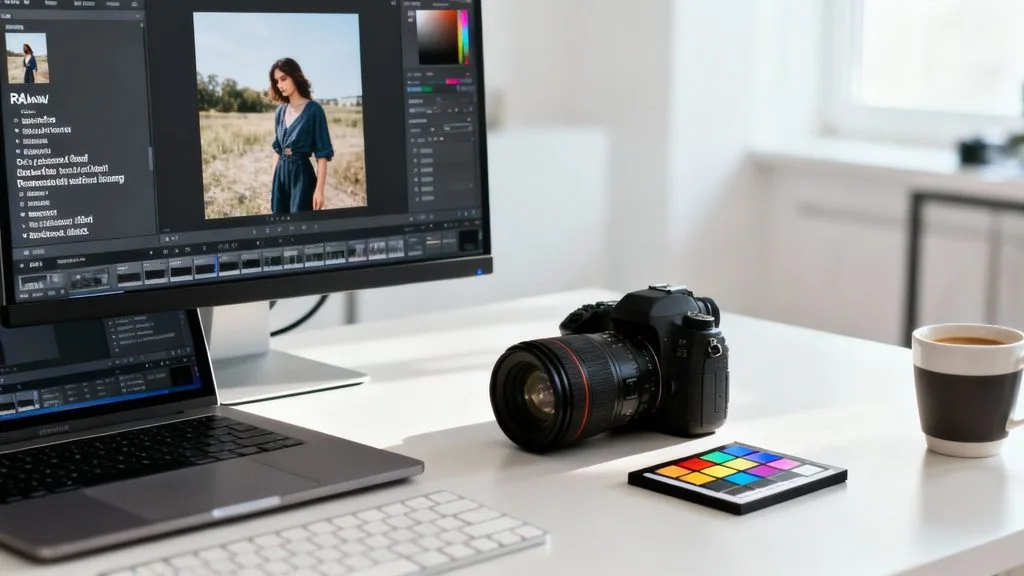
Photo editing is everything you do to a photo after you press the shutter — from a quick crop on your phone to hours of detailed retouching on a computer. It includes basic stuff like straightening a crooked horizon, fixing brightness, and removing a dust spot, plus advanced work like swapping backgrounds, compositing multiple images, and smoothing skin. If you’ve ever used an Instagram filter, you’ve edited a photo. If you’ve ever spent 20 minutes in Lightroom trying to get the sky just right, you’ve edited a photo. It’s not cheating — it’s the second half of photography.
This guide walks through what photo editing actually is, the three terms everyone confuses (editing, retouching, manipulation), the 12 basic adjustments every editor uses, advanced techniques, the exact workflow pros follow, software options, where AI fits in, and the seven mistakes beginners make over and over.
What Is Photo Editing, Exactly?
At its simplest, photo editing is the process of altering an image to make it look better, fit a purpose, or tell a clearer story. It started in the darkroom — dodging, burning, cropping under an enlarger — and moved to computers in the 1990s. Today it happens on laptops, tablets, and phones, and it ranges from a one-tap auto-enhance to complex multi-layer composites that take days.
Here’s what it usually includes:
- Basic corrections — cropping, straightening, exposure, contrast, white balance, sharpening
- Color work — saturation, vibrance, color grading, selective color changes
- Cleanup — removing dust spots, blemishes, stray hairs, unwanted objects
- Refinement — smoothing skin, whitening teeth, reshaping, frequency separation
- Creative work — background swaps, compositing, HDR blending, special effects, text overlays
- Preparation — resizing, exporting, sharpening for web or print, converting color spaces
And here’s what it is not. It’s not a magic fix for a blurry, badly composed photo. Sharpening can’t rescue an out-of-focus shot, and no amount of editing saves a photo where the subject is tiny and lost in the frame. Editing makes a good photo better — it can’t turn a bad photo into a great one. Get it right in camera first, then edit.
A Quick History (Yes, It Predates Photoshop)
People have been editing photos since the 1860s. Mathew Brady’s studio famously combined Abraham Lincoln’s head with John C. Calhoun’s body in a widely circulated portrait. Hippolyte Bayard, one of photography’s inventors, created a fake self-portrait of himself drowned as a protest. Darkroom technicians dodged and burned prints, retouched negatives with pencils, and hand-colored images for over a century before digital came along.
What changed with digital wasn’t the idea of editing — it was the access. A darkroom cost thousands of dollars and years to master. Photoshop, and later phone apps, put the same power in everyone’s pocket. The result? We edit more photos than ever, and we expect every image we see online to have been touched in some way. Editing stopped being a specialist skill and became part of everyday life.
Editing vs Retouching vs Manipulation: Stop Confusing Them
These three terms get thrown around interchangeably, but they mean different things. Knowing the difference saves you from sounding like a beginner — and from over-editing.
| Photo Editing | Photo Retouching | Photo Manipulation | |
|---|---|---|---|
| What it is | Broad term for any alteration | Detailed pixel-level cleanup | Changing the reality of the image |
| Examples | Crop, exposure, white balance, color grade | Skin smoothing, blemish removal, teeth whitening, wrinkle reduction | Background swaps, adding/removing people, sky replacement, compositing |
| Goal | Make the image look its best | Make the subject look their best | Create something that wasn’t there |
| Controversy level | Low — universally accepted | Medium — expected in fashion, debated in journalism | High — must be disclosed in news and documentary |
| Time per image | 1–5 minutes | 10–60 minutes | 1 hour to days |
Editing is the umbrella. Retouching and manipulation are both types of editing, but they sit at opposite ends of the spectrum. Retouching enhances what’s there. Manipulation changes what’s there. If you’re curious about where the line really sits, this deeper photo manipulation guide walks through the ethics and examples.
Destructive vs Non-Destructive Editing: The One Concept That Saves You
This is the single most important technical concept in photo editing. Get it wrong and you’ll permanently ruin photos. Get it right and you can experiment forever without risk.
Destructive editing changes the actual pixels of the image. If you open a JPEG in Photoshop, paint on it, and save, those original pixels are gone forever. You can’t go back. This is how beginners ruin photos — they over-smooth skin, crank saturation, save over the original, and then realize they hate the result but can’t undo it.
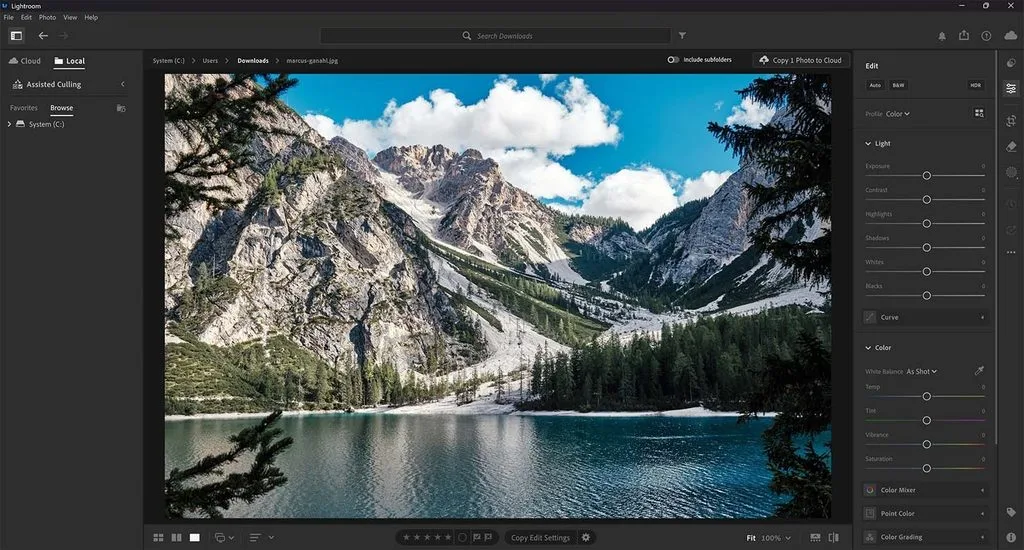
Non-destructive editing records your changes as a list of instructions instead of altering the original pixels. Lightroom, Capture One, and Photoshop’s adjustment layers all work this way. You can crank saturation to 100, close the file, come back a week later, and dial it back to 15. The original file is untouched.
The rule is simple: never edit the only copy of a photo destructively. Work in Lightroom or use layers in Photoshop, and always keep the original RAW or JPEG safe. Back it up too — a good cloud storage for photos setup means a hard drive crash doesn’t wipe out your life’s work.
The 12 Basic Adjustments Every Editor Uses
You don’t need to know every tool in Photoshop. These 12 adjustments cover 90% of what most people ever do to a photo. Learn them and you can edit anything.
- Crop — Trim the edges to improve composition or change aspect ratio. The most powerful and underused tool in editing.
- Straighten — Level the horizon or fix converging verticals. A crooked photo screams amateur.
- Exposure — Overall brightness. Too dark or too bright? This is the slider.
- Contrast — Difference between light and dark areas. More contrast = punchier; less = softer, flatter.
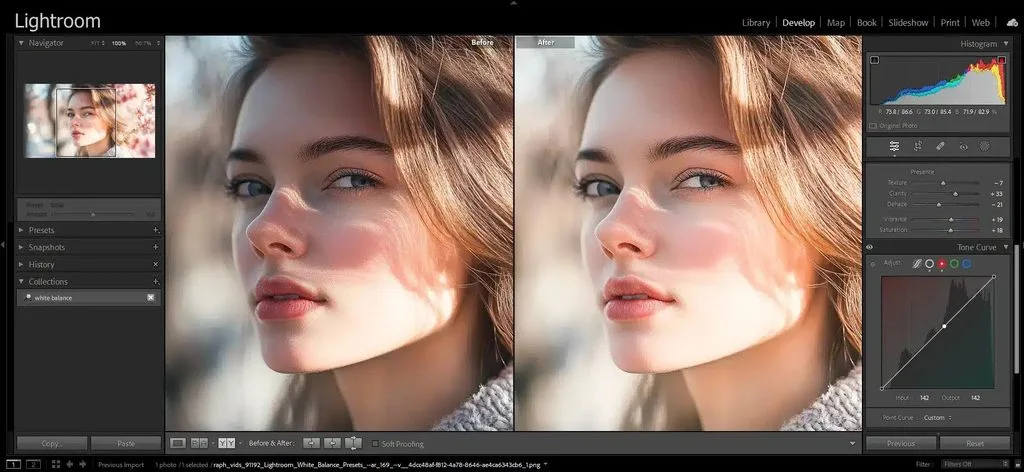
- White balance — Fixes color casts (too blue, too yellow). Click on something that should be white or gray and the rest falls into place.
- Highlights & Shadows — Recover detail in bright skies or dark areas independently. This is where RAW files shine.
- Vibrance — Boosts muted colors without frying skin tones. Safer than saturation.
- Saturation — Boosts all colors equally. Go too far and everything looks cartoonish.
- Sharpening — Enhances edges to make the photo feel crisper. Can’t fix blur, and too much creates ugly halos.
- Noise reduction — Smooths out grain from low-light or high-ISO shots. Too much and skin turns plastic.
- Clarity / Texture — Midtone contrast that adds punch and detail. Great for landscapes, terrible for skin.
- Spot removal — Zaps dust spots, blemishes, and small distractions. Every editor uses this on every photo.
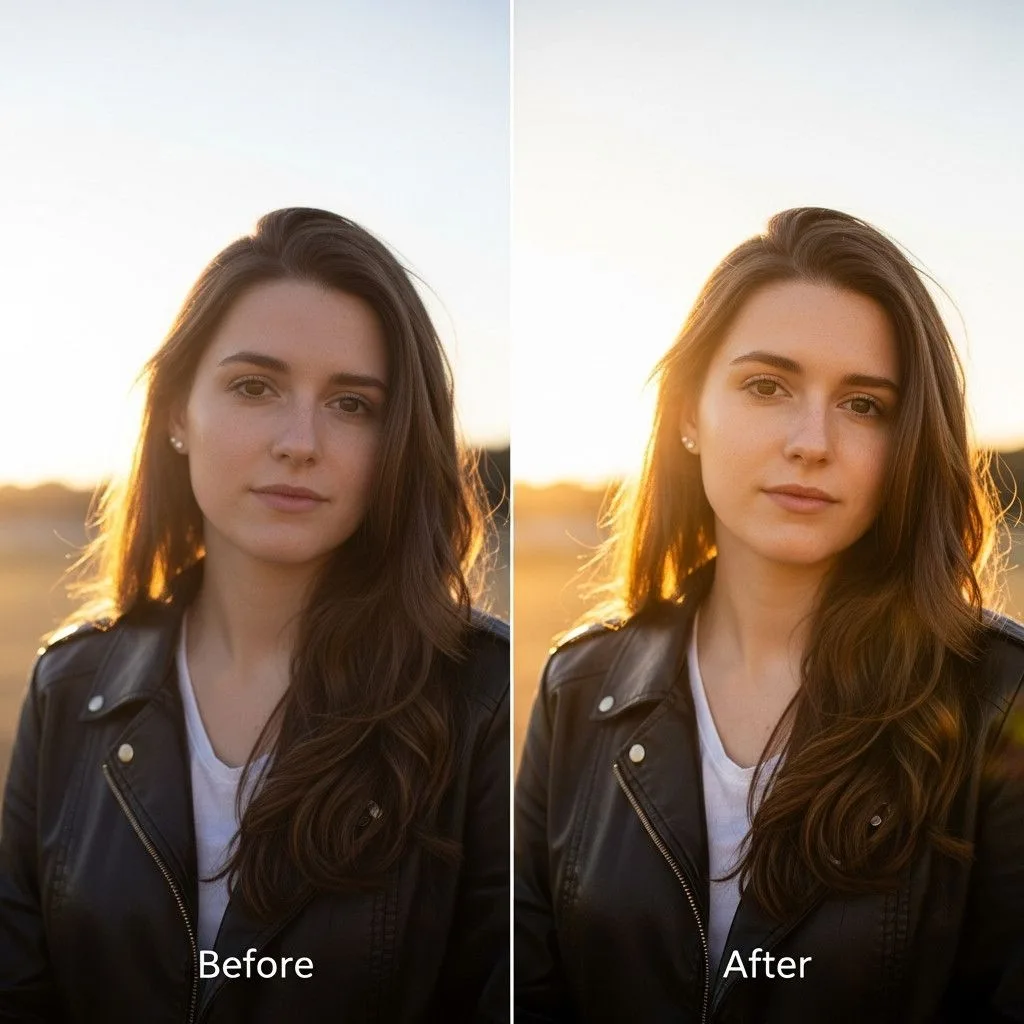
White balance deserves a special mention because it’s the one adjustment people skip and then wonder why their photos look off. Your camera guesses the color of the light, and it guesses wrong often — indoor lighting comes out orange, shade comes out blue. A quick white balance fix takes two seconds and transforms a photo. This photo editing guide covers it in more depth if you want to go deeper.
Advanced Techniques (When Basic Isn’t Enough)
Once you’re comfortable with the basics, these are the tools that separate hobbyist edits from professional ones.
- Masking — Apply an adjustment to only one part of the photo. Darken the sky, brighten a face, blur a background. Masking is where real editing happens.
- Layers — Stack adjustments and elements on top of each other, each editable independently. The foundation of Photoshop.
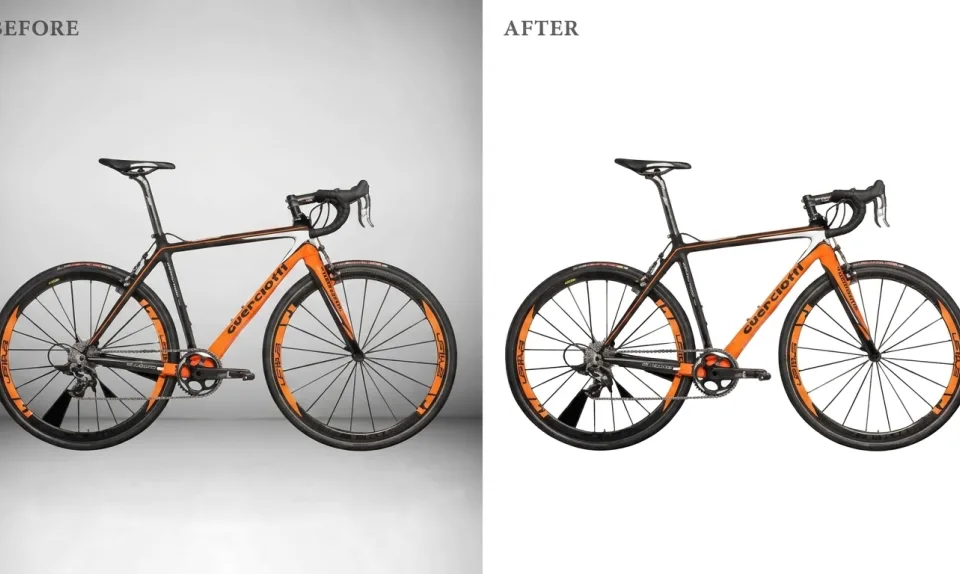
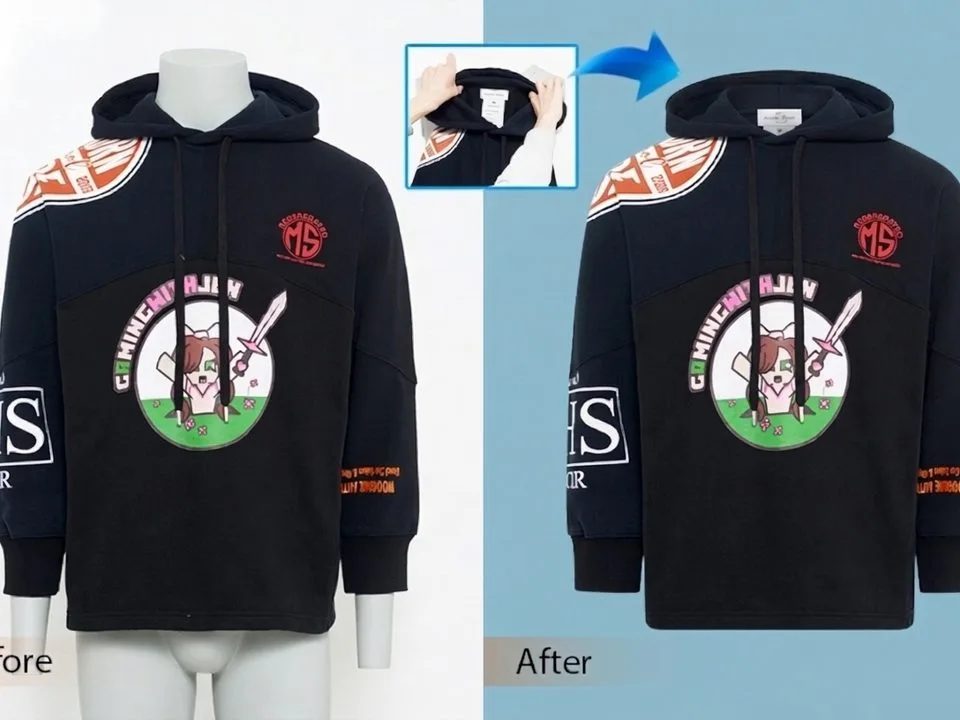
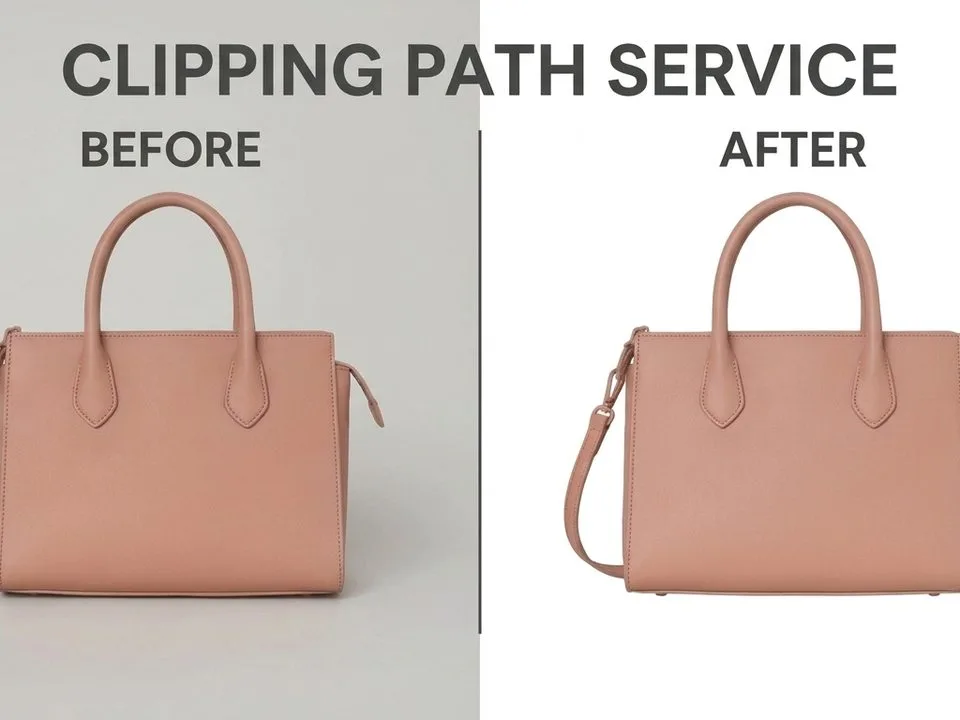
- Clipping paths & background removal — Cut a subject out cleanly, usually for ecommerce or product photos. Hair and fur are the hard parts.
- Frequency separation — Separate texture from color and tone so you can smooth skin without destroying pores. The pro retouching secret.
- HDR & exposure blending — Combine multiple exposures to capture detail in both sky and foreground that one shot can’t hold.
- Dodge & burn — Manually lighten and darken specific areas to sculpt light and guide the viewer’s eye.
- Perspective correction — Fix converging lines in architecture and real estate photos.
- Compositing — Combine multiple photos into one image. The most advanced form of editing, and the line where it becomes manipulation.
The Pro Workflow (Order Matters More Than You Think)
Do these steps in the wrong order and you’ll fight yourself the whole way. This is the sequence professional editors follow, and it works for every genre.
- Cull first. Pick your best shots. Don’t edit 300 photos when you only need 20.
- Crop and straighten. Fix composition before anything else — no point editing pixels you’re going to cut off.
- Lens correction and perspective. Fix distortion and converging lines early.
- White balance. Get the color of light right before touching anything else.
- Exposure and contrast. Get the tones in the right ballpark using exposure, highlights, shadows, whites, blacks.
- Color. Vibrance, saturation, HSL adjustments, color grading.
- Local adjustments. Masks, dodging and burning, targeted brightening or darkening.
- Cleanup. Spot removal, blemishes, dust, unwanted objects.
- Retouching (if needed). Skin, teeth, eyes — only on portraits and only when appropriate.
- Sharpen and export. Sharpen last, then resize and export for web or print. For print, check the right DPI for printing so your photos come out crisp. For web, export in the right color space — sRGB for anything online.
RAW vs JPEG: Why It Matters for Editing
If you’re serious about editing, shoot RAW. A RAW file contains all the data your sensor captured — up to 14 bits per channel, versus 8 bits for a JPEG. That means you can brighten shadows by three stops, shift white balance dramatically, and recover blown highlights without the image falling apart. A JPEG has already been processed and compressed by your camera — the data is gone before you start.
The tradeoff? RAW files are bigger, they look flat and dull straight out of camera (that’s normal — they’re meant to be edited), and you need software that can read them. Every modern editor can. If you only ever post to Instagram and never edit, JPEG is fine. If you want to push your photos in editing, RAW is non-negotiable.
Editing by Genre: What Changes
The basics stay the same, but the priorities shift depending on what you’re shooting.
- Portraits — Protect skin. Keep tones natural, use frequency separation for smoothing, and never reshape unless the client asks. If people always look different in photos than in the mirror, that’s a whole separate thing — here’s why you look worse in photos and what to do about it.
- Landscapes — Push contrast and color harder. Nature can handle saturation that would look fake on a face. HDR blending is common.
- Product / ecommerce — Accuracy over art. Colors must match the real product, backgrounds are usually white, and consistency across hundreds of images matters more than any single shot.
- Weddings — Warm, timeless, consistent. Avoid trendy looks that will look dated in five years. Batch edit with presets, then fine-tune.
- Real estate — Straight lines, bright interiors, accurate colors. Perspective correction is mandatory.
- Street / documentary — Minimal editing. Enhance, don’t transform. Removing a person from a documentary shot crosses an ethical line.
Software: What to Use in 2026
You don’t need the most expensive tool. You need the one that fits how you work.
- Adobe Lightroom — The industry standard for photographers. Non-destructive, great batch editing, powerful masking, mobile sync. Subscription.
- Adobe Photoshop — For pixel-level work, compositing, retouching, and anything Lightroom can’t do. Steeper learning curve. Subscription.
- Capture One — Favorite of studio and fashion photographers. Best-in-class raw processing and color tools. Subscription or one-time purchase.
- Affinity Photo — One-time purchase, Photoshop-like power, no subscription. Great value.
- GIMP — Free, open-source, nearly as powerful as Photoshop. The interface takes getting used to, but the price is unbeatable.
- ON1 Photo RAW — One-time purchase, strong AI features, good all-in-one alternative to Adobe.
- Mobile (Snapseed, Lightroom Mobile, VSCO) — Surprisingly capable. Snapseed is free and powerful; VSCO has beautiful film emulation presets.
For a deeper breakdown, this comparison of photo editing software covers the full landscape. If you’re on a budget, start with the free GIMP or Snapseed — both will teach you everything you need to know before you pay for anything.
AI in Photo Editing: Where It Helps and Where It Hurts
AI changed photo editing faster than anything since Photoshop itself. Here’s what it’s actually good at in 2026:
- Object removal — One click and a distracting person or power line is gone. Adobe’s Generative Fill, Luminar, and others do this shockingly well.
- Sky replacement — Boring gray sky? Swap it for a dramatic sunset in seconds.
- Masking — AI selects the subject, sky, or background instantly, saving minutes of manual masking.
- Noise reduction — AI denoisers recover clean images from ISO 12800 shots that would have been unusable five years ago.
- Upscaling — Turn a low-res photo into something printable. A good AI upscaler can double or quadruple resolution convincingly.
But AI has limits. It can’t fix bad composition. It sometimes invents details that don’t exist — hands, text, and complex textures are common failure points. And if you’re generating or heavily altering images, you may need to fix AI-generated images afterward because the output often has subtle flaws. Use AI as an assistant, not a replacement for your eye.
The Seven Mistakes Beginners Make
Every new editor makes these. Learn them and skip the pain.
- Over-saturating — More color isn’t better. Use vibrance, keep saturation modest.
- Over-sharpening — Halos around edges, crunchy skin, and noise that looks like it’s glowing. Sharpen last and zoom to 100% to check.
- Plastic skin — Smoothing skin until it looks like a Barbie doll. Keep texture. Frequency separation exists for a reason.
- Crooked horizons — Takes two seconds to fix and instantly makes a photo look more professional.
- Ignoring the histogram — Your screen lies, especially in bright rooms. The histogram tells you if you’ve clipped highlights or crushed shadows.
- Saving over the original — The cardinal sin. Always work non-destructively and keep the original file.
- Editing every photo — The best editors are ruthless about culling. Edit only your best shots. A handful of great photos beats 200 mediocre ones.
When to Outsource Editing (And What It Costs)
Here’s the truth nobody tells you: once you’re shooting paid work, editing is often the bottleneck. A wedding photographer can spend 20+ hours editing one wedding. An ecommerce brand might need 500 product images edited in a week. If your time is worth more behind the camera or running your business than it is behind a sliders panel, outsourcing makes sense.
Professional editing services handle everything from basic color correction to full retouching, and they deliver consistent results because they do it every day. A solid guide to outsourcing photo editing will walk you through what to look for — turnaround time, quality checks, and whether they match your style. The best services let you send a test batch first so you know what you’re getting before committing.
Frequently Asked Questions
What is photo editing in simple words?
Photo editing is changing a photo after it’s taken to make it look better or fit a purpose. It covers everything from cropping and brightness adjustments to advanced retouching and compositing.
What’s the difference between photo editing and photo retouching?
Editing is the broad term — it includes cropping, exposure, color, and everything else. Retouching is a specific type of editing focused on making the subject look their best: skin smoothing, blemish removal, teeth whitening, wrinkle reduction. Retouching is always editing, but not all editing is retouching.
Is photo editing the same as Photoshopping?
“Photoshopping” is slang for photo editing, usually implying manipulation. But you can edit photos in dozens of programs besides Photoshop — Lightroom, GIMP, Affinity Photo, Snapseed, and phone apps all count.
Do professional photographers edit their photos?
Almost all of them, yes. Even photojournalists do basic edits like exposure, white balance, and cropping. Commercial, fashion, and wedding photographers do extensive editing. The only exception is strict documentary work where any alteration is disclosed.
Can I edit photos for free?
Yes. GIMP is a full-featured free desktop editor, Snapseed is free on mobile, and both Canva and Photopea offer free browser-based editing. You don’t need to pay anything to learn and produce great edits.
What’s the best photo editing software for beginners?
Lightroom is the best all-around choice because it’s non-destructive, handles organization, and teaches good workflow habits. If budget is tight, start with Snapseed on your phone or GIMP on desktop.
How long does it take to edit a photo?
A basic edit — crop, exposure, color, spot removal — takes 1–5 minutes once you’re comfortable. A detailed portrait retouch can take 15–60 minutes. Complex compositing can take hours. Pros batch-edit similar photos with presets to save time.
Is it cheating to edit photos?
No, any more than developing film in a darkroom was cheating. Editing is the second half of photography. The line is honesty — for news and documentary work, changes must be minimal and disclosed. For creative and commercial work, anything goes as long as you’re not misleading people.
Final Thought
Photo editing isn’t about making something fake. It’s about finishing the job your camera started. The camera captures light; editing shapes it into the image you saw in your head when you pressed the shutter. Start simple, shoot RAW, work non-destructively, and remember that subtlety beats intensity every single time. The best edits are the ones nobody notices.