Why Are Instagram Photos Blurry? The Four-Pass Compression Pipeline — and How to Beat Every Pass
TL;DR: The Short Answer
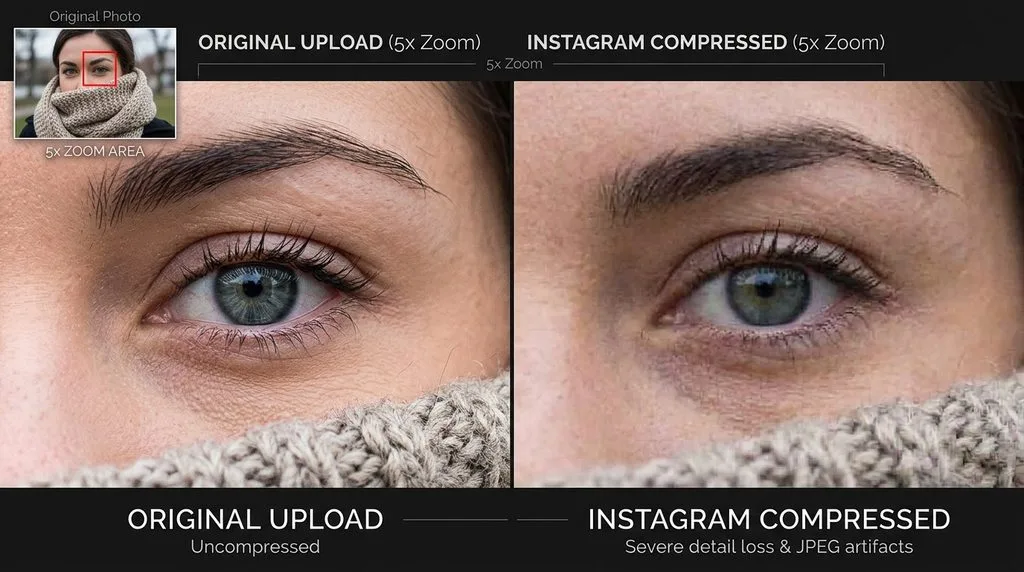
Instagram photos look blurry because Instagram runs every upload through a four-pass pipeline: (1) resize to exactly 1080px wide, (2) crop to an allowed aspect ratio, (3) convert the color profile to sRGB, and (4) re-encode as JPEG. If you hand Instagram a 24MP camera export in Adobe RGB at quality 100, it does all four passes at once — with a resampler tuned for speed, not detail — and your photo comes out soft. The fix is to do all four passes yourself, carefully, before upload: export at exactly 1080px wide (1080×1350 for 4:5 portrait, 1080×1080 square, 1080×566 landscape), JPEG quality 80–90 (85 is the sweet spot — quality 100 makes the file bigger and triggers more compression), sRGB color space, and sharpen after resize. Turn on Settings and privacy > Data usage and media quality > High quality media uploads, upload over WiFi, and upload directly from the Instagram app (third-party schedulers re-compress a second time). For Reels, export at 1080×1920, H.264, 8–15Mbps, 30fps — uploading 4K gets crushed because Instagram doesn’t display 4K.
The Four-Pass Pipeline (What Instagram Actually Does to Your Photo)
| Pass | What Instagram does | What happens if you don’t pre-do it |
|---|---|---|
| 1. Resize | Scales to 1080px wide | Fast resampler softens detail |
| 2. Crop | Forces allowed ratio (1:1, 4:5, 1.91:1) | Unpredictable crop, subject cut off |
| 3. Color | Converts to sRGB | Adobe RGB/P3 → washed out, color shift |
| 4. Re-encode | JPEG compression | Large files → aggressive second compress |
The entire secret to sharp Instagram posts: hand Instagram a file that has already passed through all four stages correctly, so the pipeline has almost nothing to do. A 1.6MB export can become ~125KB after Instagram’s processing — that’s where the detail goes.
Pass 1: Resize to Exactly 1080px Wide
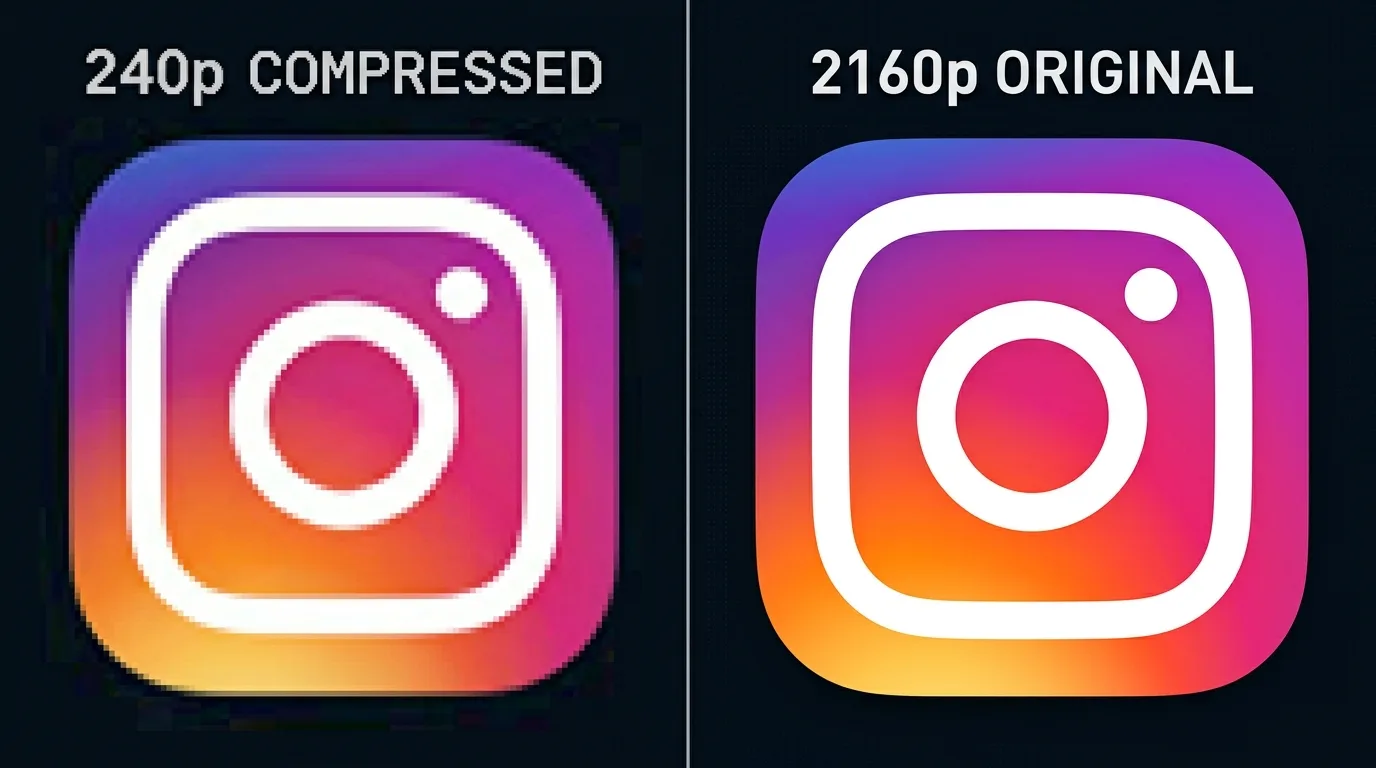
Instagram displays every feed photo at 1080px wide. If you upload anything wider (2400px, 4000px, 12MP), Instagram downscales it with a fast, low-quality resampler. If you upload anything narrower than 1080px, Instagram upscales it — and upscaling always makes images softer.
Do it yourself:
- Portrait (best for feed): 1080×1350 (4:5) — maximum vertical space
- Square: 1080×1080 (1:1)
- Landscape: 1080×566 (1.91:1)
- Stories/Reels: 1080×1920 (9:16)
- Resample with Bicubic Sharper (Photoshop) or Lightroom’s default — both preserve detail better than Instagram’s resampler.
- PPI doesn’t matter for screen — 72 or 300 produces identical pixels. Only pixel dimensions count.
Pass 2: Crop to an Allowed Ratio (and Keep Carousels Consistent)
Instagram accepts three feed ratios: 1:1 (square), 4:5 (portrait), 1.91:1 (landscape). Anything outside these gets cropped. For carousels, all images must share the same ratio — Instagram crops every slide to match the first image’s ratio. If your first slide is 4:5 and your third is 1:1, the third gets cropped to 4:5, cutting off content. Pick one ratio for the whole carousel and crop every slide to it. Portrait (4:5) carousels perform best — they take the most vertical space in the feed.
Pass 3: Convert to sRGB Yourself
Instagram serves everything in sRGB. If you export in Adobe RGB, Display P3, or ProPhoto, Instagram converts it — and the conversion is blunt. Saturated reds and greens shift, skin tones go muddy, and the whole photo looks washed out compared to what you edited. Convert to sRGB in Lightroom/Photoshop before export. It takes one checkbox and produces predictable color. Also: avoid HDR/HLG exports — Instagram flattens them to SDR with poor tone mapping.
Pass 4: JPEG Quality 80–90 (Not 100)
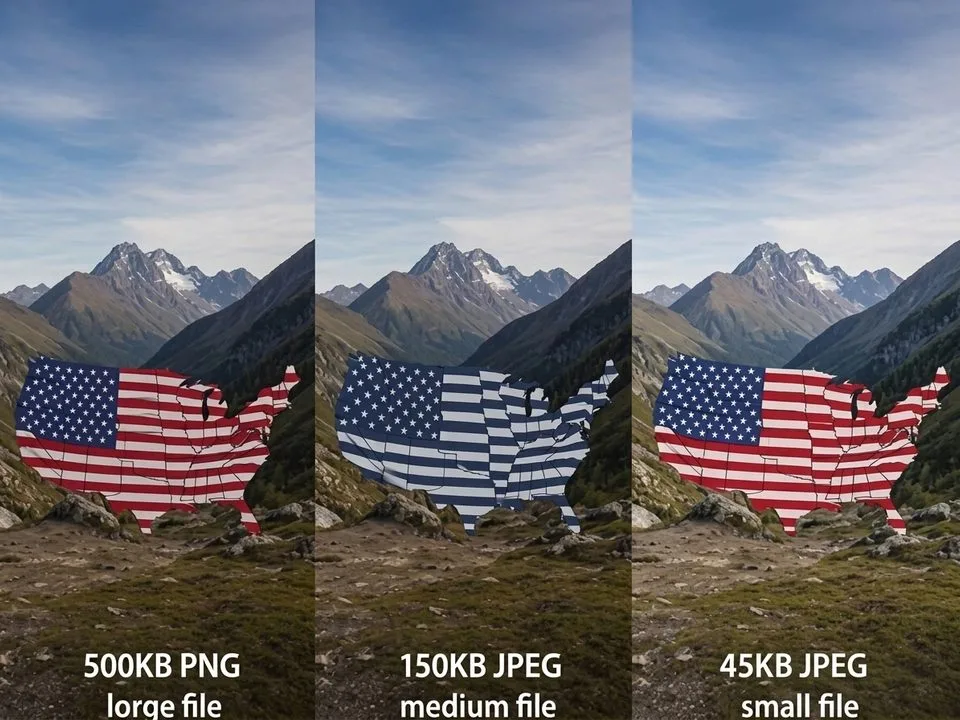
This is the counterintuitive one. Do not export at JPEG quality 100. A quality-100 file is 2–3× larger than quality 85 with no visible difference — and Instagram’s compressor sees a huge file and applies more aggressive compression to bring it down. Quality 85 is the sweet spot (range 80–90). Below 80, you introduce visible artifacts before Instagram touches it. Above 90, you bloat the file for nothing. Never upload PNG for photos — Instagram converts PNG to JPEG anyway, so a PNG just makes the upload slower and the re-encode harsher. PNG is only for text graphics with transparency — and even then, Instagram flattens it.
Sharpen After Resize (Last Step)
Resizing softens edges. Always sharpen after resizing, as the final step. In Photoshop: Filter > Sharpen > Unsharp Mask, Amount 40–60%, Radius 0.5px, Threshold 2. In Lightroom: Output Sharpening > Screen > Standard. Judge at 100% view. Too much sharpening creates white halos around edges — worse than softness. For portrait posts, a guide to newborn photography editing covers gentle skin retouching that holds up under compression. For product posts, a guide to clipping path vs image masking covers clean cutouts that stay sharp after re-encoding; a guide to ghost mannequin editing providers and a guide to clipping path service providers cover outsourcing product prep for consistent Instagram catalogs.
The “Upload at Highest Quality” Setting (Off by Default)
Instagram throttles upload quality on mobile data by default. Turn it on:
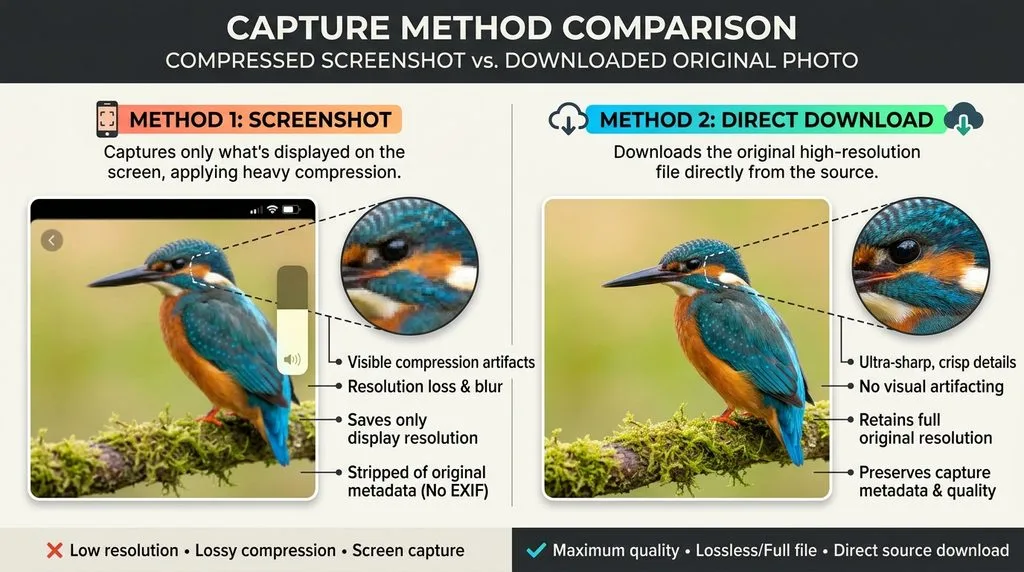
Settings and privacy > Data usage and media quality > High quality media uploads > On (or “On Wi-Fi only” if you want to save data). With this off, Instagram sends a lower-quality version when you’re on cellular. Always upload over WiFi — on weak or metered connections, the app silently reduces quality to finish the upload faster.
Third-Party Schedulers Add a Second Compression
Buffer, Later, Hootsuite, Sprout Social, Meta Business Suite — every third-party tool re-encodes your photo before passing it to Instagram. That’s a second lossy pass on top of Instagram’s own. For maximum sharpness, upload directly from the Instagram app. If you must schedule, export at quality 90 (not 85) to leave headroom for the second compression, and use Meta’s native Business Suite (fewer re-encode steps than third-party tools).
Reels & Stories: Why They Look Worse Than Feed Photos
Video gets compressed harder than photos, and the mistakes are different:
- Do not upload 4K. Instagram does not display 4K. A 4K upload forces Instagram’s server to transcode down to 1080p with aggressive settings — the result is blurrier than if you had exported at 1080p yourself. Export at 1080×1920 (9:16).
- Codec: H.264 High profile, MP4 container. HEVC/H.265 can produce smaller files but gets re-encoded anyway; H.264 is the safest, most predictable pipeline.
- Bitrate: 8–15 Mbps (VBR, 2-pass). Exports at 3–5 Mbps (many editors’ default) are too low — Instagram’s transcode eats them alive. 10–12 Mbps is the sweet spot for 1080p30.
- Frame rate: 30fps. 60fps can trigger heavier compression; 30fps is the native playback target.
- Add captions, text, and music BEFORE export. Every time you use Instagram’s in-app editor (text, stickers, captions), it re-encodes the video. Do all editing in your editor of choice (CapCut, Premiere, DaVinci) and upload the finished file.
- Safe zone: keep text and faces in the center ~1080×1350 — top and bottom are covered by UI.
The Complete Export Checklist (Lightroom/Photoshop)
- Crop to final ratio (4:5 portrait recommended for feed)
- Resize to 1080px wide (Bicubic Sharper)
- Convert to sRGB
- Export JPEG quality 85 (range 80–90)
- Sharpen (Unsharp Mask 40–60% / 0.5px, or Lightroom Screen sharpening)
- Turn on High quality media uploads in Instagram settings
- Upload over WiFi, directly from the Instagram app
- For Reels: 1080×1920, H.264, 10–12Mbps, 30fps, captions baked in
5 Common Instagram Quality Mistakes
- Uploading a 12MP/24MP original. Instagram downscales with a fast resampler. Resize to 1080px yourself.
- Exporting at JPEG quality 100. Bigger file → more aggressive Instagram compression. Use 85.
- Adobe RGB / P3 color profile. Washed-out colors. Convert to sRGB.
- Uploading Reels in 4K. Gets crushed. Export 1080p.
- Using third-party schedulers. Second compression. Upload directly from the app.
Frequently Asked Questions
Why are my Instagram photos blurry after upload?
Because Instagram recompresses every upload: it resizes to 1080px wide, crops to an allowed ratio, converts to sRGB, and re-encodes as JPEG. If you upload a large high-res file, all four steps happen at once with fast, low-quality algorithms. Export at exactly 1080px wide, JPEG quality 80–90, sRGB, and sharpen after resize — then upload over WiFi with high-quality uploads enabled.
What is the best JPEG quality for Instagram?
80–90, with 85 as the sweet spot. Quality 100 produces a much larger file with no visible benefit and can trigger more aggressive compression from Instagram. Below 80, you introduce JPEG artifacts before Instagram touches the file.
Should I upload 4K Reels to Instagram?
No. Instagram does not display 4K, and uploading 4K forces an aggressive server transcode that looks blurrier than a properly exported 1080p file. Export Reels at 1080×1920 (9:16), H.264, 8–15 Mbps, 30fps. Add captions and text before export — the in-app editor re-encodes.
Why do my Instagram photos look washed out / different colors?
Because you exported in Adobe RGB, Display P3, or ProPhoto, and Instagram converted it to sRGB with a blunt algorithm. Always export in sRGB — convert the color profile yourself in Lightroom or Photoshop before upload. Also avoid HDR/HLG exports, which get flattened poorly.
Does uploading from desktop (Meta Business Suite) preserve quality better?
It can be more controlled (larger screen for checking crops, easier file selection), but the Instagram server still recompresses. The advantage of desktop is avoiding the phone’s camera-roll handoff. For maximum quality, export correctly and upload directly — either route works if the file is prepped right. Third-party schedulers (Buffer, Later) add a second re-compression, so avoid them for critical posts.
What size should I export for Instagram in 2026?
Feed portrait (best): 1080×1350 (4:5). Square: 1080×1080. Landscape: 1080×566 (1.91:1). Stories/Reels: 1080×1920 (9:16). Always 1080px wide — never wider, never narrower. Carousels must all use the same ratio.
Why are my carousel photos blurry or cropped?
Instagram crops every carousel slide to match the first image’s aspect ratio. If your slides use mixed ratios (one 4:5, one 1:1), the mismatched ones get cropped. Pick one ratio (4:5 recommended) and crop every slide to it before uploading.
Does the “Upload at highest quality” setting matter?
Yes. It’s off by default on mobile data. Turn it on: Settings and privacy > Data usage and media quality > High quality media uploads. With it off, Instagram sends a lower-quality version when you’re on cellular. Also always upload over WiFi — weak connections trigger silent quality reduction.
Final Verdict
Instagram blurriness is not your camera and not your phone — it’s a four-pass compression pipeline, and you can beat every pass by pre-doing them carefully. 1080px wide, JPEG 85, sRGB, sharpen after resize, high-quality uploads on, WiFi, direct from the app. For Reels: 1080p H.264 at 10–12Mbps, never 4K. Skip quality 100, skip Adobe RGB, skip third-party schedulers. Nail that checklist and your next post will look exactly like the photo you edited.