How to Compress Images Without Losing Quality: The 80% Rule and Everything That Comes After It
TL;DR: The Short Answer
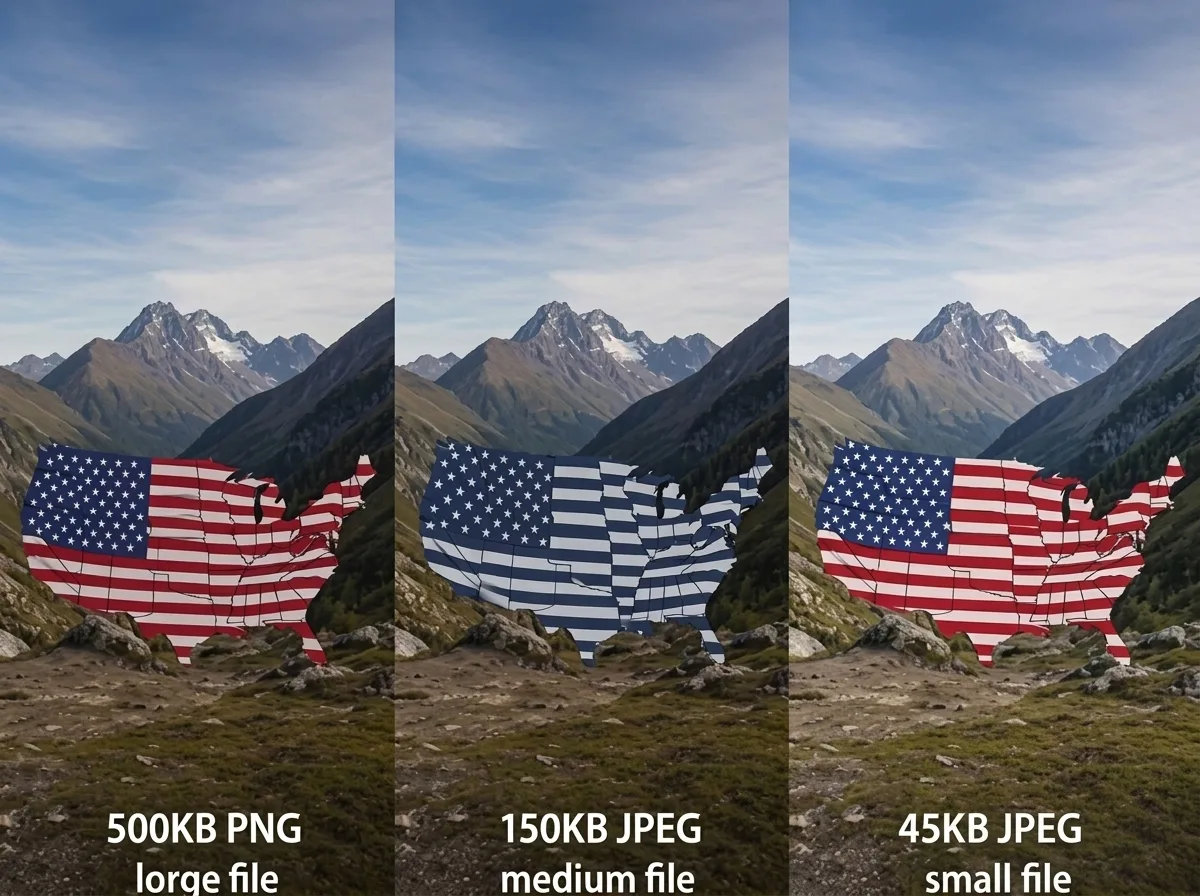
You can cut image file size by 60–80% with zero visible quality loss — if you do it in the right order. Step one, and this is the step most people skip: resize the image to its actual display size first. A 6000-pixel camera photo displayed in an 800-pixel blog slot is pure waste. Step two: compress at JPEG quality 75–85% — quality 100 to quality 80 typically saves 40–60% and is indistinguishable to the human eye; below 70% you start seeing banding and block artifacts. Step three: convert to WebP for another 25–35% saving (universal browser support since 2020), or AVIF for ~50% saving (93% support, but 5–10× slower to encode).
Step four: strip EXIF metadata and embed sRGB. For WordPress, a plugin like ShortPixel or Smush automates all of this. The hard rules: never re-compress a lossy JPEG more than once (generation loss compounds), never use PNG for photographs (it’s 2–5× larger), and never use GIF for animation (convert to MP4/WebM). Keep your original master file untouched — compress a copy at the final stage only.
The Golden Rule: Resize First, Compress Second
This single step is responsible for more file-size waste than every other mistake combined. A 24-megapixel camera produces a 6000×4000 pixel image. If that photo appears in a blog at 1200 pixels wide, you’re serving 25 times more pixels than anyone can see. The browser resizes it down anyway — the user downloads the full file for nothing.
Standard display sizes (longest edge):
| Where it appears | Max width needed | Typical file after compression |
|---|---|---|
| Full-bleed hero / banner | 1920px | 150–300KB |
| Blog post content | 1200px | 80–180KB |
| Email newsletter | 1600px (retina) | 100–200KB |
| Thumbnail / gallery grid | 600–800px | 30–80KB |
| Social media share (og:image) | 1200×630px | 60–120KB |
Resize in Photoshop (Image > Image Size), Lightroom (Export > Resize to Fit), or any online tool — set the longest edge to the largest size it will ever be displayed at, then compress. If you serve responsive images, you’ll generate multiple sizes (more on that below). Understanding kilobytes vs megabytes makes these numbers tangible — a 3MB photo and a 150KB photo are the same picture, just one is 20× faster to load.
The Quality Sweet Spot: Why 80% Beats 100%
JPEG quality 100 is not “best quality” in any meaningful sense — it’s just the largest file. The difference between quality 100 and quality 80 is invisible at normal viewing size, but the file shrinks by 40–60%.
Recommended quality settings by use case:
| Use case | JPEG / WebP quality | Why |
|---|---|---|
| Hero images, product photos users may zoom | 85–90% | Highest fidelity, still 30–50% smaller than 100 |
| General blog photos, portfolio | 75–85% | The sweet spot — 50–70% smaller, no visible loss |
| Thumbnails, gallery grids, below-the-fold | 65–75% | Small size matters more; viewed small anyway |
| Logos, text, screenshots, line art | Lossless (PNG / WebP lossless) | JPEG creates artifacts around sharp edges |
Below about 70%, you’ll start to see blocking artifacts (8×8 pixel squares) in flat areas and banding in smooth gradients (sky, skin). Check at 100% zoom — if you can’t see a difference between quality 80 and quality 100, nobody else can either. Facebook, Google, and Apple all serve photos in the 75–85% range to billions of users daily.
Format Decision Tree: Which Format for Which Image
The format you choose often saves more than the compression slider. Pick based on content:
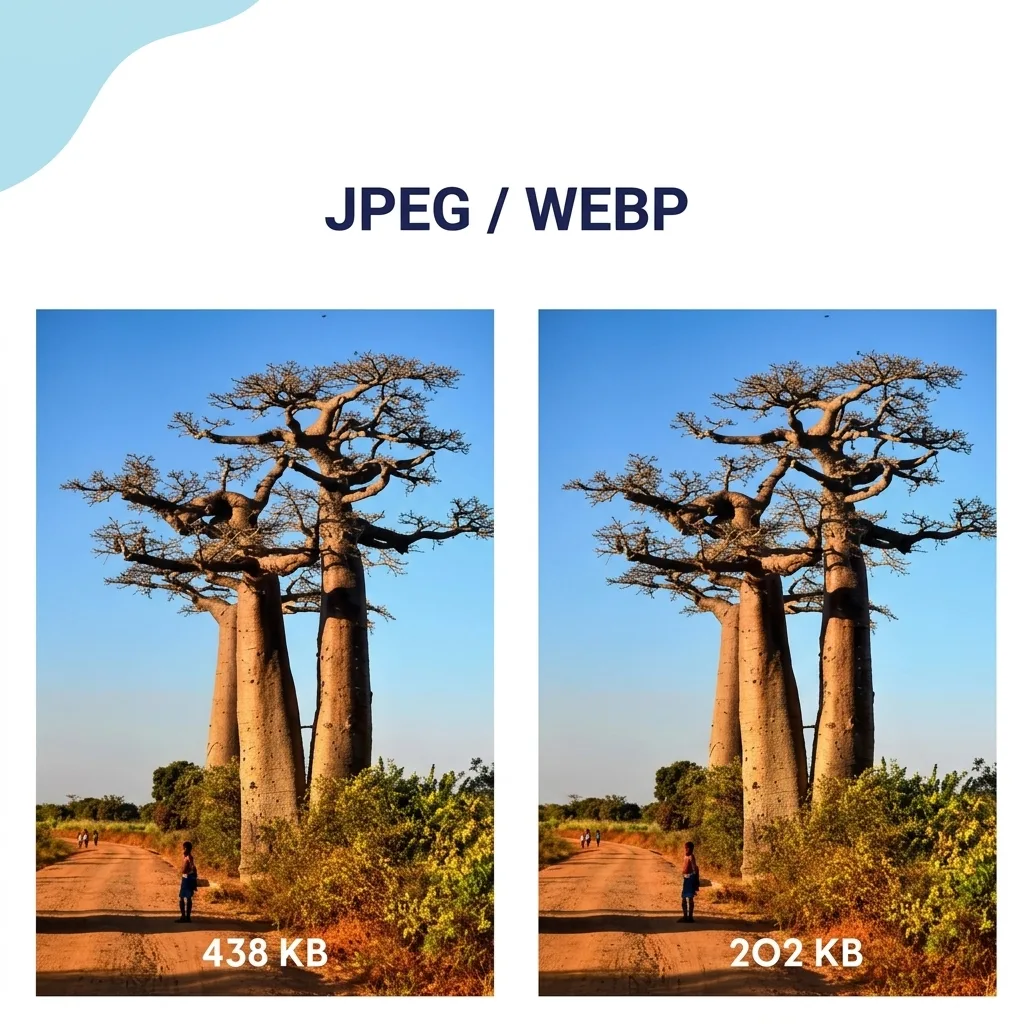
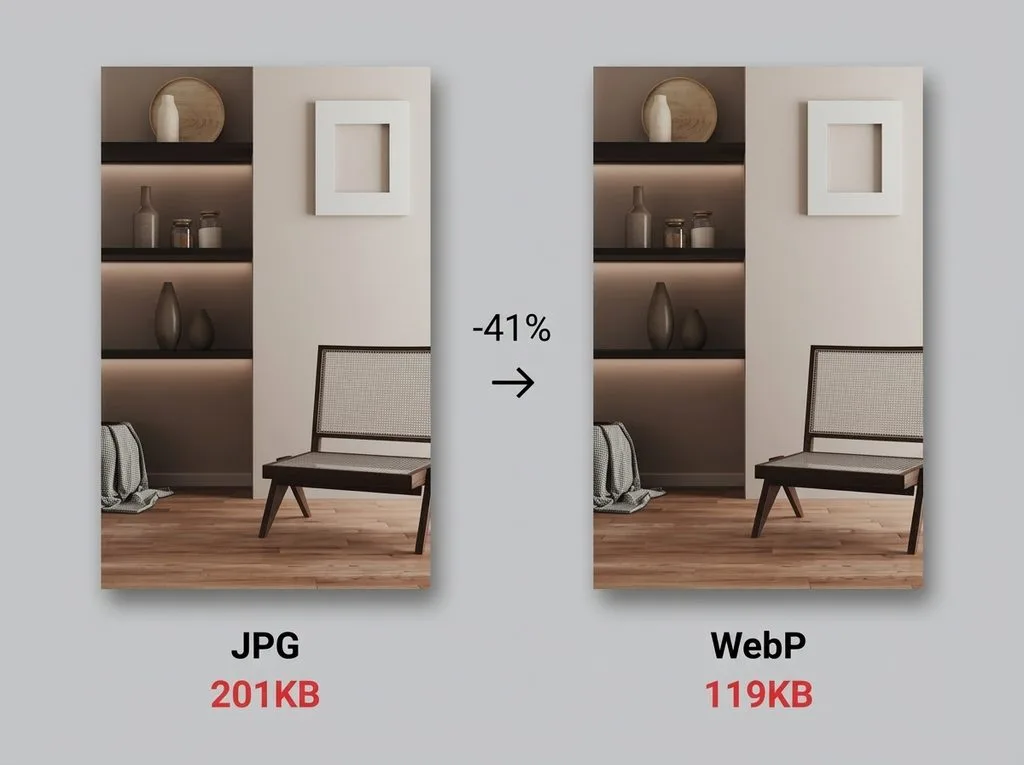
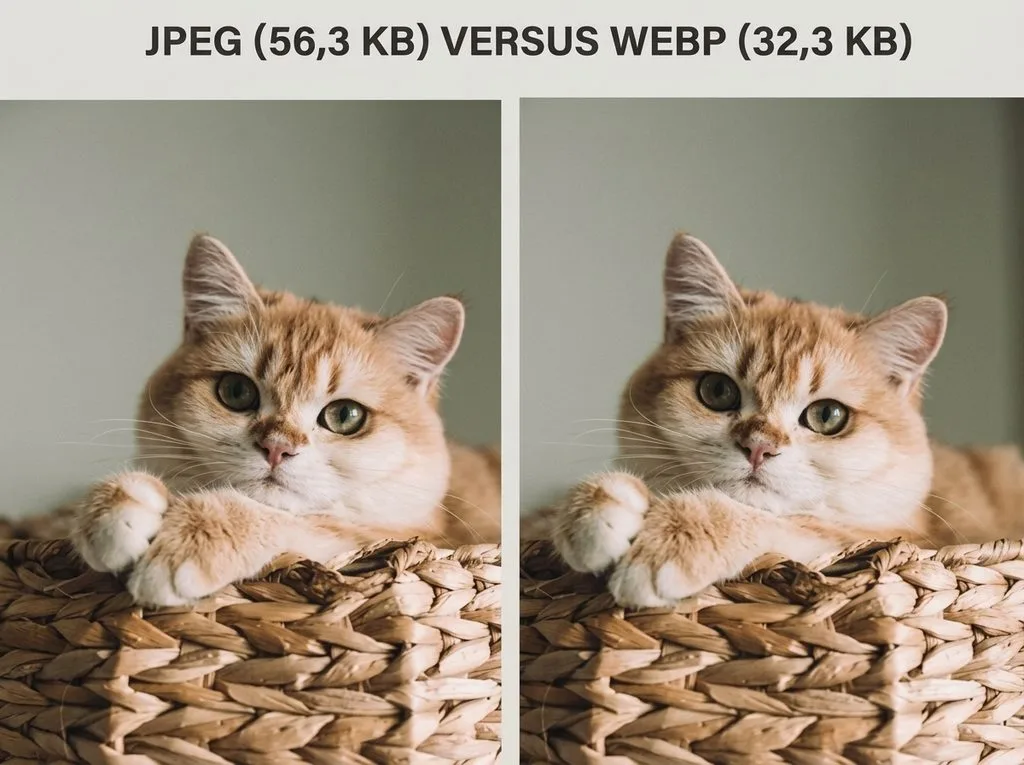
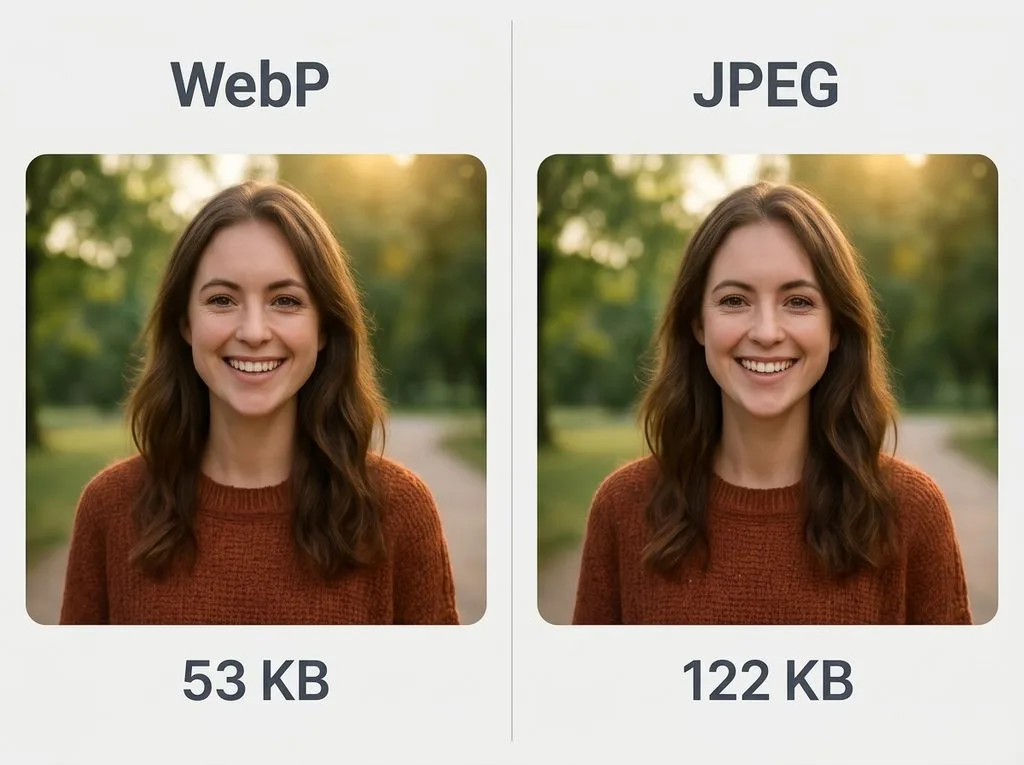
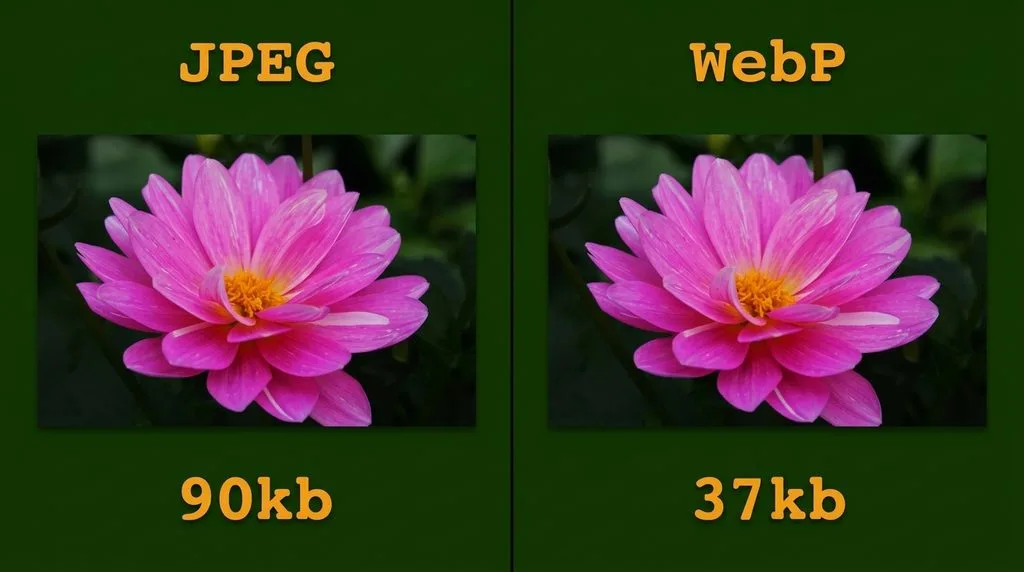
- Photographs (gradients, complex detail): JPEG → WebP → AVIF (all lossy). WebP is 25–35% smaller than JPEG at the same visual quality (Google’s own measurement across a million images). AVIF is ~50% smaller than JPEG but takes 5–10× longer to encode and has ~93% browser support — use it with a JPEG/WebP fallback.
- Screenshots, diagrams, text, logos, flat color: PNG (lossless) or WebP lossless. JPEG creates ugly artifacts around sharp text edges. WebP lossless is ~26% smaller than PNG.
- Icons, simple graphics, logos that need to scale: SVG (vector). Infinitely sharp at any size, often a few kilobytes.
- Animation: MP4 or WebM video, never GIF. A 5MB GIF becomes a 200KB video.
WebP support is universal as of 2026 — Chrome, Firefox, Safari (14+), and Edge all handle it. Unless you need to support very old browsers, WebP is the safe default for everything on the web.
Tools Comparison: Free, Desktop, Online, and WordPress
You don’t need expensive software — the best compression tool is free:
| Tool | Platform | Cost | Best for |
|---|---|---|---|
| Squoosh (Google) | Browser | Free | Single images, side-by-side preview, format conversion |
| TinyPNG / TinyJPG | Browser | Free (20 images, 5MB each) | Quick batch, smart lossy PNG/JPEG/WebP/AVIF |
| Photoshop Save for Web | Desktop | Subscription | Full control, batch via Actions |
| Lightroom Export | Desktop | Subscription | Photo workflow, resize + sharpen + watermark in one pass |
| ImageOptim (Mac) / Caesium (Win) | Desktop | Free | Drag-and-drop batch, lossless + lossy |
| ShortPixel / Smush / EWWW | WordPress | Freemium | Auto-compress on upload, WebP/AVIF, CDN |
| reSmush.it | Online/API | Free (up to 5MB) | API-based batch, WordPress plugin |
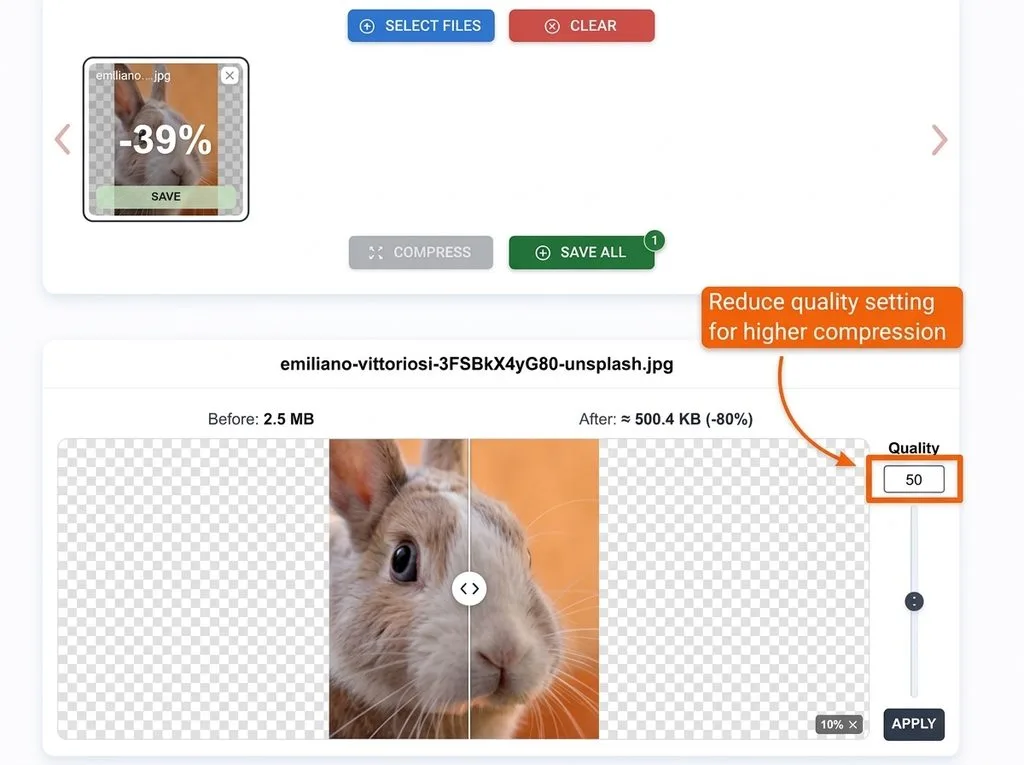
For a single image, a browser tool is enough — Squoosh shows you a live before/after slider so you can find the exact quality where artifacts appear, then back off 5%. For batches of 50+ photos, Lightroom Export or a desktop batch tool saves hours.
Step-by-Step Workflow (Do This Once, Reuse Forever)
- Keep the original master (RAW, TIFF, or full-res JPEG) untouched in a separate folder. Every compressed file is a copy.
- Crop and edit (color, exposure, retouching) at full resolution — edits degrade quality, so do them before compression, not after.
- Resize to the largest display dimension needed (1200px for blog, 1920px for hero).
- Sharpen lightly after resizing (Unsharp Mask 50–80% / 0.5px / Threshold 2–4) — resizing softens slightly.
- Compress / export: JPEG quality 80, or WebP quality 80, or AVIF. Check “Embed color profile” (sRGB) and “Strip metadata” (EXIF adds 20–100KB of camera data nobody needs on the web).
- Verify: open the compressed file at 100% zoom, compare to original. If you see artifacts, raise quality by 5 and re-export.
- For web: upload the compressed copy, not the master. If using WordPress, let a plugin generate WebP/AVIF variants and responsive sizes automatically.
For product and ecommerce photos, the same workflow applies but the stakes are higher — a slow product page kills conversions. Preparing a product photo correctly includes compression as the final step, not an afterthought.
Web Delivery: Compression Is Only Half the Job
A perfectly compressed image still loads slowly if served wrong. Pair compression with these delivery techniques:
- Responsive images (
srcset+sizes): provide multiple widths (e.g., 600px, 1200px, 1920px) so a phone downloads the 600px version, not the 1920px one. WordPress does this automatically since version 4.4. widthandheightattributes: reserve space so the page doesn’t jump when images load (prevents Cumulative Layout Shift, a Google ranking factor).loading="lazy"on below-the-fold images: the browser only downloads them when the user scrolls near. Cuts initial page load by 30–50% on image-heavy pages.<picture>element with fallbacks: serve AVIF to browsers that support it, WebP to the rest, JPEG as the final fallback.- CDN (Content Delivery Network): serves images from a server near the user. Cloudflare (free tier), Cloudinary, Imgix, or ShortPixel’s CDN all handle this.
- Progressive JPEG: loads a blurry version first, then sharpens — better perceived performance than baseline JPEG. Most tools export this by default.
5 Common Compression Mistakes (And How to Avoid Them)
- Re-compressing a JPEG. Each save with lossy compression compounds artifacts. Compress once from the master, never open a JPEG, edit, and re-save as JPEG. If you need to edit, go back to the original.
- Using PNG for photos. PNG is lossless and beautiful — and 2–5× larger than JPEG for the same photo. Reserve PNG for screenshots, text, logos, and transparency.
- Uploading full-resolution camera files to a website. A 6000px photo displayed at 800px is 25× wasted bandwidth. Resize before upload.
- Cranking quality below 70%. The file gets smaller but the image gets visibly worse — banding in skies, blocking in flat areas. 75–85% is the floor for anything a user will look at closely.
- Forgetting to strip metadata. EXIF data (camera model, GPS, settings) can add 50–100KB per image. Strip it on export — it serves no purpose on the web and leaks privacy.
Storage: Keep the Master, Share the Compressed Copy
Compression is destructive by design (lossy formats discard data). That’s fine for the copy you share — but never let it touch your only copy of the photo. Store originals in full resolution, ideally in cloud storage for photos with versioning, so you can always re-export at any size or quality. A good rule: if you might ever print the photo, or re-use it at a larger size, the master stays untouched; the compressed file is disposable.
Frequently Asked Questions
How much can I compress an image without losing quality?
For JPEG/WebP photos: quality 75–85% typically reduces file size by 50–70% with no visible loss at normal viewing size. Quality 100→80 alone saves 40–60%. Below 70% you’ll see blocking and banding. Resizing to display dimensions first often saves more than compression — a 6000px photo resized to 1200px is already 96% fewer pixels before any compression.
What is the best image format for the web in 2026?
WebP is the safe default — 25–35% smaller than JPEG, universal browser support, handles lossy and lossless plus transparency. AVIF is ~50% smaller than JPEG and supports HDR, but encoding is 5–10× slower and support is ~93%, so serve it with a WebP/JPEG fallback via the <picture> element. PNG only for screenshots/text/logos; SVG for icons.
Does compressing an image multiple times ruin it?
Yes — lossy formats (JPEG, WebP lossy, AVIF) discard data every time you save. Re-saving a JPEG repeatedly compounds artifacts (blocking, color banding, smudged detail). Always compress once from the original master. If you need to edit, go back to the uncompressed original and export a fresh copy.
What is the difference between lossy and lossless compression?
Lossy (JPEG, WebP lossy, AVIF) discards data the eye barely notices — much smaller files, but quality degrades if overdone or re-saved. Lossless (PNG, WebP lossless, TIFF) keeps every pixel — larger files, but no quality loss ever. Use lossy for photos on the web; lossless only for text, screenshots, logos, and masters you’ll re-edit.
How do I compress images in WordPress automatically?
Install a plugin like ShortPixel, Smush, EWWW, or Imagify. They compress on upload, generate WebP/AVIF variants, create responsive sizes, and optionally serve via CDN. Set quality to ~80, enable WebP, and enable lazy loading. WordPress already generates multiple sizes and srcset attributes automatically — the plugin handles the format conversion and compression.
What is the best free image compression tool?
Squoosh (by Google, runs in your browser, no upload to a server) is best for single images with a live quality preview. TinyPNG/TinyJPG is best for quick batches (20 free at a time). ImageOptim (Mac) and Caesium (Windows) are free desktop batch tools. reSmush.it has a free API and WordPress plugin.
Does image compression affect SEO?
Indirectly, yes — page speed is a Google ranking factor, and images are typically the largest part of a web page (often 50%+ of total bytes). Faster-loading pages rank better, have lower bounce rates, and higher conversions. Compression also lets you serve next-gen formats (WebP/AVIF), which Google’s PageSpeed Insights explicitly rewards.
Should I use 72 DPI for web images?
DPI (dots per inch) is a print concept and has zero effect on web display — a 1200×800 pixel image is the same file size at 72 DPI or 300 DPI. What matters for web is pixel dimensions and compression quality. Ignore DPI settings when exporting for the web; set the pixel dimensions and quality slider.
Final Verdict
Image compression without quality loss is a workflow, not a slider setting. Resize to display dimensions first (this alone often cuts file size by 80%+), export at JPEG/WebP quality 75–85%, strip metadata, embed sRGB, and serve via WebP with responsive srcset and lazy loading. Keep the original master untouched — compress a copy once, never re-save a lossy file. Squoosh and TinyPNG are free and excellent; Photoshop and Lightroom give full control; ShortPixel automates everything on WordPress. Get this right and your pages load 2–5× faster with photos that look identical to the originals.