Video Editing Tips That Also Fix Bad Footage: From Salvaging a Blurry Take to Exporting So It Doesn’t Look Compressed
TL;DR: The best video editing tips boil down to five habits: organize and back up footage before the timeline, edit audio before picture, master seven basic cuts (J-cut, L-cut, jump cut, match cut, cross-cut, cutaway, cut-on-action), mix to concrete levels (dialogue −6 to −12 dB, −14 LUFS for YouTube), and export at each platform’s native spec. And because nobody shoots perfectly, almost every tip below also rescues shaky, overexposed, noisy, or badly framed footage.
If you’ve ever edited a photo in Lightroom, you already know about 60% of video editing. Exposure, white balance, contrast, saturation, curves — the same sliders exist in video, they just move over time. The other 40% is timing, audio, and motion. This guide covers both, with a fixphotolab twist: every section ends with how to rescue the shot when things went wrong on set.
1. Before You Edit: Organize, Back Up, and Build an Audio-First Blueprint
The biggest time-saver in editing happens before your first cut. A messy project folder is why editors spend hours hunting for clips — and why beginners lose footage to drive failures.
Rename, bin, and reject at ingest
On import, rename every file with a consistent convention: ProjectName_Date_ClipNumber_Description. Group them into bins — A-roll interviews, B-roll, audio, graphics, exports — and color-code by type. Delete unusable footage immediately: blown-out takes, mis-framed shots, and clips with unusable audio go straight to a reject bin so they never clutter your selects.
The 3-2-1 backup rule and proxies
Follow the 3-2-1 rule: three copies of every file, on two different media types, one offsite — your working SSD plus a local backup drive plus cloud storage. Verify files with a checksum on ingest to catch corruption early. Save incremental project versions daily (Project_v01, v02, v03_FINAL) and never overwrite your only project file.
If you’re cutting 4K, 6K, or 8K footage on modest hardware, generate low-res proxy files on ingest. Edit with proxies for a buttery timeline, then switch to full resolution for color and export. Proxy workflows are the difference between a responsive edit and a slideshow.
The audio-first blueprint
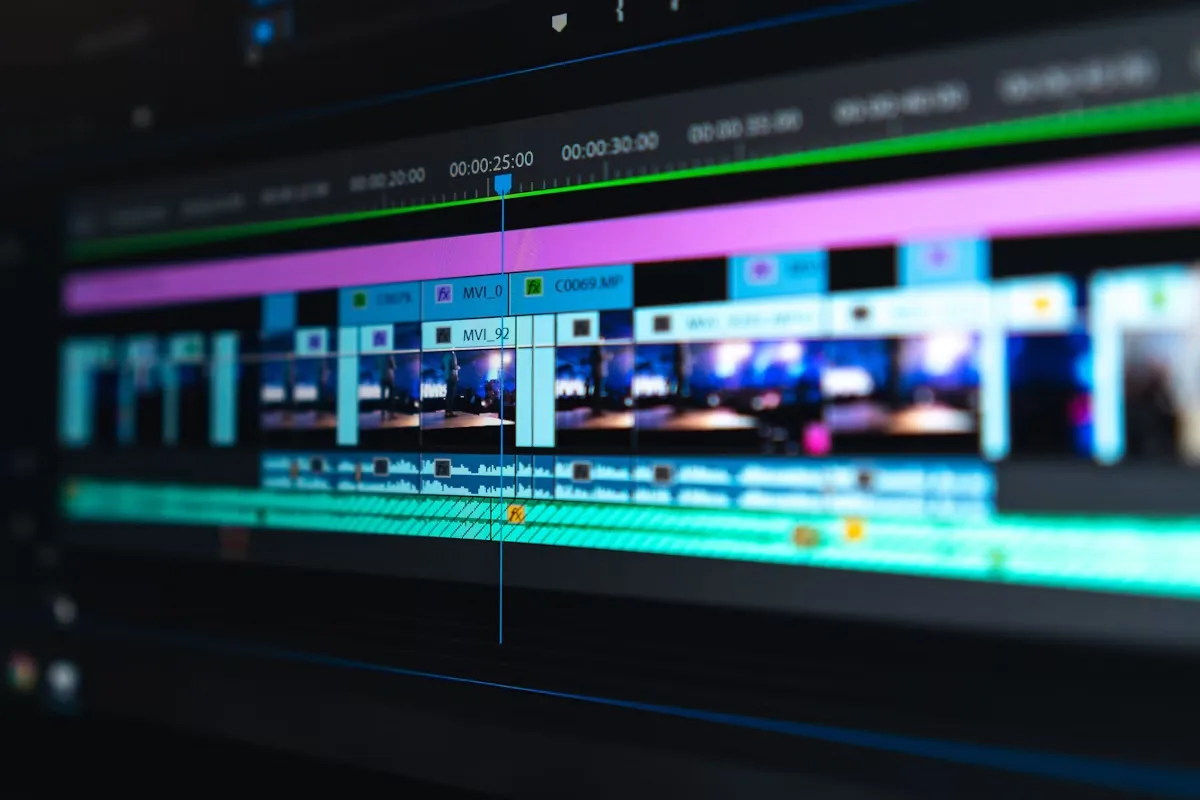
Here’s the counterintuitive secret professionals use: lay down audio first — voiceover, music, sound effects — before cutting a single frame of picture. As No Film School explains in their story-flow editing secrets, an audio blueprint exposes pacing problems before you commit to shots. Once the audio rhythm feels right, dropping in picture becomes fast. PremiumBeat’s Video Editing 101 workflow calls this building a string-out: lay every usable take in story order, then refine from rough cut to fine cut to picture lock in passes.
When the footage is bad: If your shoot was shaky, apply stabilization (Warp Stabilizer in Premiere, Stabilizer in Resolve) to a selects reel first — faster than stabilizing every clip individually. Phone-mic audio? Section 5 will rescue it.
2. Pick the Right Editor (and Don’t Pay Until You Hit a Wall)
You don’t need a subscription to start editing. Start free, and upgrade only when you hit a specific limitation. For a deeper breakdown, see this guide to video editing software.
| Software | Price | Best for |
|---|---|---|
| CapCut | Free | Social short-form, auto-captions |
| DaVinci Resolve | Free (Studio $295) | Serious learners, color, long-form |
| iMovie | Free (Mac) | Total beginners |
| Premiere Pro | $22.99/mo | Industry standard, teams |
| Final Cut Pro | $299 one-time (Mac) | Solo creators, fast workflows |
Match the tool to your content. Talking-head and podcast editors should try text-based editors like Descript, where you delete words in a transcript and the video cuts itself. Social creators thrive in CapCut. Long-form YouTube and film work belongs in Premiere, Resolve, or Final Cut. DaVinci Resolve is the standout free option — it does 4K UHD 60fps, full 10-bit ProRes, and professional color, with the Studio tier only mattering for HDR and above-UHD delivery. If you’re filming with action cameras or phones, CapCut or Resolve free will handle it effortlessly.
3. Master the Seven Cuts Every Editor Needs
Cuts are the grammar of editing. Learn these seven and you can assemble any video. Transitions are the punctuation — used sparingly they add meaning; overused they scream amateur.
J-cut and L-cut: transitions with no effect
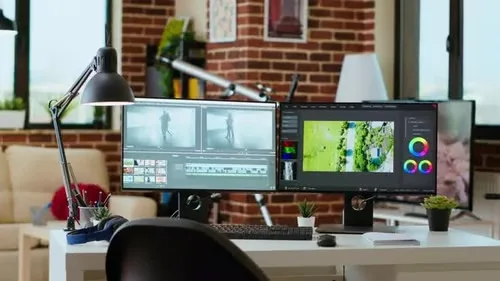
In a J-cut, the next scene’s audio starts before its picture — you hear the future before you see it. It pulls viewers into a new environment and makes dialogue feel natural. In an L-cut, current audio carries over after the picture cuts to the next shot. Perfect for reaction shots and hiding edit points. Both are invisible, which is the whole point.
Jump cut, match cut, cross-cut
A jump cut is two shots of the same subject from slightly different angles — intentionally jarring, and the backbone of modern short-form. When you want smoothness, cover it with B-roll or a subtle zoom. A match cut joins two scenes on matched motion, shape, color, or composition — a spinning wheel to a spinning record — building continuity in a single frame. Cross-cutting intercuts two simultaneous actions to build tension; shorten the shots as tension rises, lengthen them at the release.
Cutaway and cut on action
A cutaway is a brief shot of a related detail — hands on a keyboard, the object being discussed. It’s the cleanest way to splice two takes together without a visible jump. If you learn only one trick for hiding bad edits, learn this one. Cut on action means cutting mid-gesture — a hand raising, a door opening. The viewer’s eye follows the motion and never notices the cut. Cutting before movement completes is a classic amateur tell.
When the footage is bad: A cutaway hides almost anything — a flubbed line, a camera bump, a focus pull. Splice five bad takes of the same sentence together under cutaways and nobody will ever know.
4. Pacing: Trim Ruthlessly and Win the First Three Seconds
If a moment adds no information or energy, cut it. End a beat early, not late — “letting it breathe” usually adds drag. Trim dead air, filler words, and false starts with a ripple delete so gaps close automatically.
On short-form, cut every few seconds — even a subtle reframe resets attention; static talking-head shots are the number-one drop-off point. Vary shot length so it doesn’t feel robotic. In montages, cut on every second or fourth downbeat — cutting on every beat flattens the rhythm. Add one deliberate silent beat before your most important moment.
Win the first three seconds. Lead with your most interesting frame, a shock statement, or a direct question. After picture lock, walk away for an hour, then watch full-screen once and mark every spot that drags. Fresh eyes catch what fatigue hides.
5. Audio First: The Numbers That Make Sound Professional
Audio is half your video, and bad audio is unforgivable — viewers will tolerate soft focus but click away from muffled dialogue in seconds. Test your mic before every shoot; here’s a solid how-to-test-a-mic guide with a checklist.
Mix in this order: dialogue, then SFX, then music
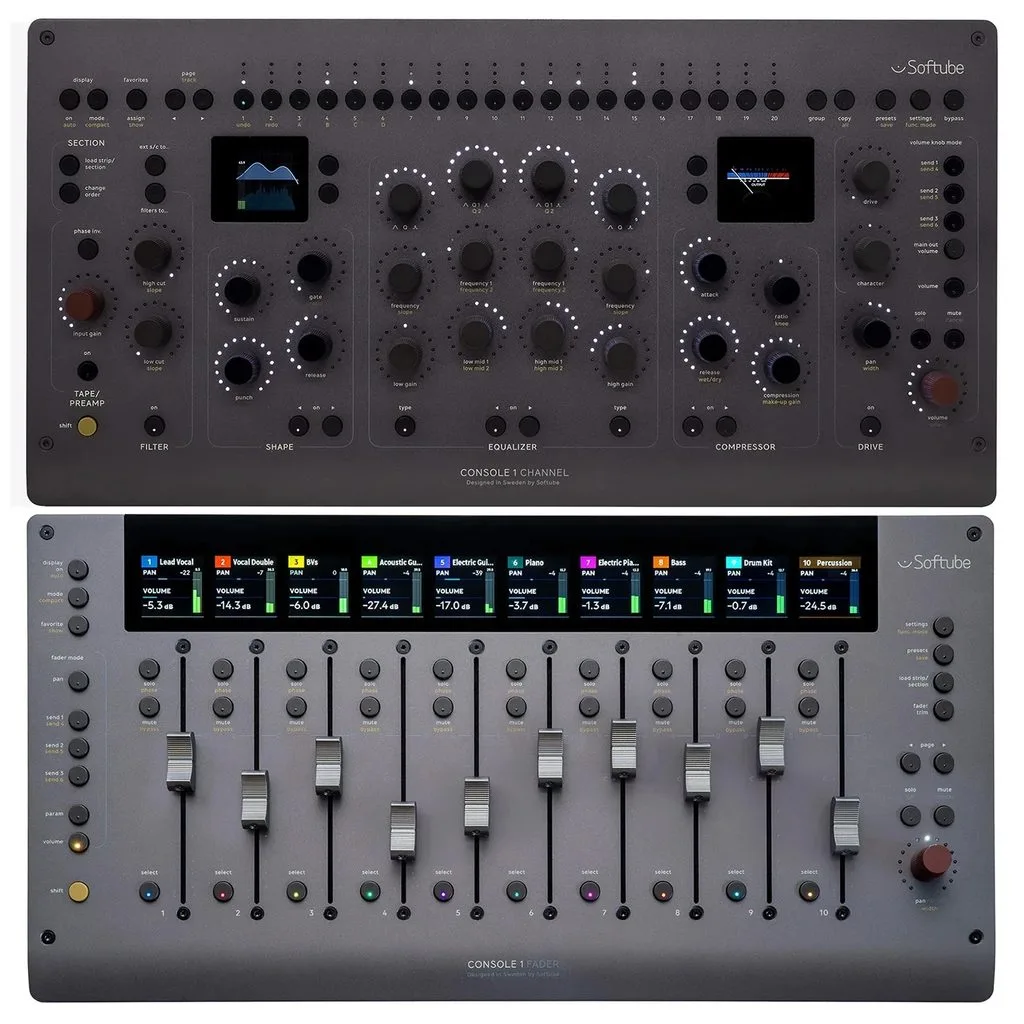
Set dialogue first — it’s your anchor. Everything else sits around it. Mixing music first is the number-one cause of buried dialogue. Hit these concrete levels:
| Element | Target level |
|---|---|
| Dialogue / VO | −6 to −12 dB |
| Sound effects | −10 to −20 dB |
| Music under dialogue | −20 to −30 dB (felt, not listened to) |
| Music in gaps | −12 to −18 dB |
| Final peak | ≤ −3 dB, true peak −1 dBTP |
Process dialogue in this exact order
Noise reduction first, then high-pass below 80 Hz (cuts rumble), cut 200–400 Hz (removes muddiness), gentle boost 2–5 kHz (adds presence), compression at 3:1 ratio with 3–6 dB gain reduction (evens volume), then de-esser at 5–8 kHz (tames sibilance). Compressing noisy audio before noise reduction amplifies the hiss. Order matters.
Ducking, LUFS, and room tone
Use audio ducking — automatically lower music when dialogue plays. Premiere’s Essential Sound, Resolve’s Fairlight sidechain, and CapCut’s AI ducking all do it. It’s the single highest-impact fix for amateur sound.
Normalize to platform loudness: YouTube ≈ −14 LUFS integrated, podcasts ≈ −16 LUFS, broadcast EBU R128 = −23 LUFS. YouTube only turns louder audio down — mixing hotter gains nothing and costs dynamic range. Check via YouTube’s “Stats for nerds → content loudness.” Finally, lay 20–30 seconds of recorded room tone under your whole timeline so cuts don’t announce themselves. Silence is a tool, not an absence.
When the footage is bad: Phone-mic audio can be rescued with aggressive noise reduction, a high-pass at 100 Hz, a 3–5 kHz presence boost, and compression. It won’t sound like a lavalier, but it’ll be intelligible.
6. B-Roll and Cutaways: Hide Your Cuts and Keep Eyes on Screen
B-roll is everything that isn’t your main shot — close-ups, establishing shots, detail shots. Shoot four to six times more B-roll than your final video length. For every topic, capture at least one wide, one medium, and several close-up or detail shots held 10–15 seconds each.
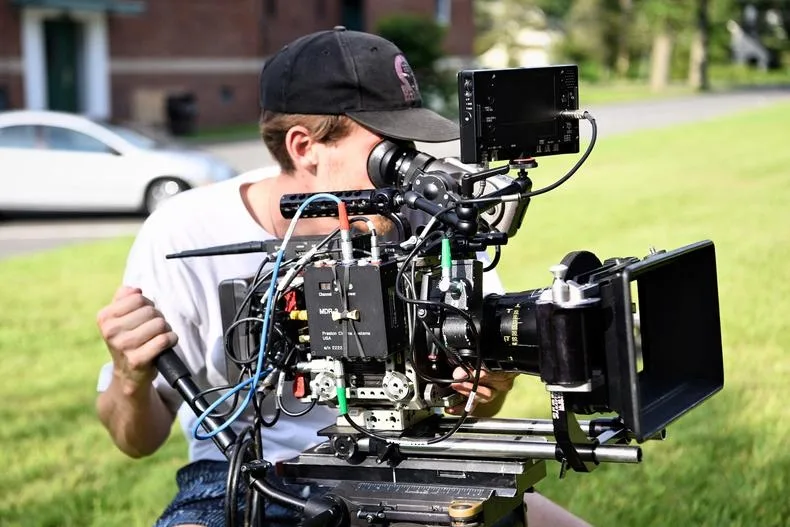
Every time narration mentions an object, place, or action, cover it with B-roll. It keeps eyes on screen during explanation-heavy stretches — and only about 6% of short-form clips use B-roll, so it’s a genuine differentiator. Introduce B-roll with an L-cut (audio leads) for a seamless transition. Keep a personal B-roll library of generic texture shots.
When the footage is bad: B-roll is your best friend. A badly framed take, a focus pull, a camera bump — all vanish under a well-timed cutaway. If your A-roll is a disaster, lean into B-roll and let audio carry the story.
7. Transitions: Use Them Like Seasoning, Not the Main Course
Straight cuts handle 95% of edits within a scene. Use cross-dissolves — no longer than 12 frames, never more than 25% of the outgoing clip — only to signal passage of time. Star wipes and spins scream amateur. J-cuts and L-cuts are your real transitions: they change scene with no effect at all. When in doubt, cut.
8. Color Correct First, Then Grade (It’s Lightroom That Moves)
Here’s where your photo editing skills pay off. Color correction is the technical pass — exposure, white balance, contrast, shot-to-shot matching to a neutral Rec.709 base. Color grading is the creative mood on top — teal and orange, film emulation, a desaturated thriller look. Always correct first, then grade. Skipping correction makes the grade fall apart across scenes.
Use scopes, not your monitor
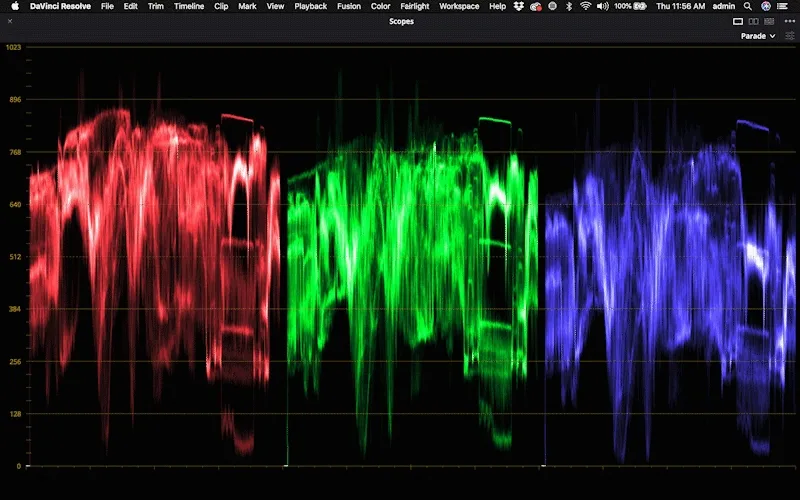
Trust the waveform for exposure, the vectorscope for hue and saturation, and the parade scope for RGB balance. “Scopes first, style second” — match shots before applying any look. If you come from still photography, the RAW vs JPEG debate maps directly to log footage: log captures far more dynamic range, just like RAW, but requires a technical LUT before grading. Our color spaces guide covers sRGB, Adobe RGB, and Rec.709 in detail. For a deeper walkthrough, see this color grading guide.
Know your LUT types
Input or technical LUTs convert log or raw footage to your working space — apply them first, mandatory for log. Creative or look LUTs apply last as style. Never apply a creative LUT to uncorrected log footage — you’ll get muddy, unusable results. Work on adjustment layers or nodes so everything is non-destructive. Keep saturation under control — heavy saturation breaks realism.
When the footage is bad: Overexposed highlights rarely recover in 8-bit — underexposure is more forgiving. Noisy low-light footage responds well to temporal denoising. Badly framed shots can be punched in to 110–120% without visible softness. If a shot is beyond saving, replace it with a cutaway.
9. Keyboard Shortcuts and AI Tools: Cut Your Edit Time in Half
Speed isn’t about rushing — it’s about spending your time on creative decisions, not mechanical ones. Three habits double your editing speed.
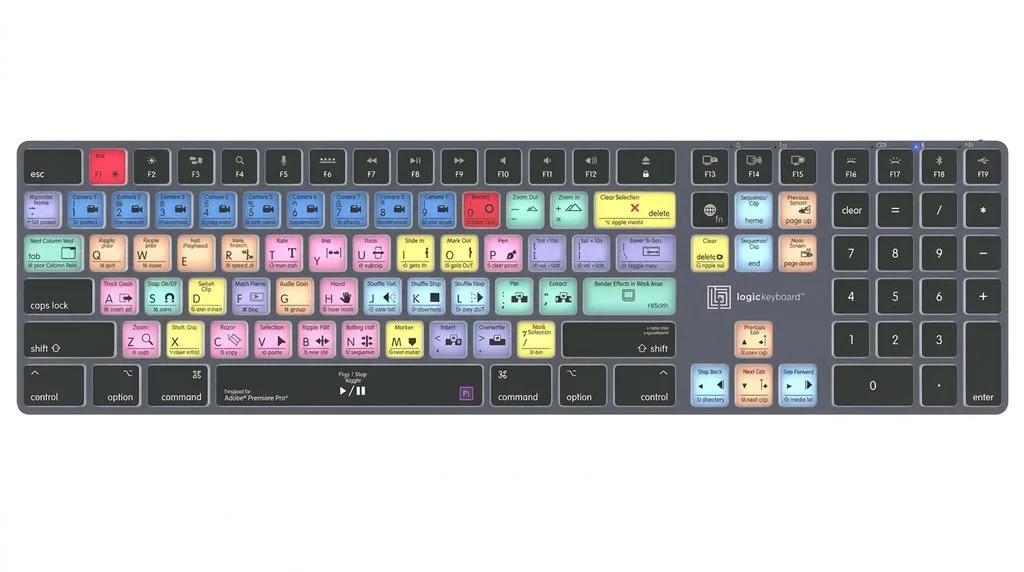
First, master J-K-L shuttle: J plays backward, K pauses, L plays forward (tap again for 2×, 4×, 8×). Find the exact frame with J-K-L, then cut. Second, use Q and W for ripple trim — Q deletes everything before the playhead and closes the gap, W deletes everything after. Use Cmd/Ctrl+K to cut at the playhead on all tracks. Third, custom-map a three-key rough-cut set: assign keys 1, 2, and 3 to “Start to Playhead (ripple trim),” “Split Clip,” and “End to Playhead (ripple trim).” It cuts rough-assembly time in half.
Let AI do the first pass (the tedious 80%)
In 2026, AI handles the boring work: auto-captions, silence and filler-word removal, auto-reframe from 16:9 to 9:16, scene detection. Spend your time on the creative 20%. Text-based editing — Descript, Premiere’s Text-Based Editing, Resolve’s Transcription — lets you edit by deleting words in a transcript, cutting rough assembly time up to 70% for interviews and podcasts. OpusClip and CapCut auto-extract short-form clips from long-form with dynamic captions.
For soft or low-resolution footage, an AI upscaler can reconstruct detail — useful for old SD footage or a punch-in that went too far. If a take is genuinely soft, our guide to fix blurry photos covers the same sharpening principles that apply to video frames.
10. Titles, Captions, and Lower Thirds That Don’t Suck
Add captions — animated, one to two words per beat. Captions appear in roughly 80% of high-performing clips, and about 79% use animated word-by-word captions rather than static. Place them in the lower third but not at the very bottom — platform UI overlays usernames and captions.
For lower thirds, use one legible sans-serif in two weights (regular and bold) — mixing two font families reads amateur. Keep text on screen three to five seconds, limit lines to about 55–60 characters, and use a background bar for legibility. Frame.io’s guide to lower-third design is the definitive reference. On vertical 9:16 video, keep text out of the top 14% and bottom 35%.
11. Speed Ramps and Slow Motion: The Frame-Rate Math
Real slow motion comes from shooting extra frames. 60fps on a 30fps timeline gives clean 50% slow; 120fps on a 24fps timeline gives genuine five-times slow. Below those ratios, your editor must invent frames — optical flow is a rescue tool, not a plan. It works on clean motion and smears on chaos. Stabilize footage first and avoid extreme slowdowns.
Ease every ramp: add velocity keyframes before and after the peak moment with ease in and out so the speed change isn’t a hard step. Speed ramps synced to music cues read as intentional. Keep shutter at roughly 1/(2×fps) for natural motion blur.
12. Export Settings by Platform (So It Doesn’t Look Compressed)
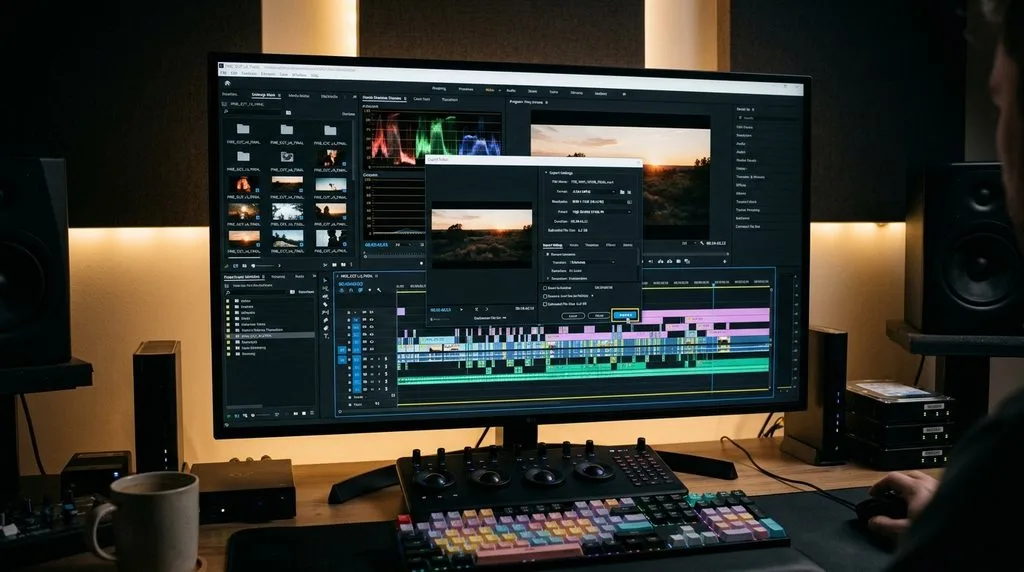
Every platform re-encodes 100% of uploads. Your file never reaches viewers — you’re feeding their transcoder a clean source. Export at each platform’s native spec, and check Wistia’s exporting guide for NLE-specific recipes. The table below distills YouTube’s official recommended upload encoding settings and current platform specs.
| Platform | Resolution / Aspect | Codec | Bitrate (SDR) | Notes |
|---|---|---|---|---|
| YouTube long-form | 1080p or 1440p (2560×1440) trick; 4K for 4K channels, 16:9 | H.264 High, MP4 fast-start | 1080p: 8/12 Mbps; 1440p: 16/24; 4K: 35–45/53–68 | Loudness −14 LUFS, peak −1 dBTP. Audio AAC 48kHz 384 kbps |
| YouTube Shorts | 1080×1920, 9:16 | H.264 | 8–12 Mbps | Playback tops out at 1080p |
| Instagram Reels | 1080×1920, 9:16 | H.264 or HEVC | 8–12 Mbps VBR (cap 25) | HDR: HEVC 10-bit HLG. Enable “Upload at highest quality” |
| TikTok | 1080×1920, 9:16. Do NOT upload 4K | H.264 High, Level 4.2 | 8–12 Mbps @30, up to 16 @60 | Turn on “Upload HD.” Tone-map HDR to SDR Rec.709 first |
| 1920×1080, 16:9 | H.264 MP4 | 8–12 Mbps | Native video favored; captions essential | |
| Archive master | Native resolution | ProRes / DNxHR / H.265 10-bit ~60 Mbps | High | Render once, batch-encode platform versions |
The 1440p trick and the washed-out fix
For YouTube, exporting at 1440p even on a 1080p channel measurably improves delivered quality — VMAF testing scores 1080p uploads at 97.3, 1440p at 99.95, and 4K at 99.92, so 1440p captures the entire gain at half the render time of 4K. On TikTok and Instagram, 4K does nothing — TikTok delivers a maximum of 1080p and its downscale is worse than yours.
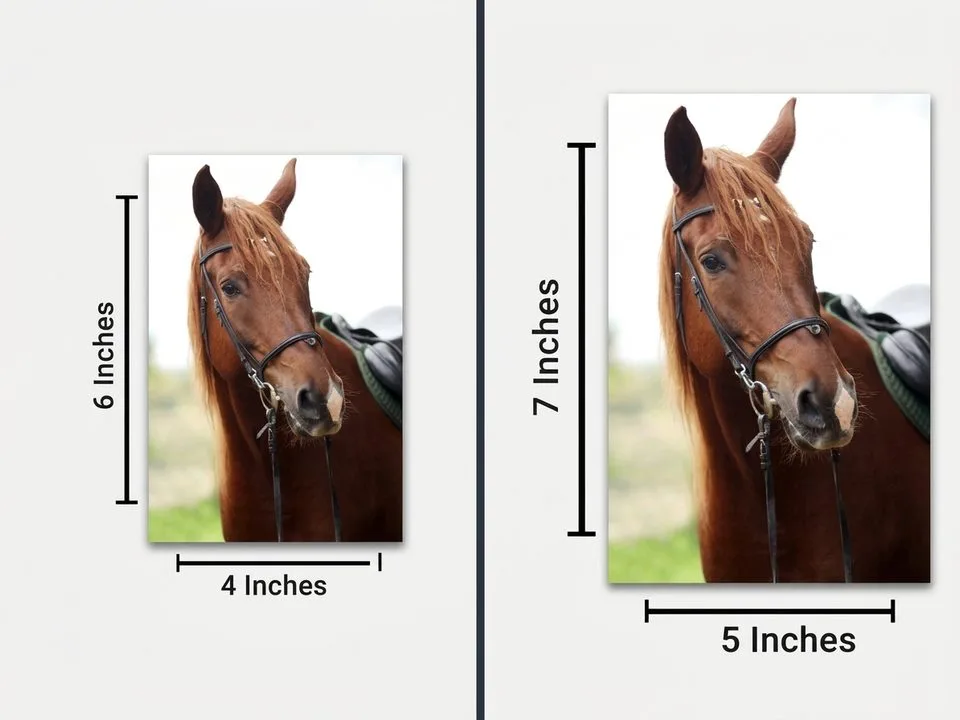
If your upload looks washed out, it’s usually a gamma or color-tag mismatch, not compression. Export with the Rec.709-A tag (in Resolve) and turn on fast-start so the moov atom is at the front. For TikTok, tone-map HDR sources to SDR before export. And don’t forget your thumbnail size — a great edit deserves a clickable thumbnail.
13. Five Beginner Mistakes to Avoid (and How to Fix Each)
- Music at dialogue level. Fix: duck music −20 to −30 dB under speech.
- Transition spam. Fix: straight cuts plus an occasional dissolve. J-cuts and L-cuts are your real transitions.
- Over-saturation and uncorrected white balance. Fix: correct to a neutral base first, grade second. Trust the scopes.
- Exporting without checking on a phone speaker. Fix: it’s the least forgiving playback device — if dialogue sounds clear there, it’ll sound clear anywhere.
- No backup. Fix: 3-2-1 rule, every shoot, no exceptions.
Also: don’t apply compression before noise reduction, don’t cut before movement completes (cut mid-action), and keep text on screen at least three to five seconds.
14. Final Pro Habits
Render one high-quality master archive, then batch-export platform-specific encodes from it. Export a 720p preview for review. Keep a style library — your go-to lower third, favorite grade, caption preset — so every project starts faster. And practice: edit small projects regularly, and remember the best editors are the ones who cut the most.
Frequently Asked Questions
What’s the difference between color correction and color grading?
Color correction fixes technical problems — exposure, white balance, shot matching — to a neutral base. Color grading adds creative mood and style on top. Always correct first, then grade; skipping correction makes the grade fall apart across scenes.
What LUFS should I export for YouTube?
Around −14 LUFS integrated with true peaks at −1 dBTP. YouTube only turns louder audio down, so mixing hotter gains nothing and costs dynamic range. Podcasts target roughly −16 LUFS, and broadcast EBU R128 is −23 LUFS.
How do I fix muffled or quiet dialogue?
Process in order: noise reduction, high-pass below 80 Hz, cut 200–400 Hz for muddiness, gentle boost 2–5 kHz for presence, then light compression at 3:1. Keep dialogue between −6 and −12 dB and duck music −20 to −30 dB under it.
What’s the best free video editing software?
DaVinci Resolve is professional-grade and free for serious learning; CapCut is best for quick social edits with auto-captions; iMovie is simplest for Mac beginners. Start free and upgrade only when you hit a specific limitation.
Why does my video look worse after I upload it?
Platforms re-encode 100% of uploads. Common causes: low bitrate (feed them 8–12 Mbps+), a wrong gamma color tag (export Rec.709-A with fast-start), or HDR footage on TikTok (tone-map to SDR first). For YouTube, exporting at 1440p even on a 1080p channel measurably improves quality.
What is a J-cut vs an L-cut?
In a J-cut, the next scene’s audio starts before its picture — you hear the future before you see it. In an L-cut, the current audio carries over after the picture changes. Both make edits feel invisible and are transitions with no effect.
How much B-roll do I need?
Shoot four to six times your final video length. For each topic, capture at least one wide, one medium, and several close-up or detail shots held 10–15 seconds each. Use B-roll to hide cuts between takes and to show whatever the narration mentions.
How do I edit faster?
Three habits: custom-map keys 1, 2, and 3 to ripple-trim-start, split, and ripple-trim-end; use J-K-L to shuttle and Q/W to ripple trim; and let AI do the first pass — auto-captions, silence removal, auto-reframe — while you own the creative 20%. Use proxies for 4K+ footage.