How to Recover Recently Deleted Photos (From Any Device, Step by Step)
You know that feeling. You’re tidying up your camera roll, swiping through duplicates, and then your stomach drops. That one photo — the one you actually needed — is gone. Maybe you tapped “Delete All” by accident. Maybe your kid got hold of your phone. Maybe a memory card hiccuped mid-transfer. Whatever happened, take a breath. Most deleted photos aren’t actually gone yet. You’ve got a window, and this guide walks you through every way to pull them back.
Rule Number One: Stop Using the Device
Here’s the thing most people get wrong. When you delete a photo, your phone or camera doesn’t immediately shred it. It just marks that space as “available” and waits for something new to overwrite it. Every photo you take, every app you install, every update you run after the deletion is a fresh coat of paint over the evidence.
So the second you realize something’s missing, put the phone down. Turn on airplane mode if you have to. Don’t take “just one more picture” to test the camera. Don’t install a recovery app onto the same phone you’re trying to rescue — download it on a computer instead. The less you touch the device, the better your odds. This isn’t superstition. It’s how file storage works, and it’s the single biggest factor between “got them back” and “they’re gone for good.”
The Clock: How Long Deleted Photos Actually Stick Around
Deleted photos don’t vanish instantly. They sit in a trash folder, a “Recently Deleted” album, or a recycle bin for a set window. Miss that window and the platform wipes them automatically. Here’s what you’re up against:
| Where the photo lived | Retention window | Where to find it |
|---|---|---|
| iPhone / iPad Photos | 30 days | Albums → Recently Deleted |
| Google Photos (Trash) | 30 days | Library → Trash |
| Samsung Gallery (Recycle Bin) | 15 days | Gallery → Recycle Bin |
| OneDrive | 30 days | Recycle bin |
| Dropbox | 30 days (180 on Pro/Business) | Deleted files |
| Windows Recycle Bin | Until you empty it | Desktop → Recycle Bin |
| Mac Trash | Until you empty it | Dock → Trash |
| Camera memory card | No trash — recover immediately | Card-reader + computer |
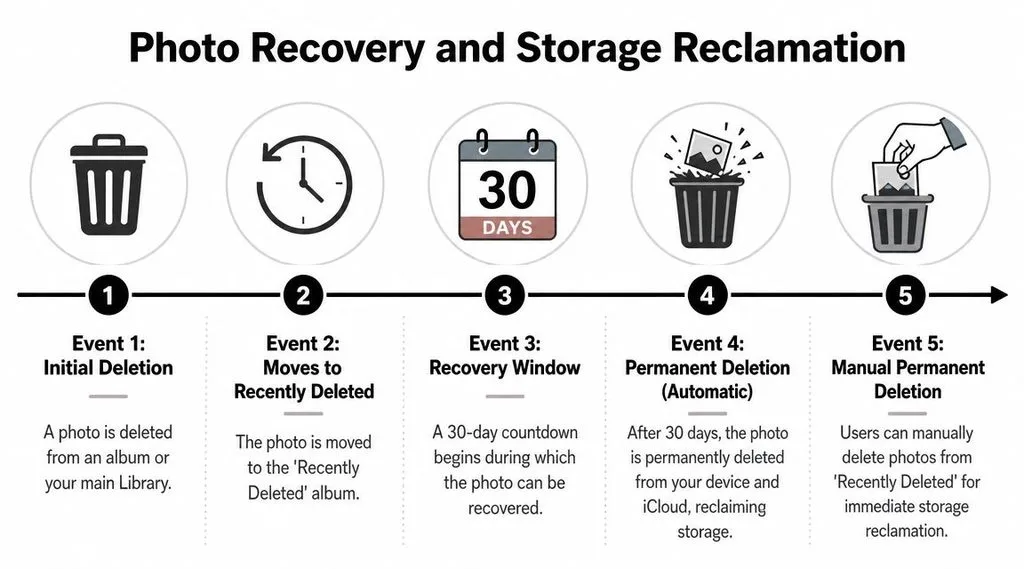
Notice the pattern. Phones and cloud services give you roughly a month. A camera card gives you zero — which is why, for photographers, that “stop shooting” rule matters even more. If you’re within the window, recovery takes about two minutes. If you’re past it, skip to the later sections on software and professional recovery.
On Your iPhone: Check the Recently Deleted Album First
Every iPhone keeps deleted photos in a holding album for 30 days. Most people never look there, and that’s where the vast majority of “lost” photos are sitting this whole time.
Open the Photos app and tap Albums at the bottom. Scroll past your regular albums until you hit Utilities. Tap Recently Deleted. You’ll be asked for your passcode or Face ID — that’s normal, Apple locks it down for privacy. Inside, you’ll see every photo you’ve deleted in the last month, each one stamped with how many days it has left. Tap Select, tap the photos you want, then tap Recover. They go straight back to your library. The official steps cover the same flow if you get stuck.
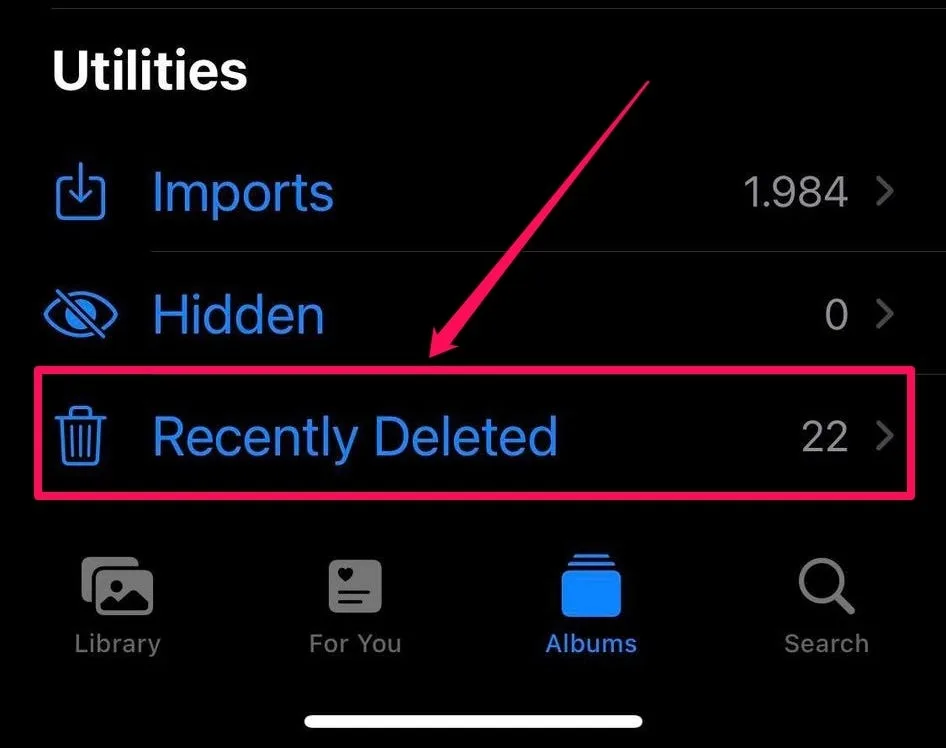
If you use iCloud Photos, the same album syncs across devices — a photo you deleted on your phone shows up in Recently Deleted on your iPad and Mac too. If you emptied that album, your next best shot is an older iCloud or computer backup. We’ll come back to that.
On Android: Trash Location Depends on Your Phone
Android doesn’t have one single trash can. It depends on which gallery app and which cloud backup you use. Start with the most common ones.
If you use Google Photos, open the app, tap Library at the bottom right, then tap Trash. Anything deleted in the last 30 days sits there. Tap and hold a photo, then hit Restore. If you use your phone maker’s gallery app — Samsung, for instance — look for a Recycle Bin inside the gallery’s three-dot menu. Samsung only keeps items 15 days, so move fast there too.
A word of warning: skip the “root your phone to recover everything” advice you’ll see floating around forums. Modern Android phones encrypt storage by default, and rooting usually triggers a factory reset — which wipes exactly the photos you’re trying to save. If the trash folders come up empty, a recovery app running on a computer is your safest next move, not rooting.
From Cloud Storage: Check the Trash, Not Just Your Files
People delete a photo on their phone and assume it’s gone from the cloud too, or vice versa. They’re usually wrong. Cloud services keep their own trash, and it’s often separate from your phone’s.
For Google Photos, the restore from trash flow is the same on web and mobile: open Trash, select, restore. OneDrive keeps deleted files in its recycle bin for 30 days — sign in on the web and check the left sidebar. Dropbox shows deleted files under “Deleted files” and lets you restore them with a click. If you shared the photo with anyone, ask them — a shared copy might still live in their account even after yours is gone.
One long shot worth trying: if you’ve ever exported your data, those archives contain copies. Google Takeout, for example, lets you download everything the service had at the moment you ran the export — including photos you’ve since deleted. It’s not fast and it’s not guaranteed, but if the trash is empty and the photos matter, it’s worth checking.
On Your Computer: Recycle Bin, Trash, and Backups
If the photos lived on your laptop or desktop, recovery is usually the easiest of all. On Windows, double-click the Recycle Bin on your desktop. Sort by date deleted, find the photos, right-click, and hit Restore. They go back to wherever they were. On a Mac, click the Trash icon in your dock, find the files, right-click, and Put Back.
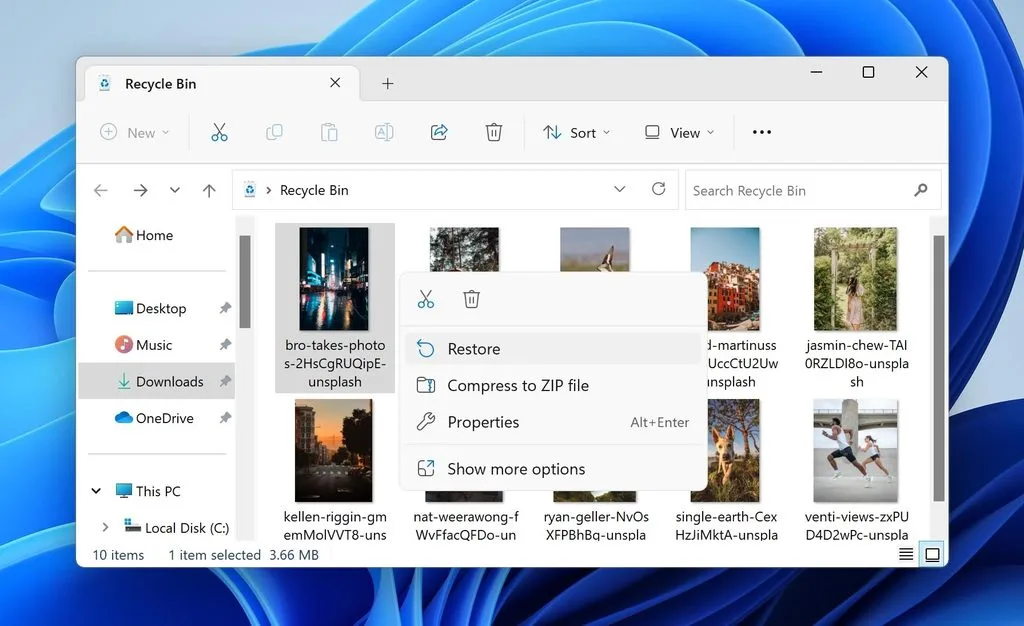
If you already emptied the bin, don’t write anything new to that drive — remember the overwrite rule — and reach for a recovery tool. Windows also keeps File History snapshots if you turned it on, and Macs have Time Machine. Both let you rewind a folder to an earlier date and pull the old version back. If your files synced through OneDrive, the restore deleted files page walks through the web recycle bin, which is separate from your local one.
From a Camera Memory Card: Act Before You Shoot Again
This is where photographers panic the most, and with good reason. Camera cards don’t have a trash folder. When you delete a photo on the camera — or format the card by mistake — it’s gone from the camera’s view immediately. But the data is still on the card until something overwrites it.
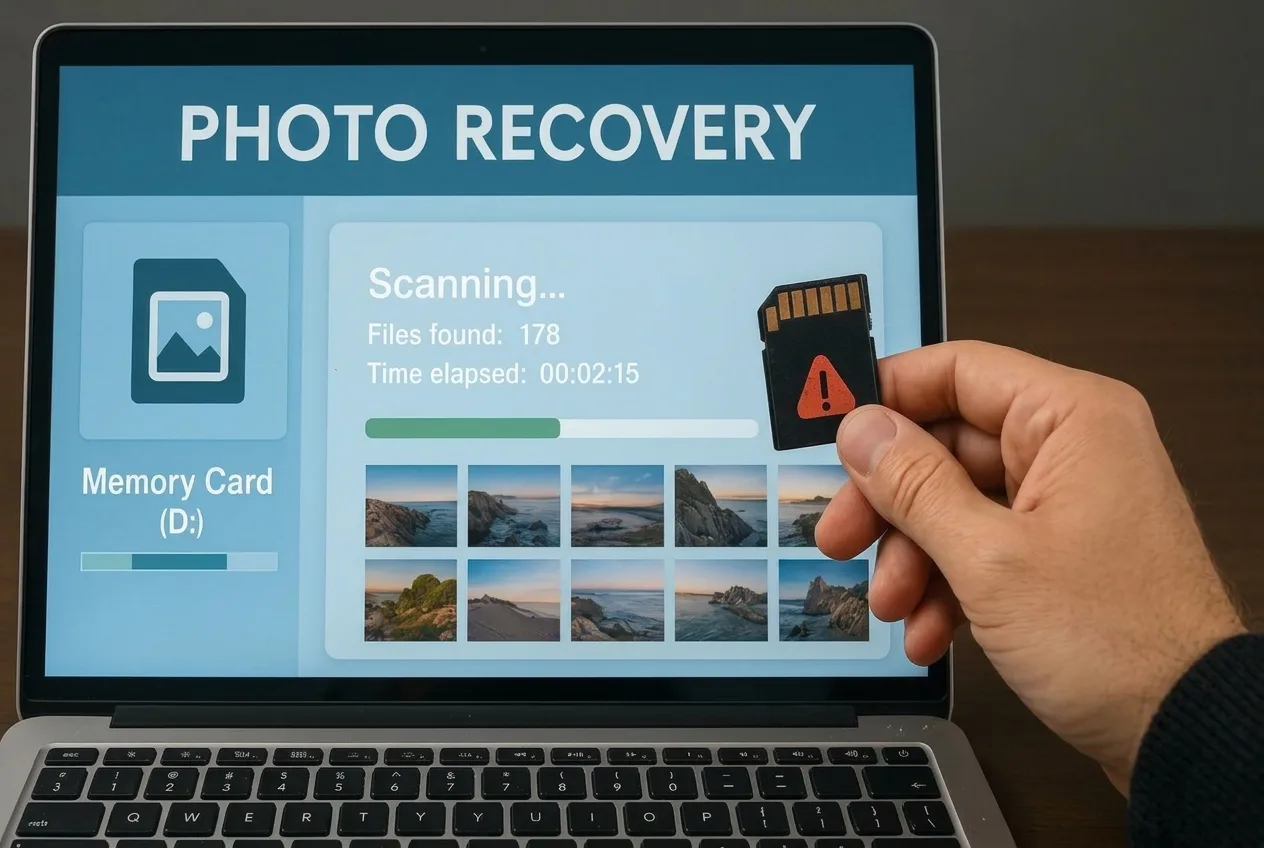
First, pull the card out of the camera right now. Do not take another photo. Do not format it “just to see.” Put it somewhere safe. Then plug it into a computer with a card reader and run a reputable recovery tool. Most tools let you preview what they found before you pay anything, so you’ll know right away whether your photos are salvageable. If you’re not sure how much your card holds or which format you shot, a quick check of memory card capacity can help you estimate how long a full scan will take.
Even a formatted card often comes back mostly intact, because a quick format only rewrites the file table — not the actual photo data. A deep scan reads the raw card and rebuilds photos from the fragments. Success rates drop fast the more you’ve used the card since the deletion, so speed matters here more than anywhere else.
When the Photos Are Really, Truly Gone
Let’s be honest. Sometimes you’re past every window. The trash was emptied. The card was overwritten. The phone was factory reset. At that point, software can’t help, and anyone promising otherwise is selling you something.
What you can do: check every backup you own — old computer backups, cloud backups, even a friend’s phone you once AirDropped the photo to. If the photo existed as a physical print, you can scan old prints with a phone app and get a surprisingly good digital copy back. If the print is faded or damaged, you can restore old photos digitally to bring back detail. It’s not the original file, but for a keepsake photo, a scanned and restored print beats nothing.
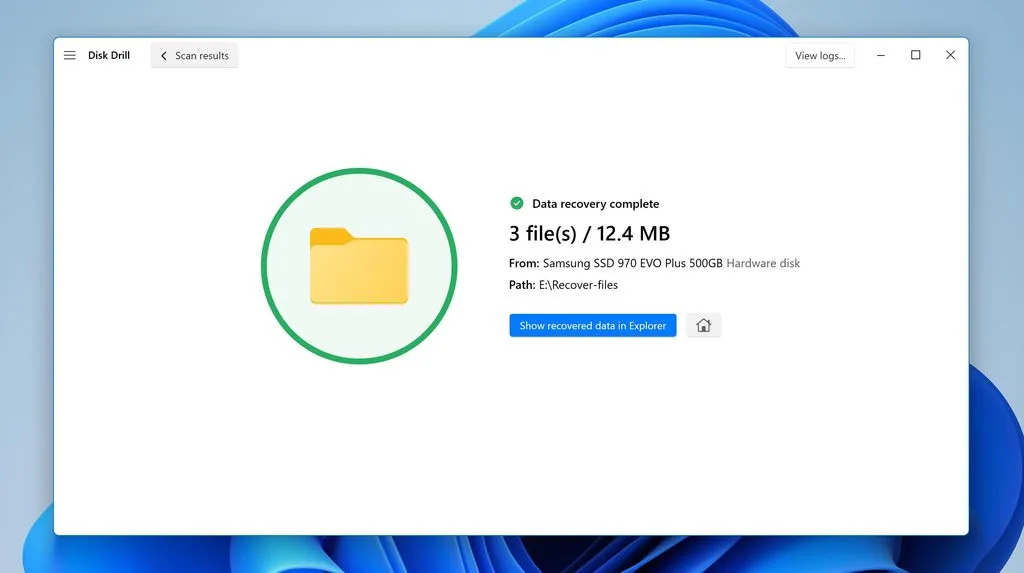
For irreplaceable work — a wedding shoot, a once-in-a-lifetime trip — professional data-recovery labs exist. They cost real money, they take days, and they work best when you stop using the drive immediately. But if the photos are that important, it’s an option. Just don’t run recovery software on a drive you’re going to send to a lab; you can make things worse.
Six Habits That Kill Your Recovery Chances
You’d be surprised how many people go from “easily recoverable” to “permanently gone” in the hour after they notice. Avoid these:
- Taking more photos on the same phone or card. Every new shot overwrites old data.
- Installing a recovery app on the phone itself. The app’s own files overwrite what you’re trying to save. Run recovery from a computer.
- Restarting or factory-resetting the phone to “fix” a glitch. A reset wipes everything.
- Formatting the memory card to see if it “fixes” corruption. It doesn’t, and it destroys the file table.
- Emptying the trash/recycle bin to “free up space” before checking it. That’s the last step, not the first.
- Waiting. Every day that passes, every sync that runs, every update that installs, lowers your odds. Start now.
Never Panic Again: A Backup Setup That Actually Works
Recovery is what you do when backup failed. Do the backup part right and you’ll never need most of this guide. The simplest reliable setup is the 3-2-1 rule: three copies of your photos, on two different types of storage, with one copy offsite (the cloud counts).
For most people, that means: keep the originals on your phone or computer, sync them to a cloud library automatically, and occasionally copy the whole library to an external drive. Pick solid cloud storage for photos that auto-uploads in the background so you don’t have to remember. Turn on auto-backup the day you get a new phone. Test a restore once a year — a backup you’ve never restored is a backup you don’t actually trust.
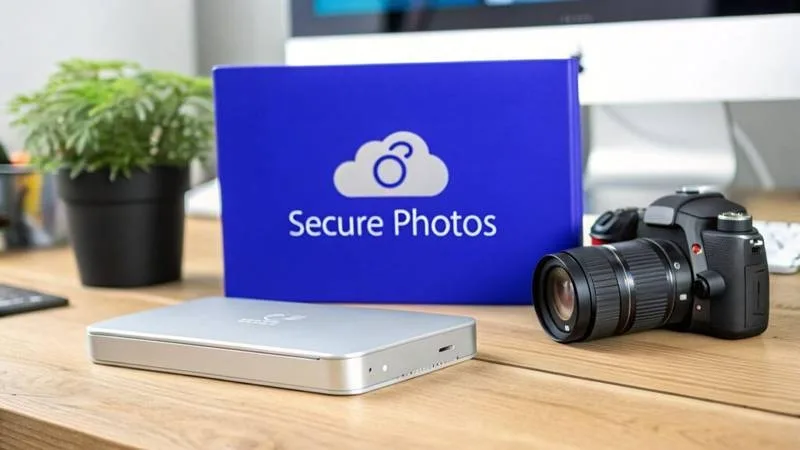
For photographers shooting on cards, adopt one habit: offload the card to two places before you format it. Format in-camera only after you’ve confirmed the backup opens. It adds five minutes to your workflow and saves you from the single most common way working photographers lose a shoot.
Frequently Asked Questions
Are permanently deleted photos gone forever?
Not always. “Permanently deleted” usually means past the trash window, but the raw data can linger on storage until overwritten. On phones with encrypted storage and no backup, recovery after the trash window is essentially impossible. On memory cards and computers, a deep scan can often still find them — if you act fast.
How long do deleted photos stay recoverable?
Most phone and cloud trash folders keep them 30 days (Samsung Gallery is 15). Windows and Mac recycle bins keep them until emptied. Camera cards have no trash, so recovery depends entirely on how much you’ve used the card since deletion.
Can I recover photos after emptying the recycle bin?
Yes, sometimes. Emptying the bin removes the pointer to the file, not the file itself. Stop using the drive immediately and run recovery software from another computer. Success drops the more the drive has been used since.
Do recovery apps work without rooting or jailbreaking?
Modern encrypted phones make deep recovery without a backup extremely difficult. Most “recovery apps” on app stores only pull from existing backups or cloud trash. Rooting or jailbreaking usually triggers a full wipe, so it’s not worth the risk.
Can I recover photos from a formatted SD card?
Often yes. A quick format only rebuilds the file table; the photo data stays on the card. A deep scan can rebuild most of it. A full (overwrite) format is much harder to recover from. Stop using the card immediately.
Will a factory reset delete my photos forever?
Yes, for all practical purposes. A factory reset wipes user data and, on modern phones, destroys the encryption keys. If you have a cloud or computer backup, you’re fine. If not, recovery is essentially impossible.
Can I recover deleted photos for free?
Yes — checking trash folders, restoring from backups, and using the free tier of most recovery tools (which let you preview and often recover a limited number of files) costs nothing. Pay only once a tool has previewed your specific photos and confirmed it can recover them.
Is it safe to use photo recovery apps?
Stick to well-known tools downloaded from official sites, and never grant a recovery app full account access to your cloud or social media. Avoid anything that promises “100% recovery of anything” — that claim is a red flag. Preview before you pay.