How to Remove Shadows from Photos: Lighten, Don’t Erase (2026 Guide)
TL;DR: The Short Answer You remove a shadow by lightening it to match the surrounding light, not by erasing it. A face or object with zero shadow looks…
TL;DR: The Short Answer You remove a shadow by lightening it to match the surrounding light, not by erasing it. A face or object with zero shadow looks…
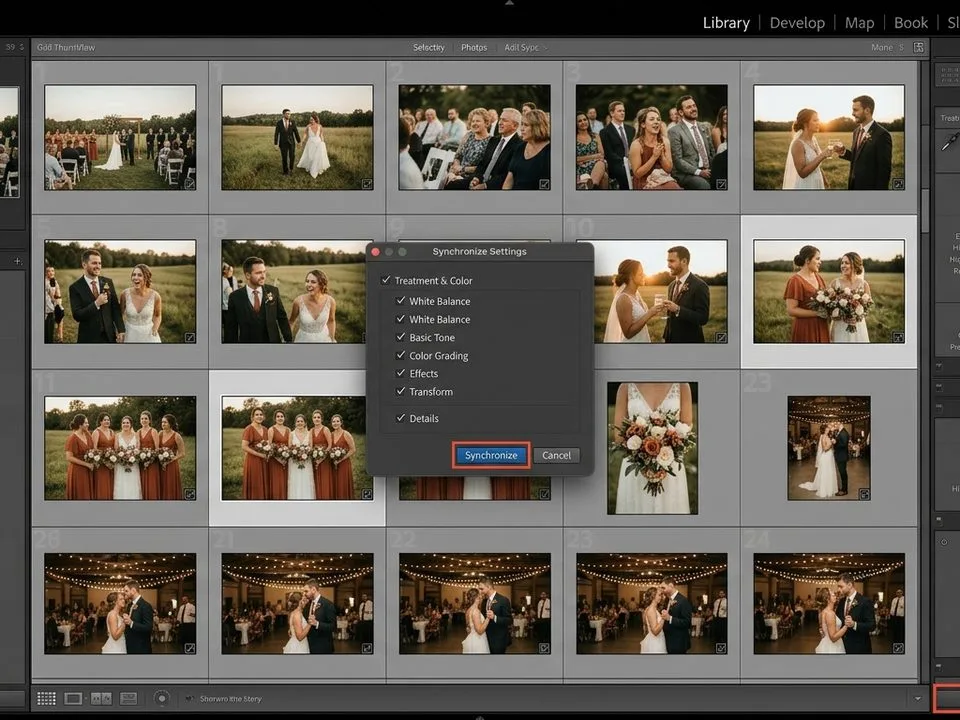
TL;DR: The Short Answer Batch editing works only if you do it in stages, and the most important stage is the one before you touch a slider: cull…
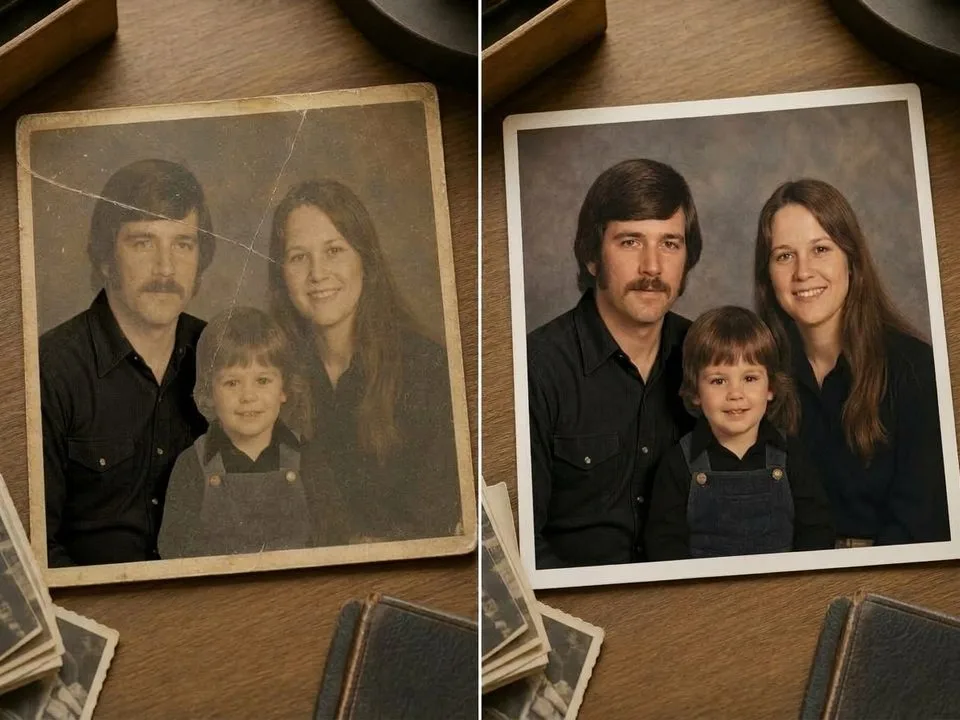
TL;DR: The Short Answer Fading follows predictable patterns — and you fix it by resetting what time removed. Scan at 600 DPI as a TIFF, then open Curves…
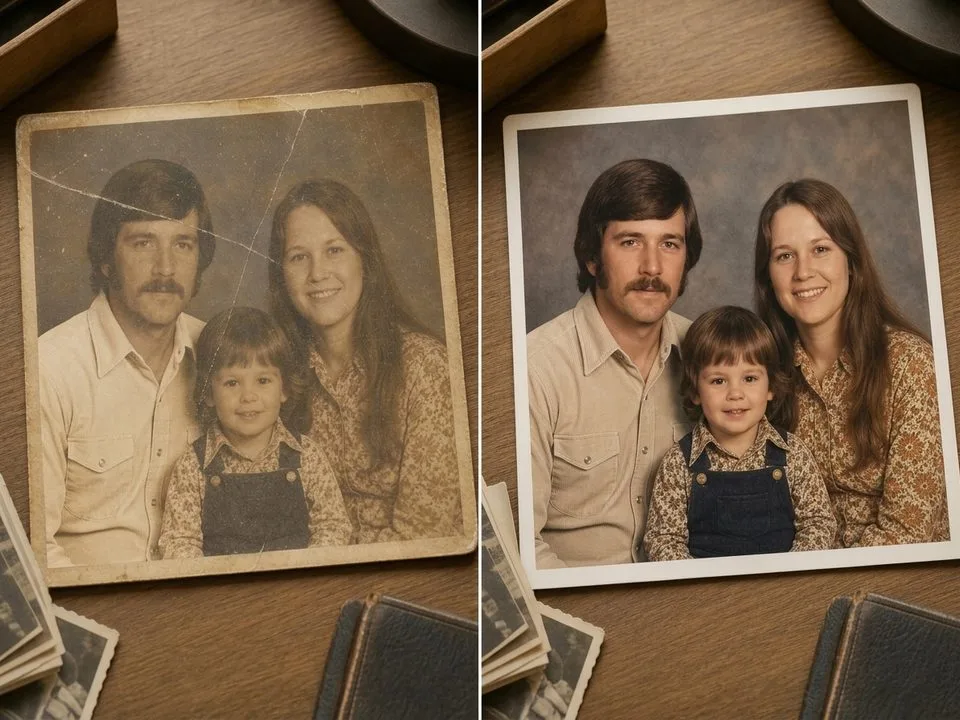
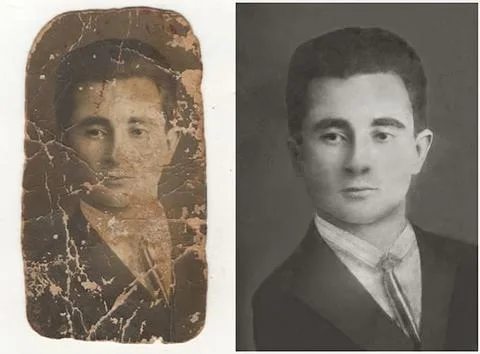
TL;DR: The Short Answer A damaged scan is usually fixable — but only if you repair the artifacts in the right order. Straighten and crop first, fix the…
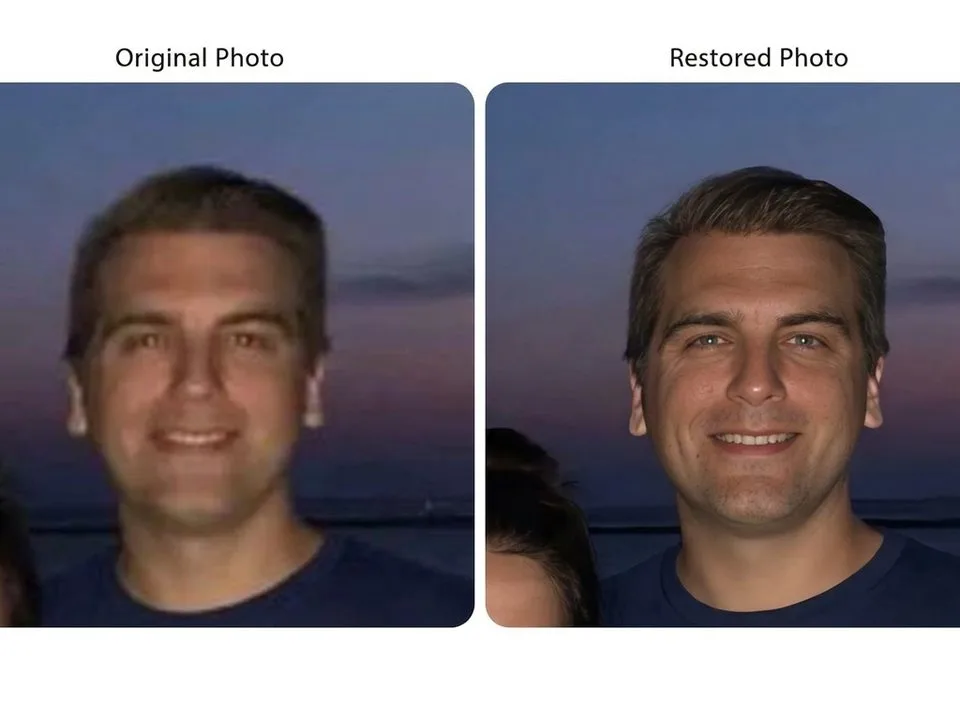
TL;DR: The Short Answer A blurry photo can sometimes be fixed — but only if you first diagnose what kind of blur it is. Motion blur (streaks in…
TL;DR: The Short Answer You fix an overexposed photo by pulling the Highlights slider first (to −50 to −100), then the Whites slider left until the histogram stops…
TL;DR: The Short Answer Underexposed photos are easier to fix than overexposed ones — shadows hold hidden detail, and RAW files recover 2–3 stops of brightness. The correct…
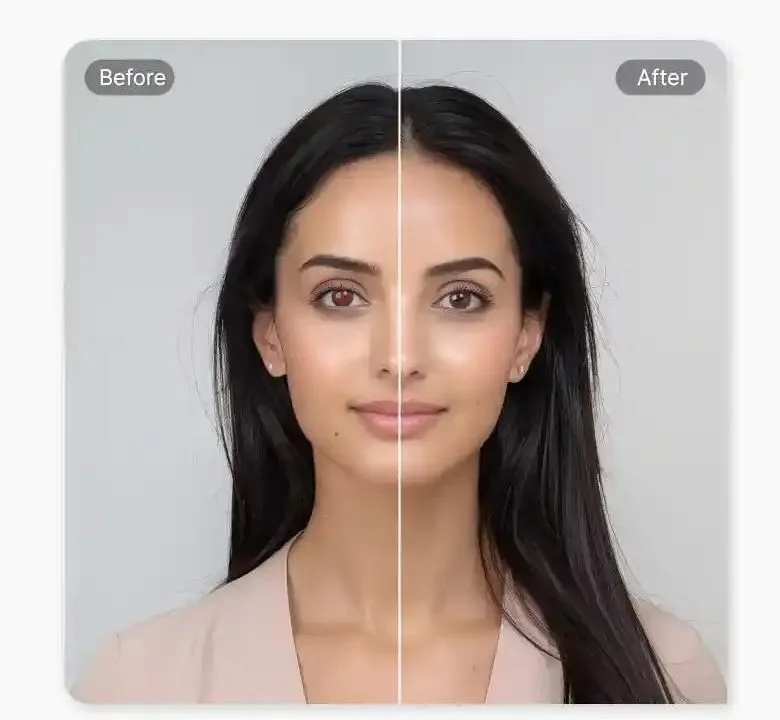
TL;DR: The Short Answer Red eye happens when a direct flash — positioned too close to the camera lens — bounces off the blood-rich retina at the back…
TL;DR: The Short Answer A water-damaged photo can usually be saved — but only if you act within the first 48 hours and never use heat. The correct…
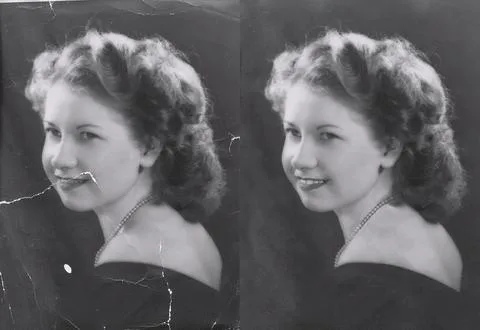
TL;DR: The Short Answer You fix a scratched photo by repairing the digital scan, not the physical print — and the right tool depends on the scratch. Scan…